Hello there,
today, I want to check out the SureBackup feature provided by Veeam Backup & Replication. This allows us to automatically test and verify our Veeam backups.
Let’s get right into it.
For this, I assume that you have a functioning Veeam Backup & Replication installation with an Enterprise Plus or VUL license. You can also use an evaluation license if you just want to give SureBackup a try. Either way, you will need a Veeam account.
My example is using the productive VMWare vCenter 7 environment provided through my employer. SureBackup will run on a single host, but there is a more advanced option to allow multi host setups, though this will be sufficient for our use case.
Setting up SureBackup
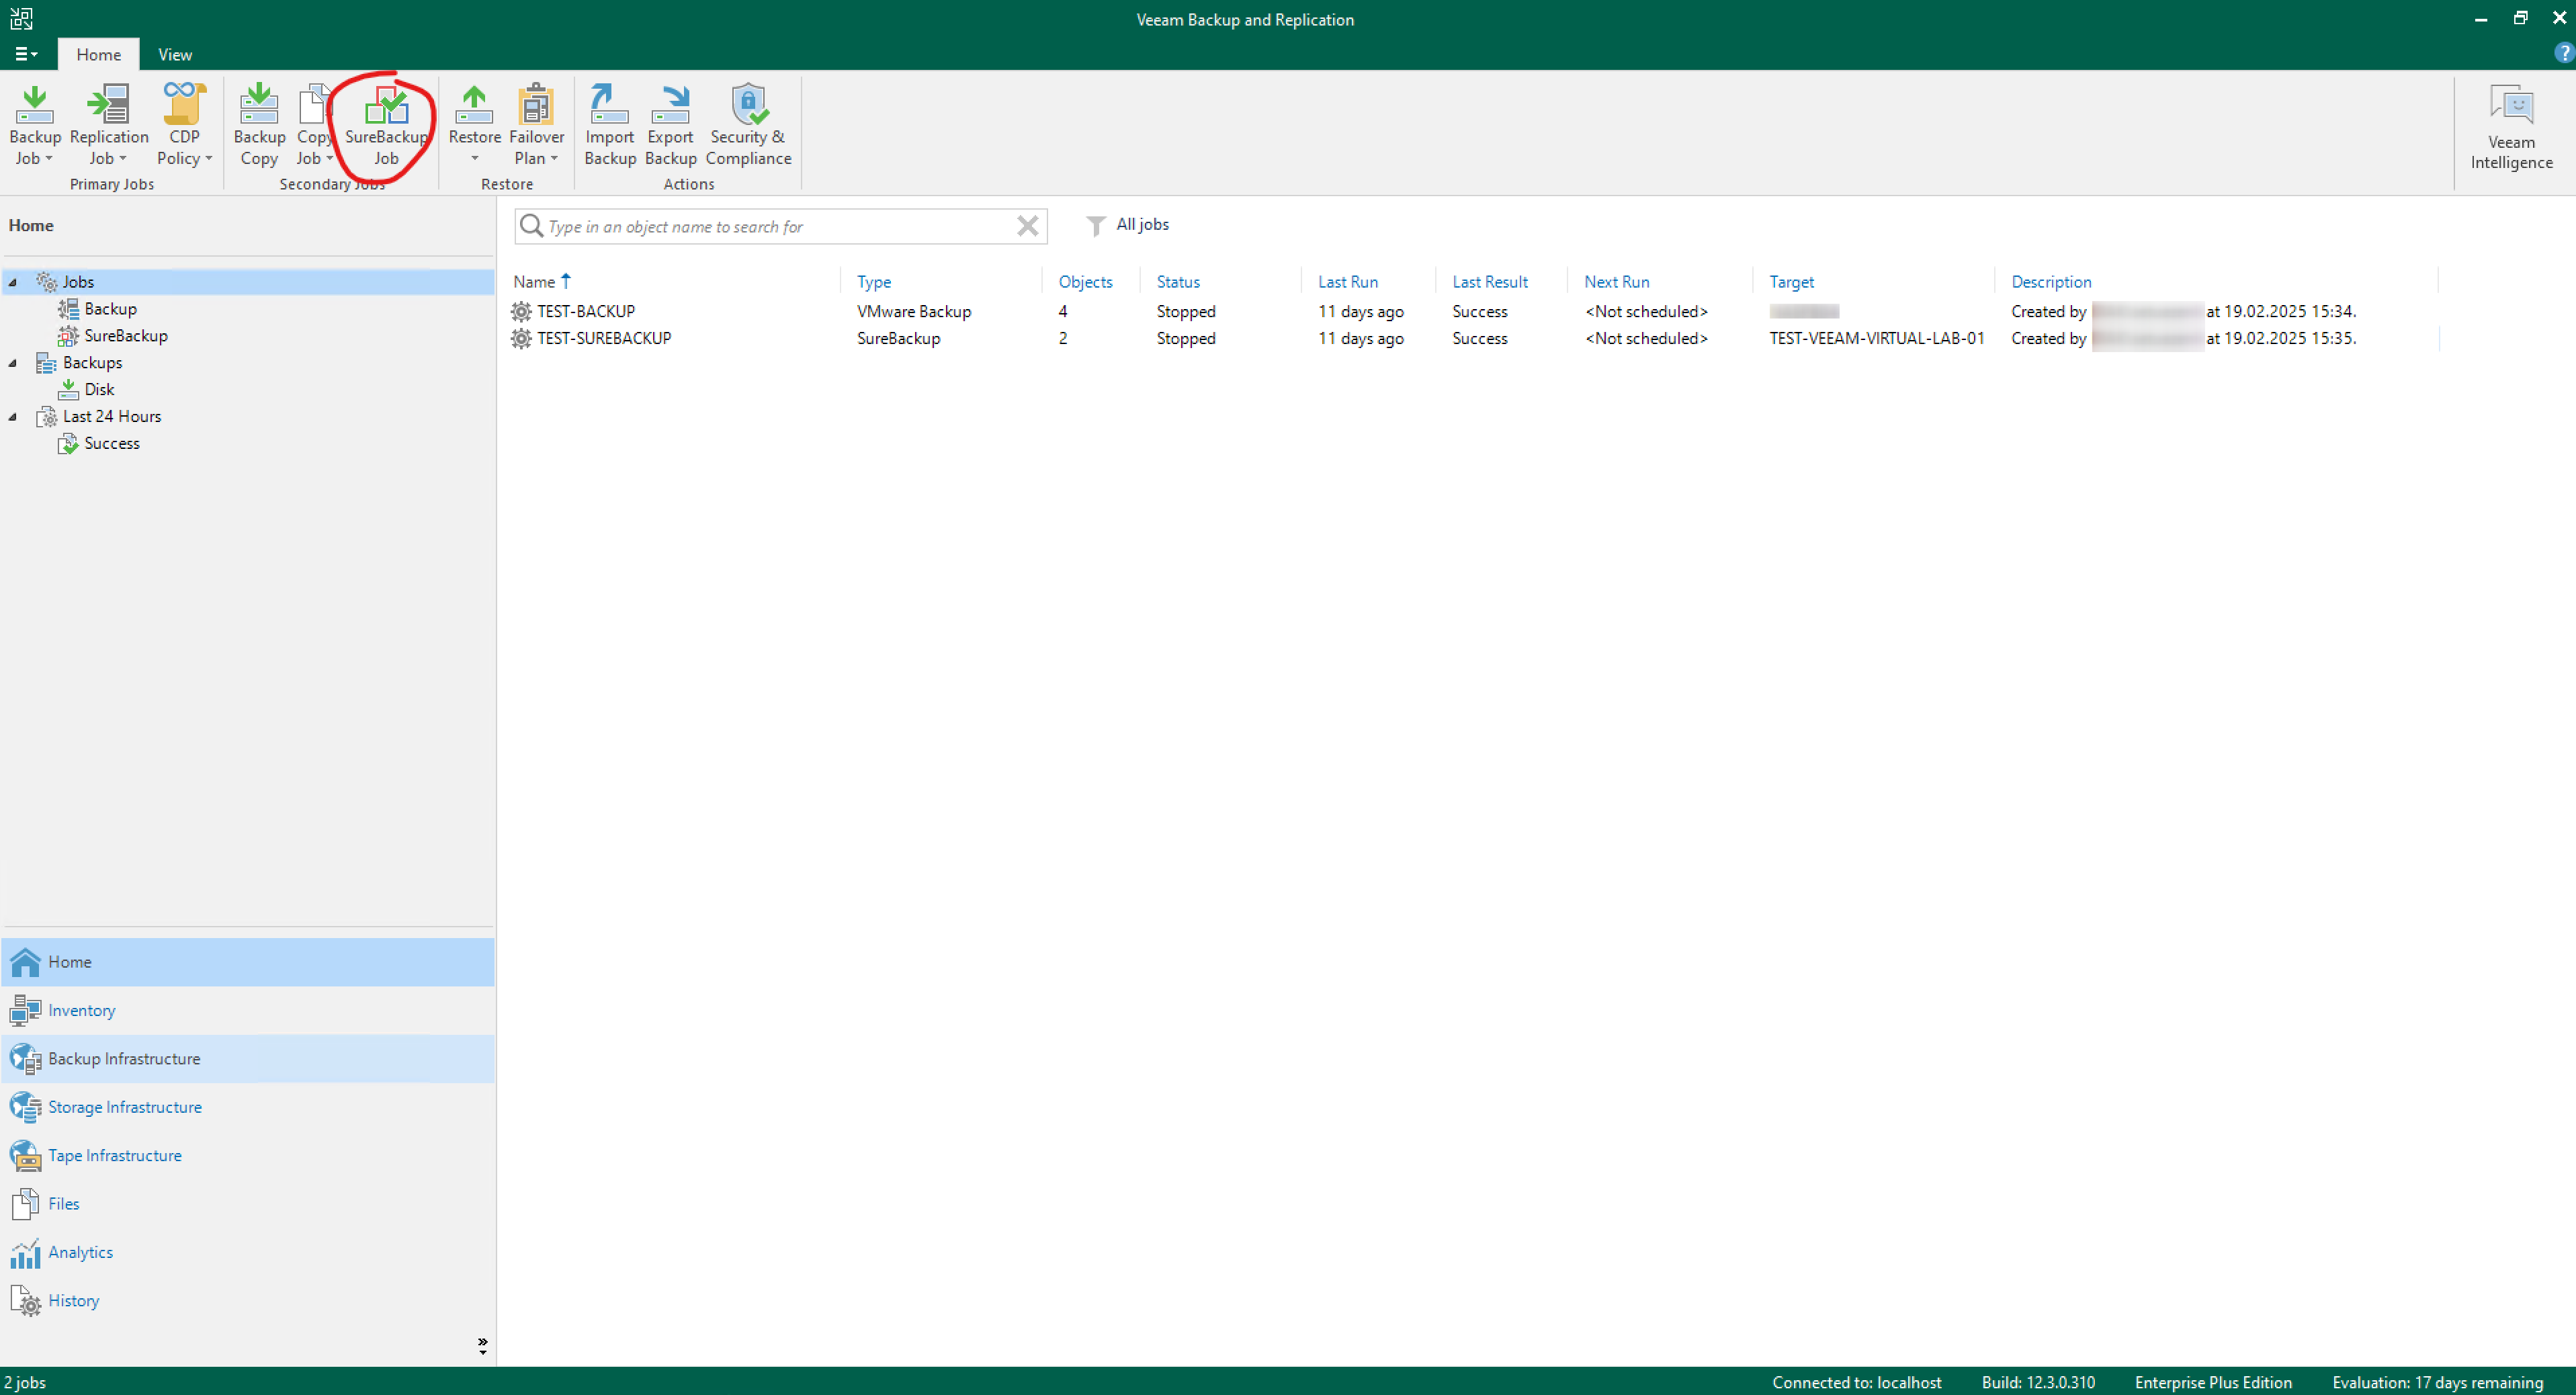
Creating the SureBackup Job
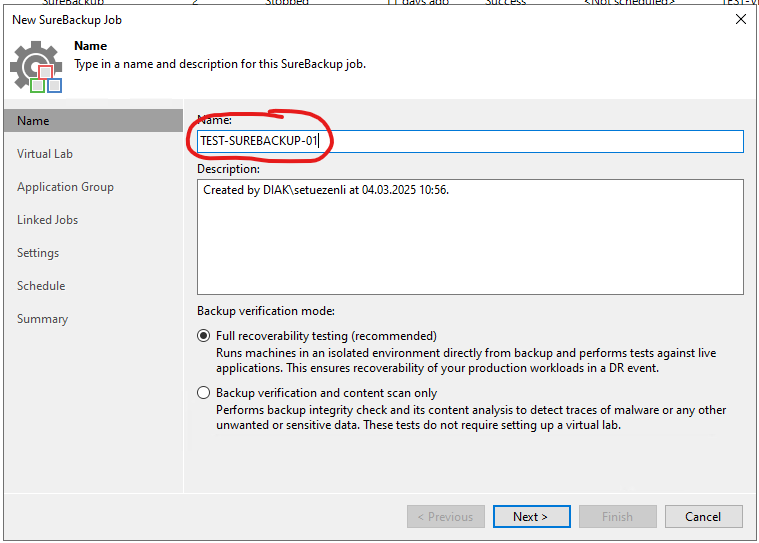
We begin with creating a new “SureBackup Job” and giving a good name.
We will select “Full recoverability testing (recommended)”. This will boot the whole VM and test against the live applications in an isolated network.
Create a Virtual Lab
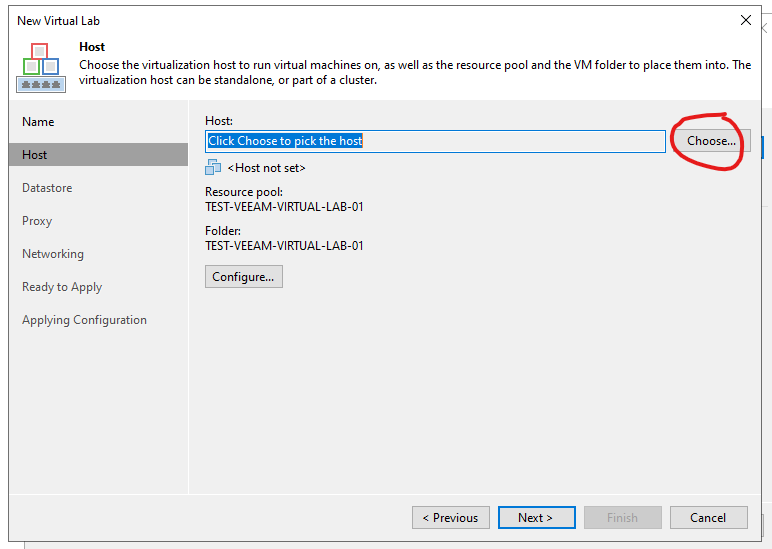
In the next step, we have to create a new “Virtual Lab”. Select “Add new”. This will open a new window.

In the following steps, we will create a virtual appliance on your host, duplicate the VLANs you choose, and create a Resource Pool on your system. This is all automated, so we don’t have to touch the ESXi host at all.
Give the virtual lab a name and select “Next”

Click on “Choose…” and select a host from your cluster.
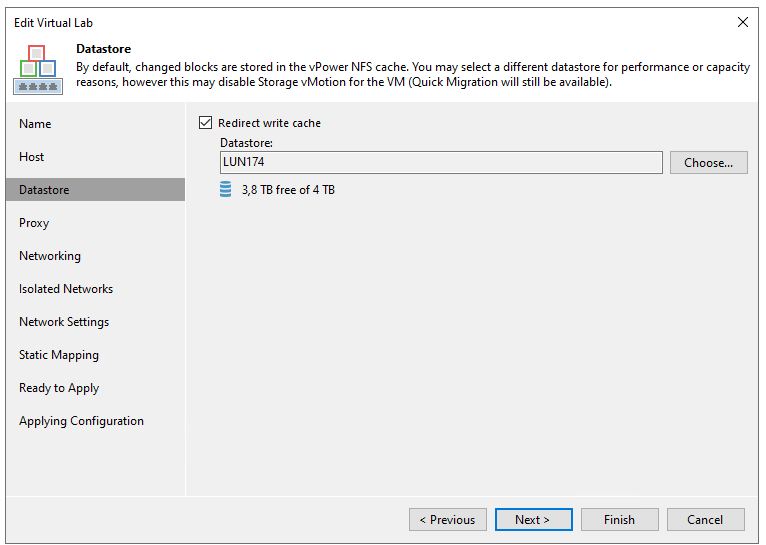
In this step, we define the write cache. I choose one of the storage LUNs.
Select “Edit…” and set up the datastore and production network you want to use.
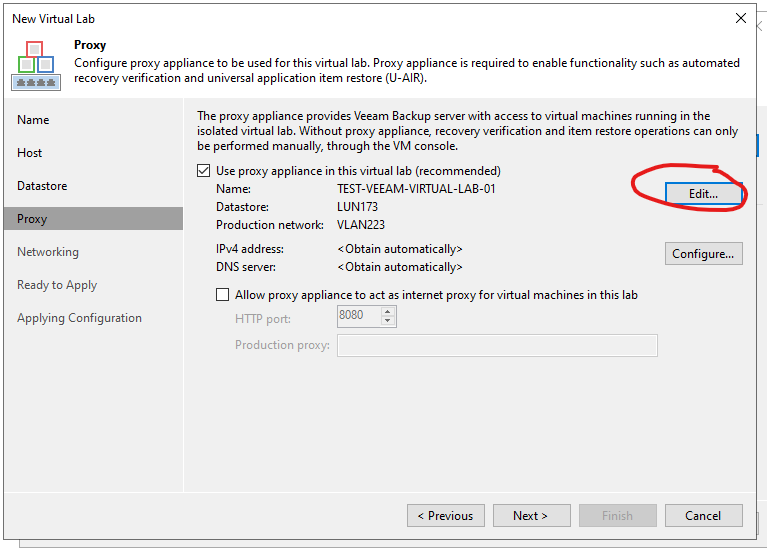
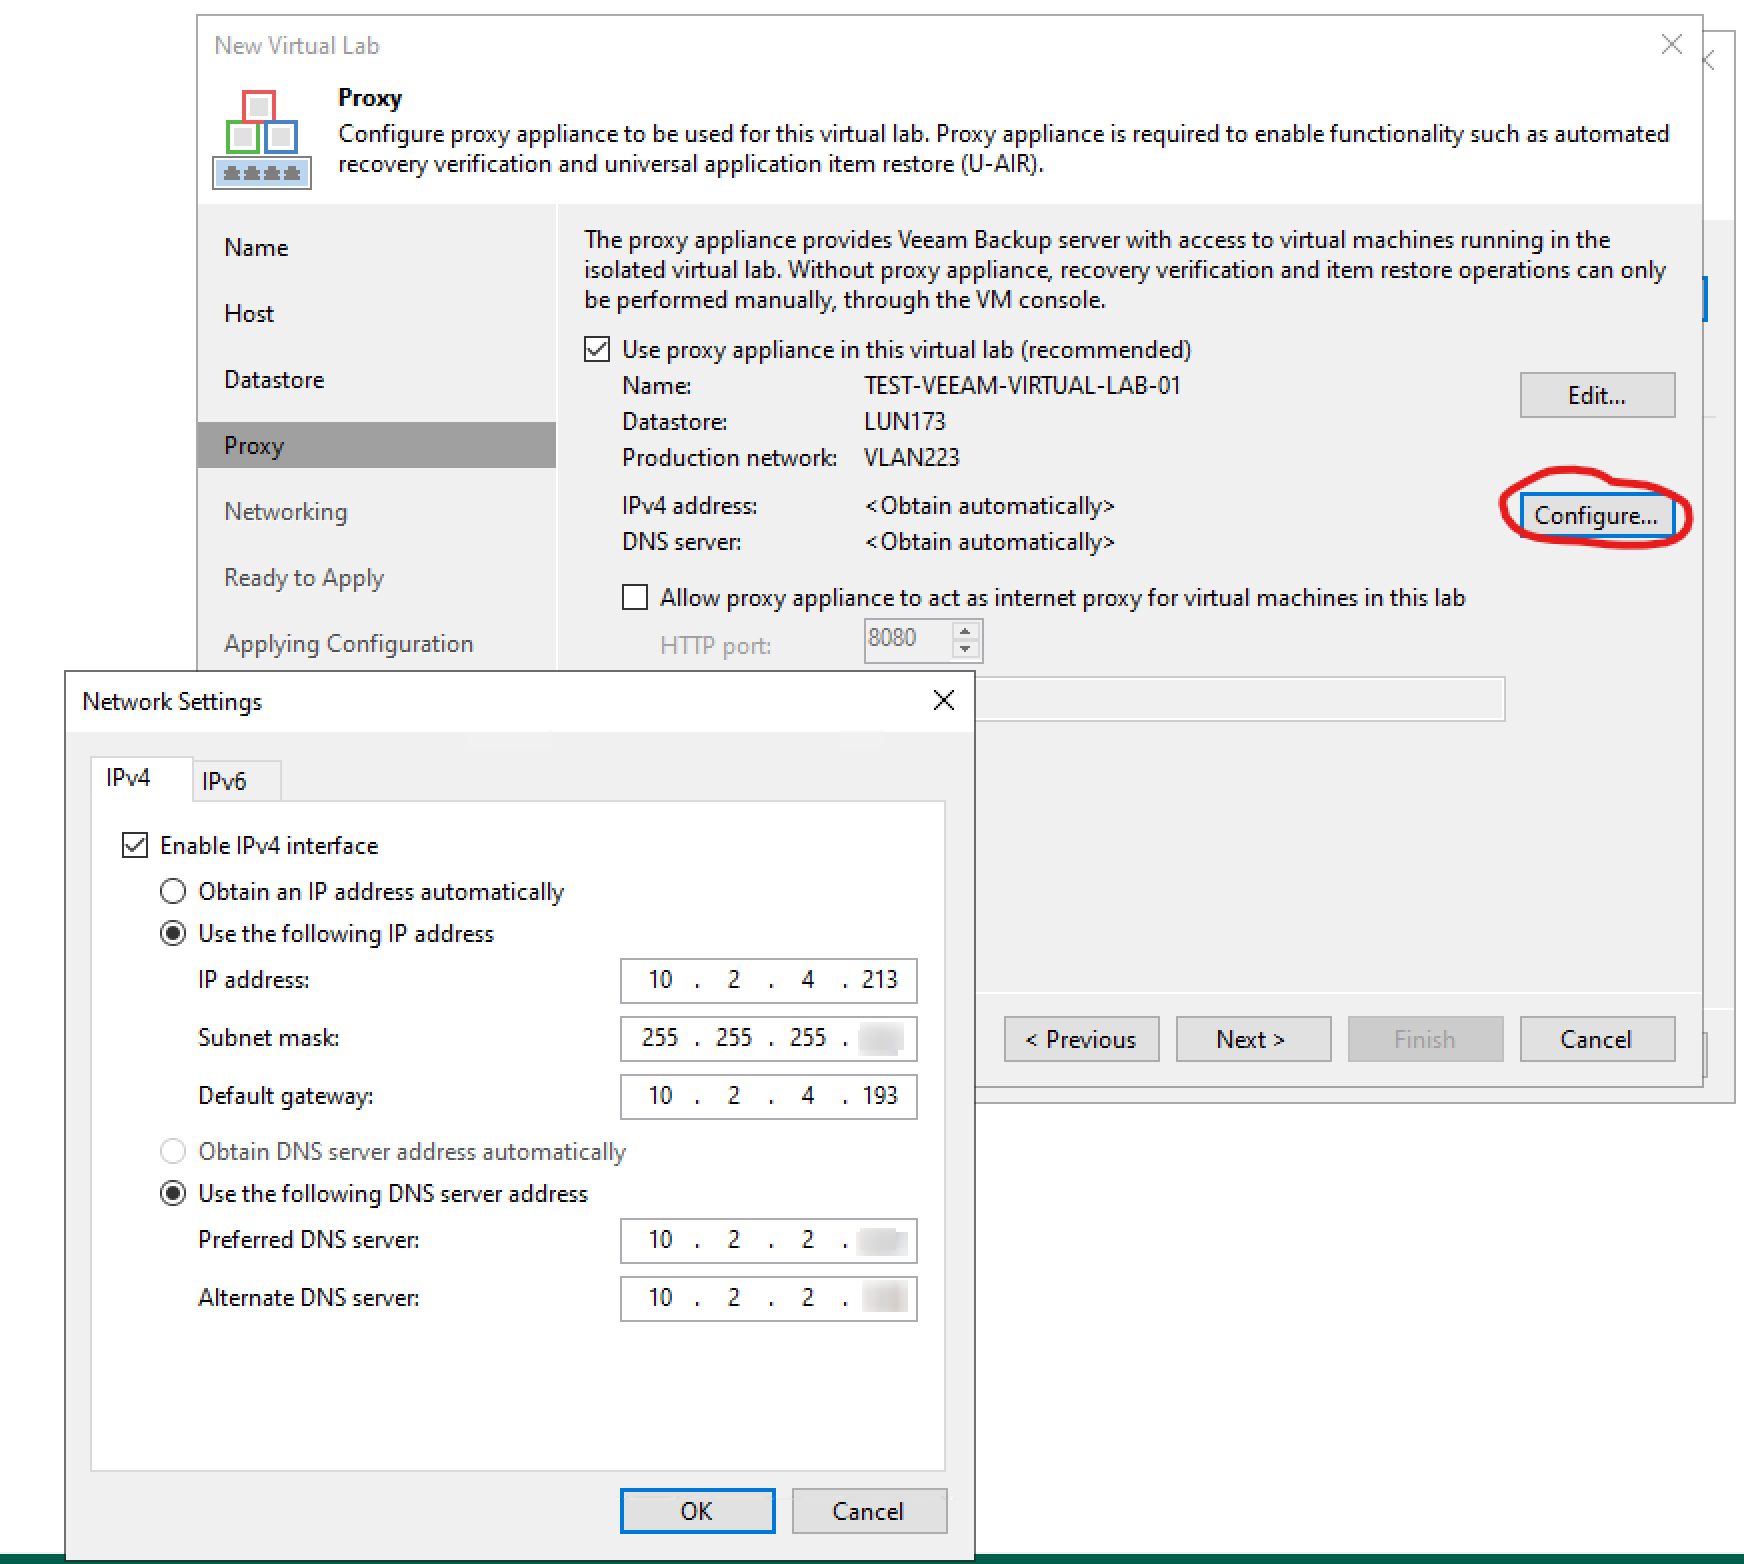
Next, click on “Configure” and set the IP addresses that fit your network. This is the interface that will face the production network. Meaning, this IP will be reachable from the internal network and is not isolated. Will will configure the isolated networks in the following steps.
Click “Next“.
In this step, we define the networking. I will choose “Advanced single-host (manual configuration)“. Don’t let the “manual configuration” confuse you. It’s still automated, we just have to set up a few more things.

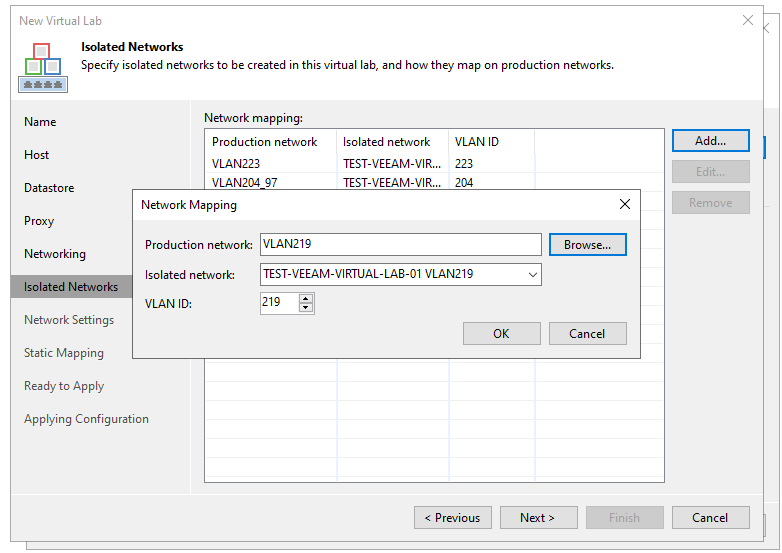
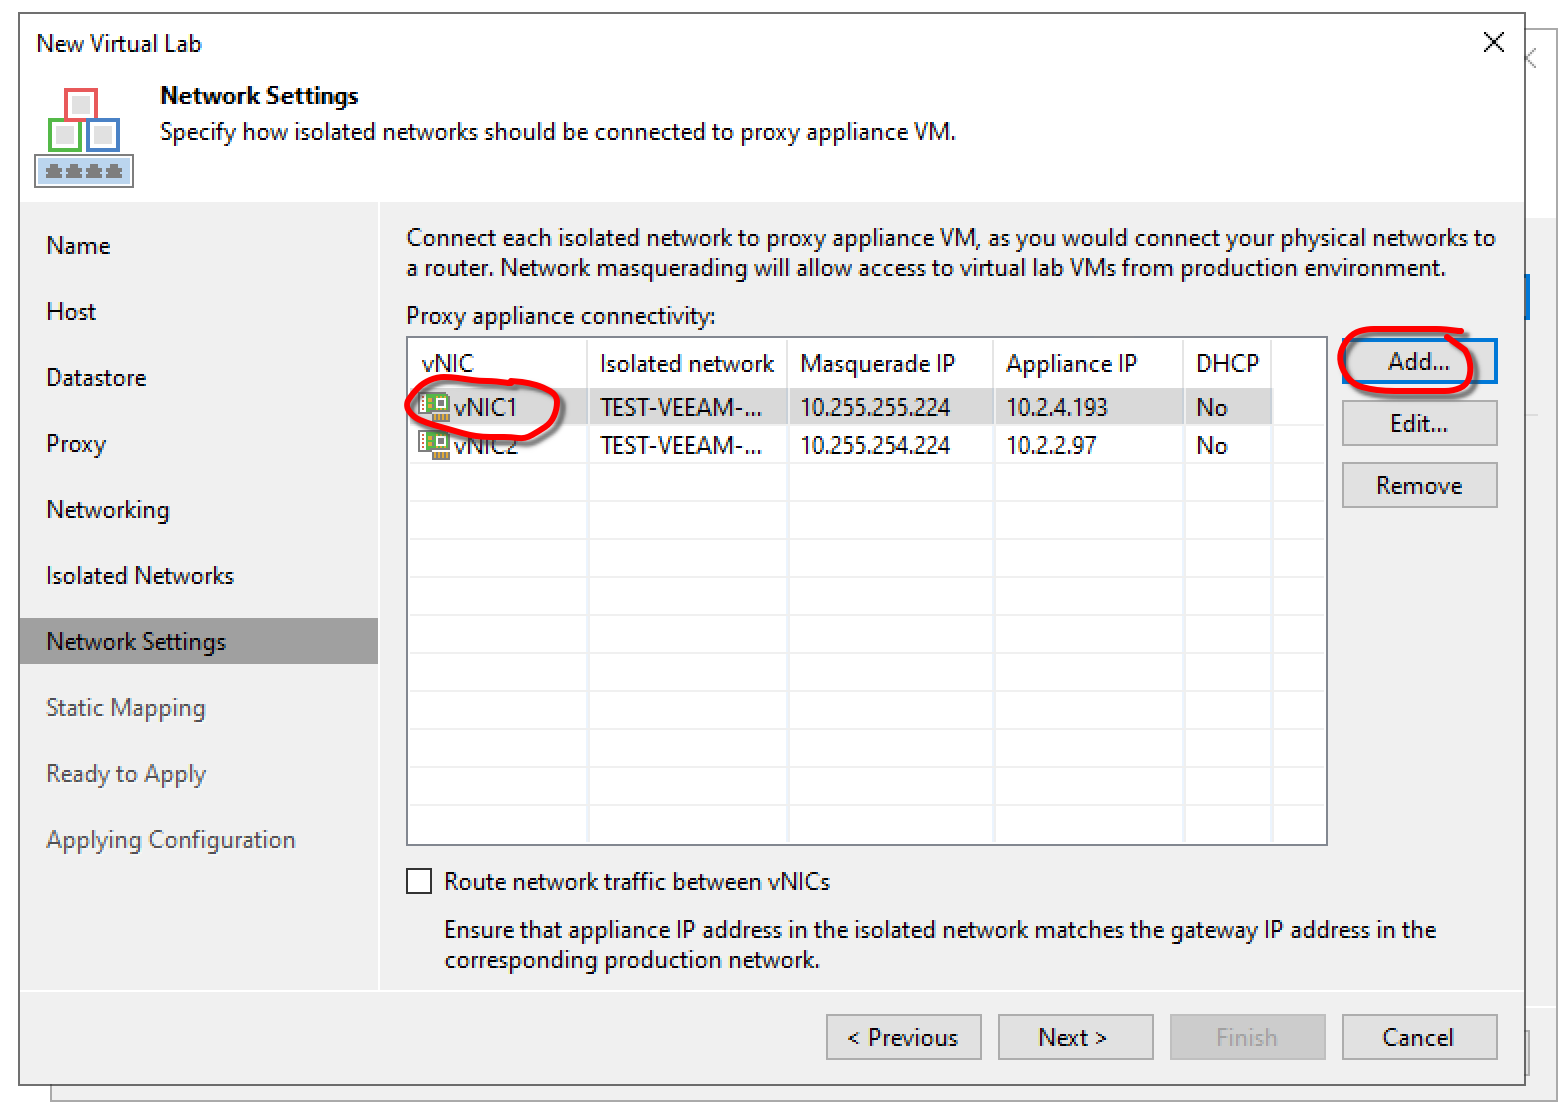
Alright. Here we add all the networks we want to use for the isolation. This will create a duplicate port on the ESXi host to match the productive network.
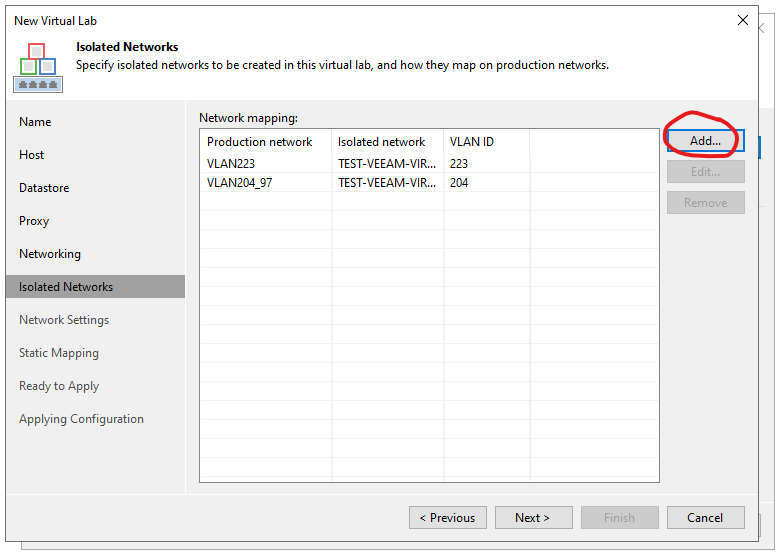
Selecting a network automatically generates its isolated network name and recognizes the VLAN ID.
Alright. Now, this step is a bit confusing. Add a NIC for each of the isolated networks and click on “Edit…”
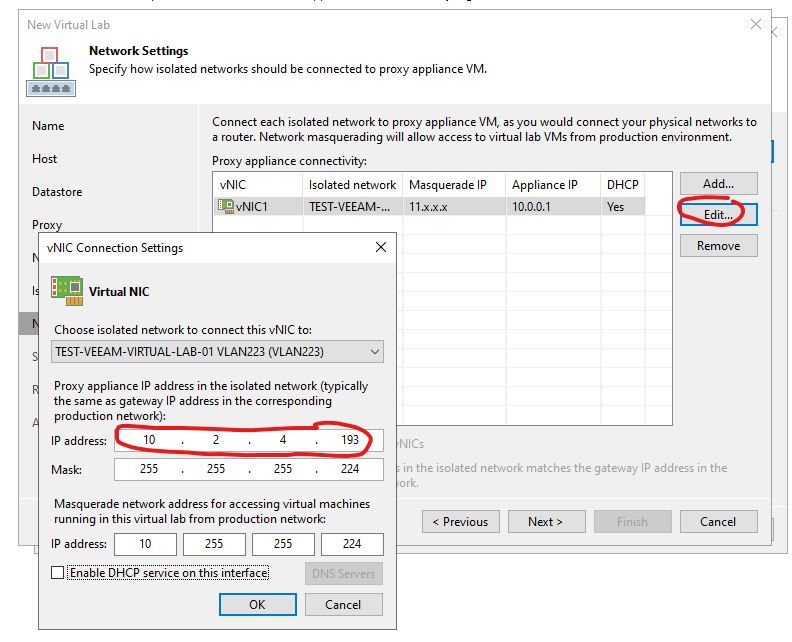
This is the NIC that will face the isolated network. For the IP address, we will the gateway of the productive environment. Don’t worry, this will not create an IP conflict.
Set a masquerading IP. This will be one, not used in your network.
Click on “Next…”.
I will skip the following step, since I don’t have a use case right now. But this would allow you to map an IP address from production to the isolated VM, to give you a more convenient way to access the system.
Since I don’t want to do anything manually, I will skip it.

Apply the configuration and click on “Finish”.

Create an Application Group
Alright. We are back in the SureBackup configuration window. In the next step, we will create an “Application Group”.
Application groups define the core system components required for your VMs to function correctly. For example, a domain controller and DNS server are needed for authentication and name resolution, respectively.
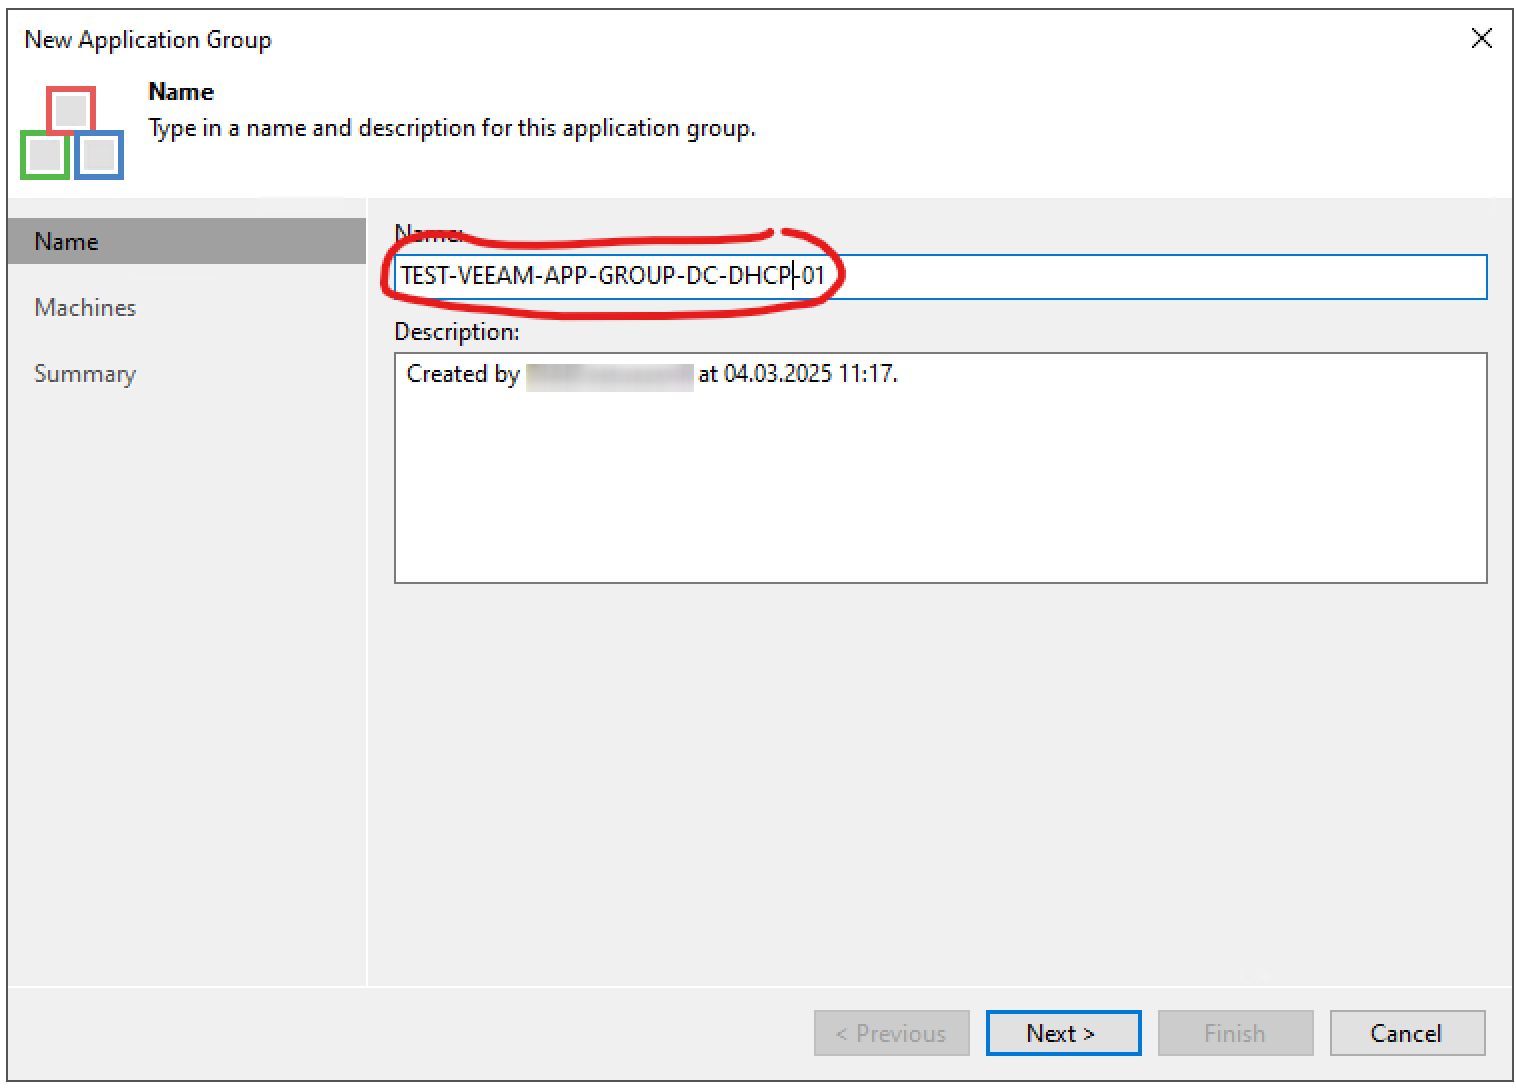
Select “Add New…”.

Give it a name and select “Next”.
We will select the machines, I will grab them from backups.
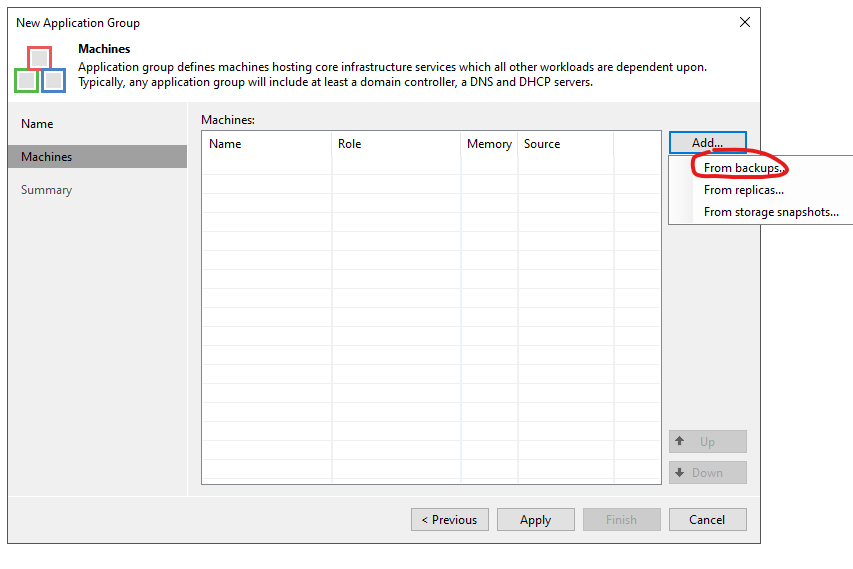
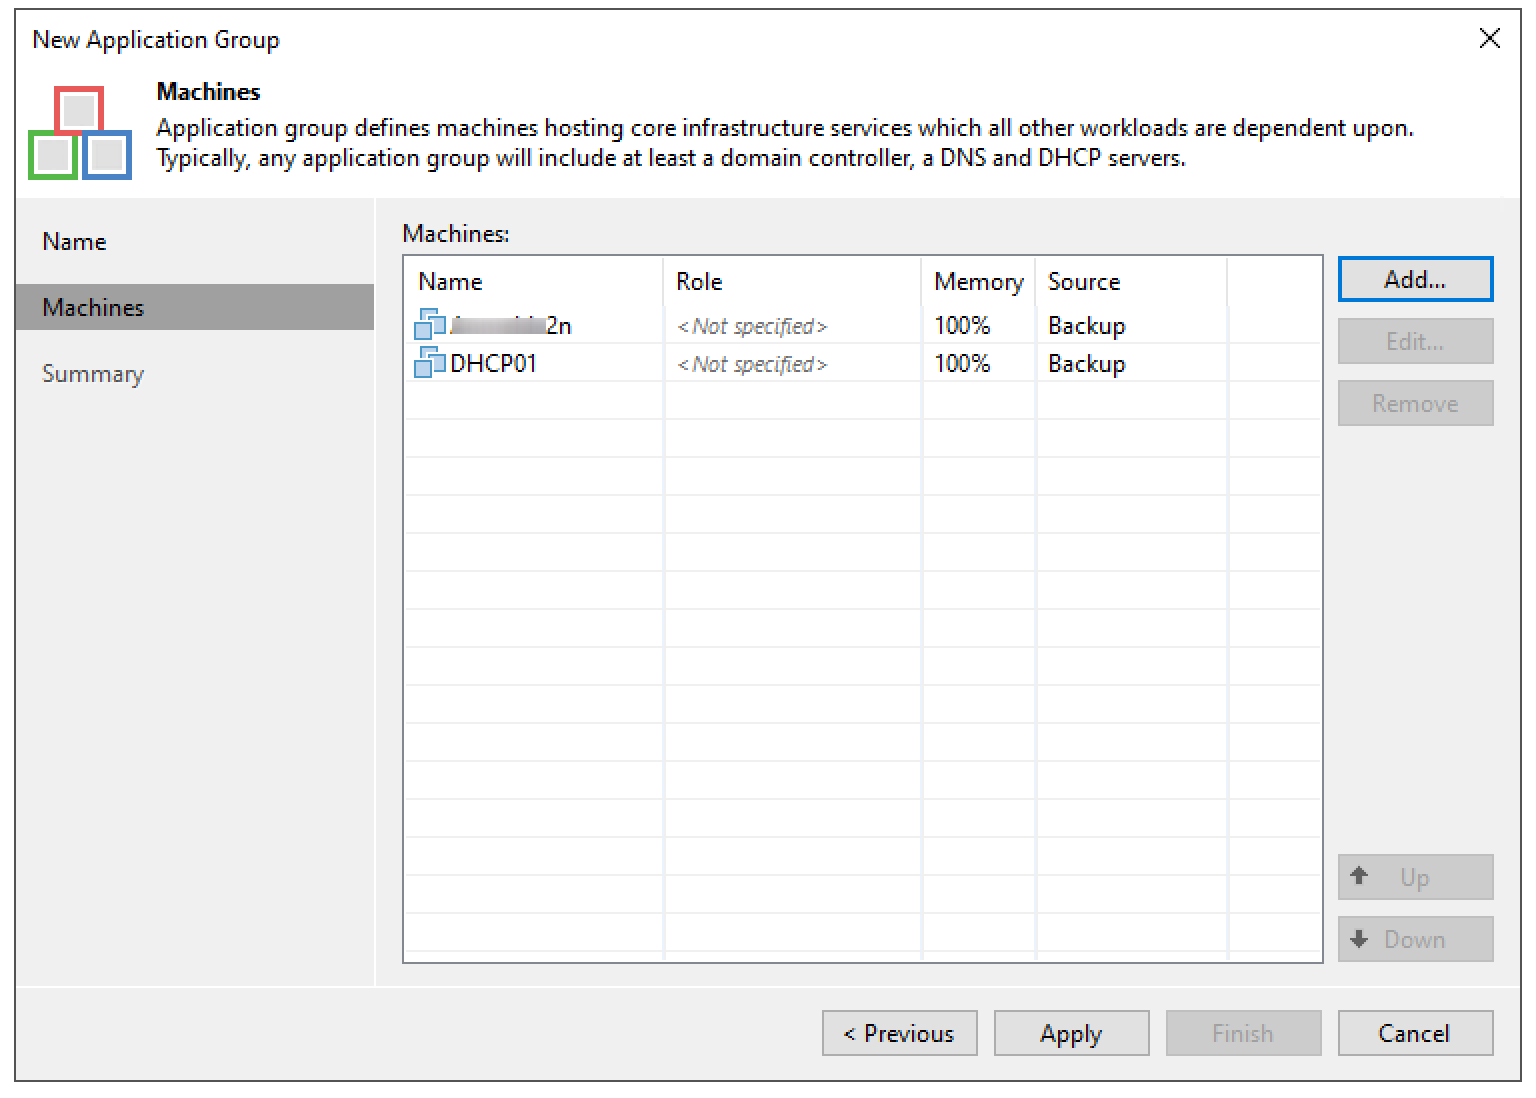
I will select a domain controller and the DHCP server, just to have something in there. I forgot to add it in the screenshot, but we should choose the role for the domain controller, by selecting the VM and clicking on “Edit…”. Once that’s done, select “Apply“.
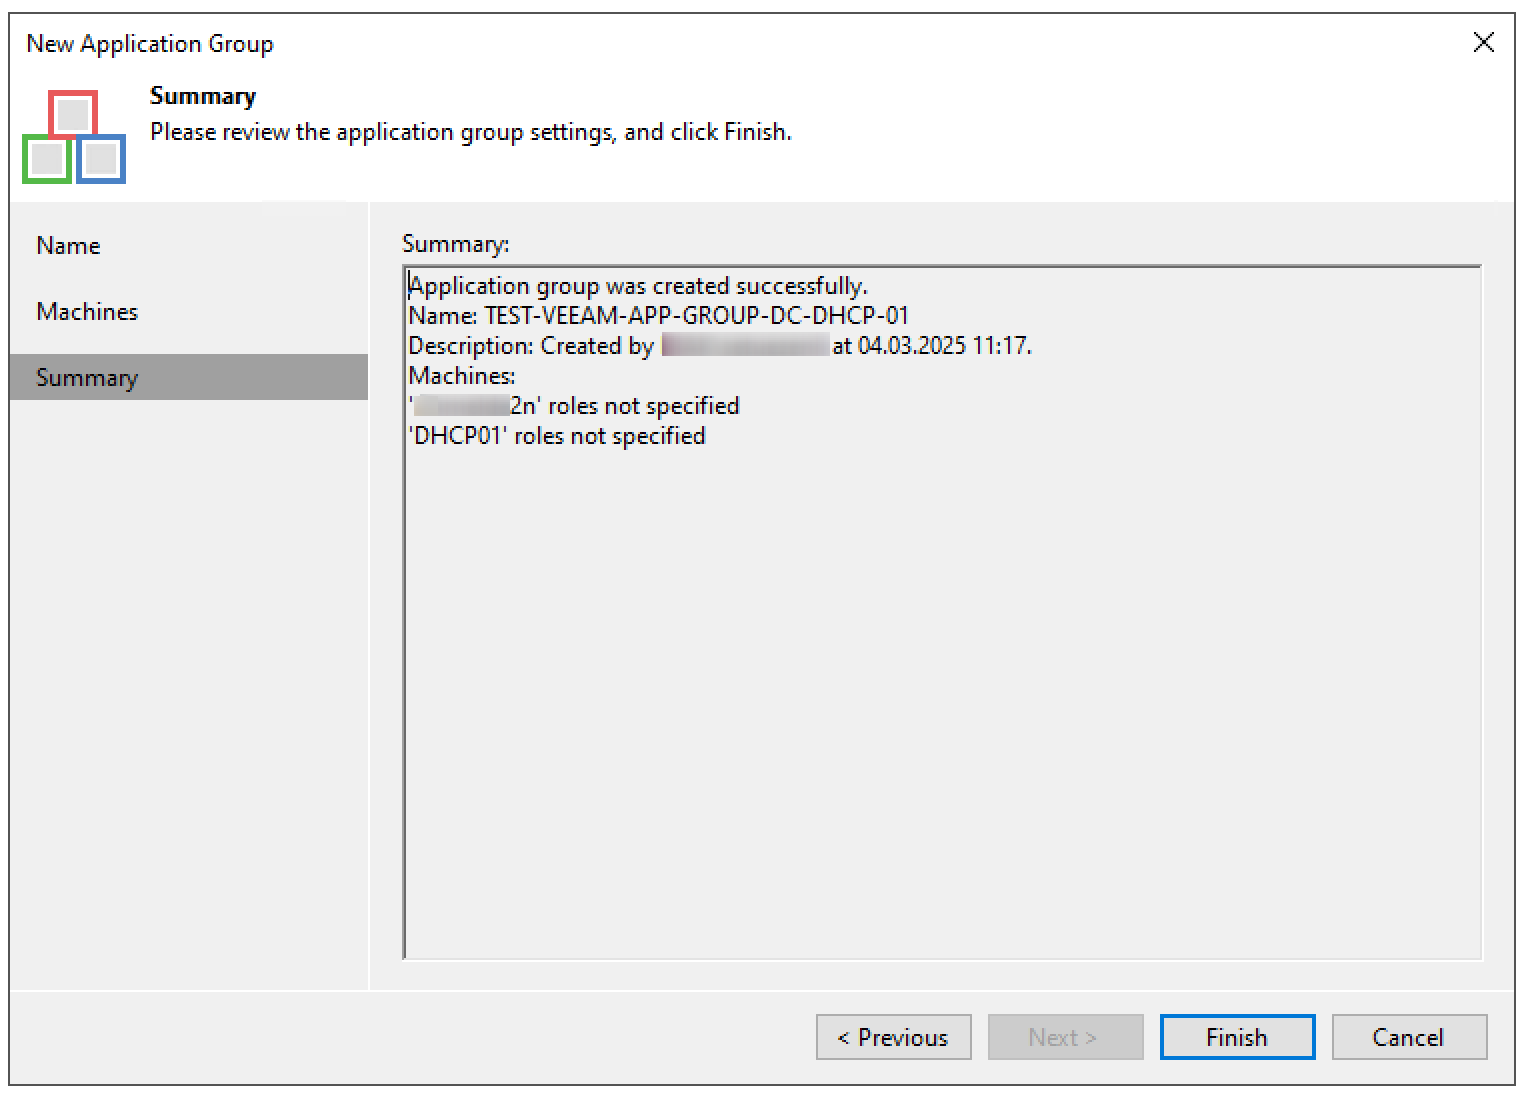
Click “Finish”.
Continue SureBackup Job
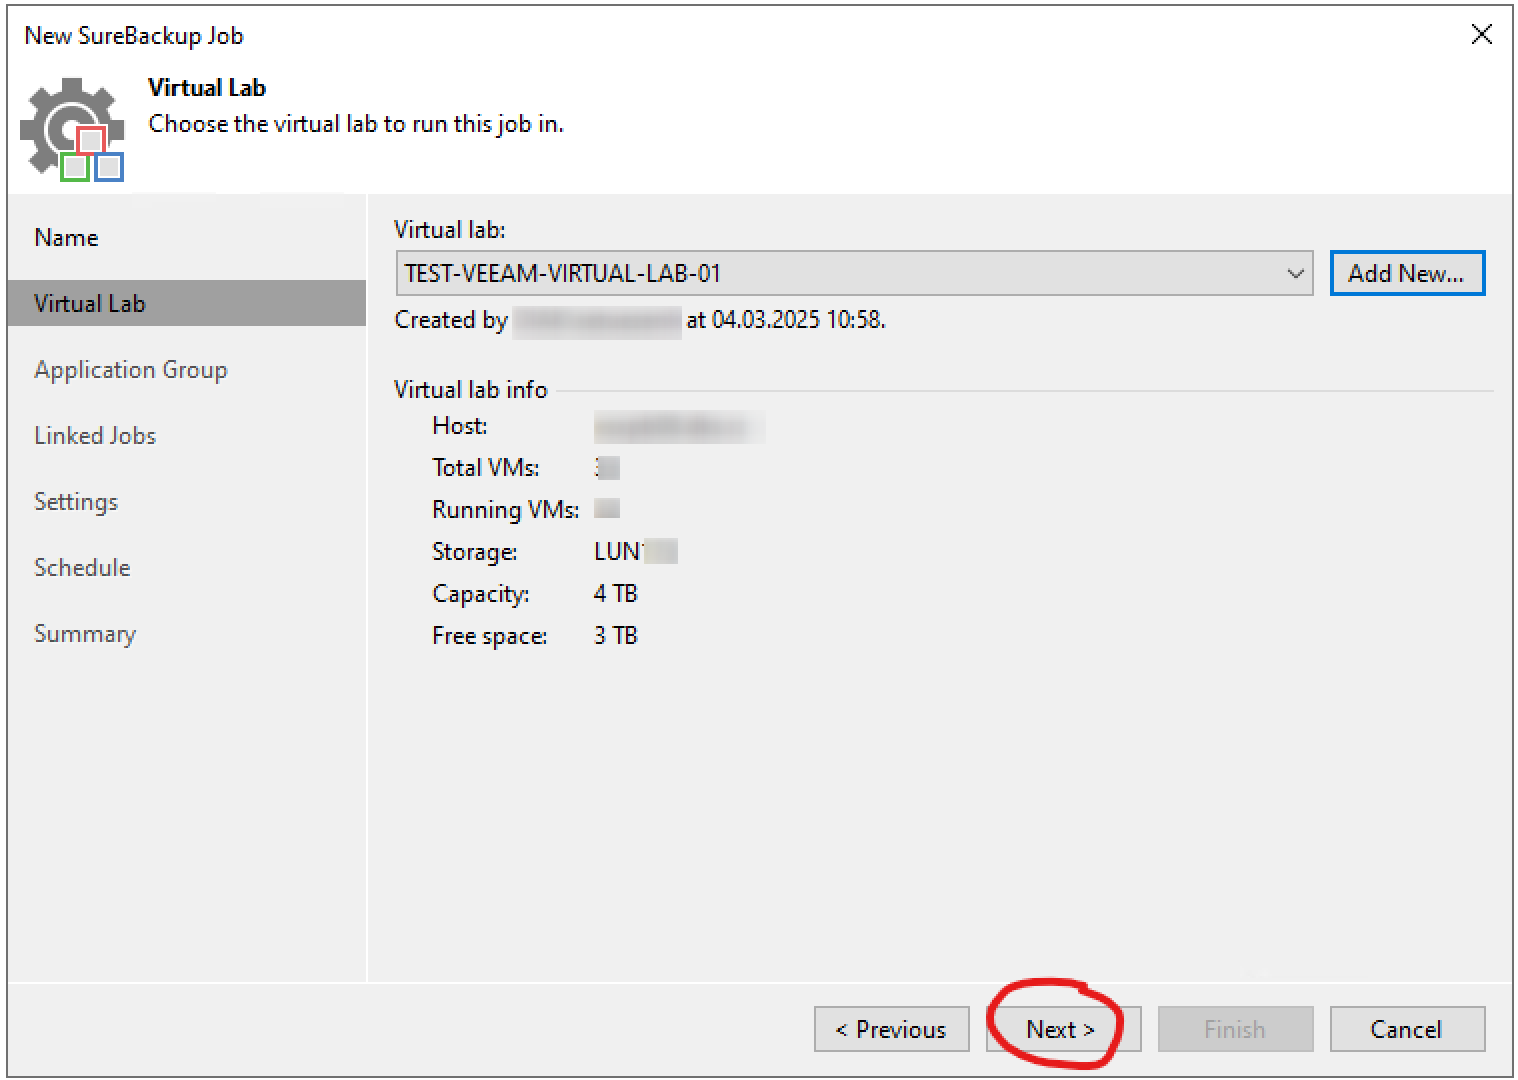
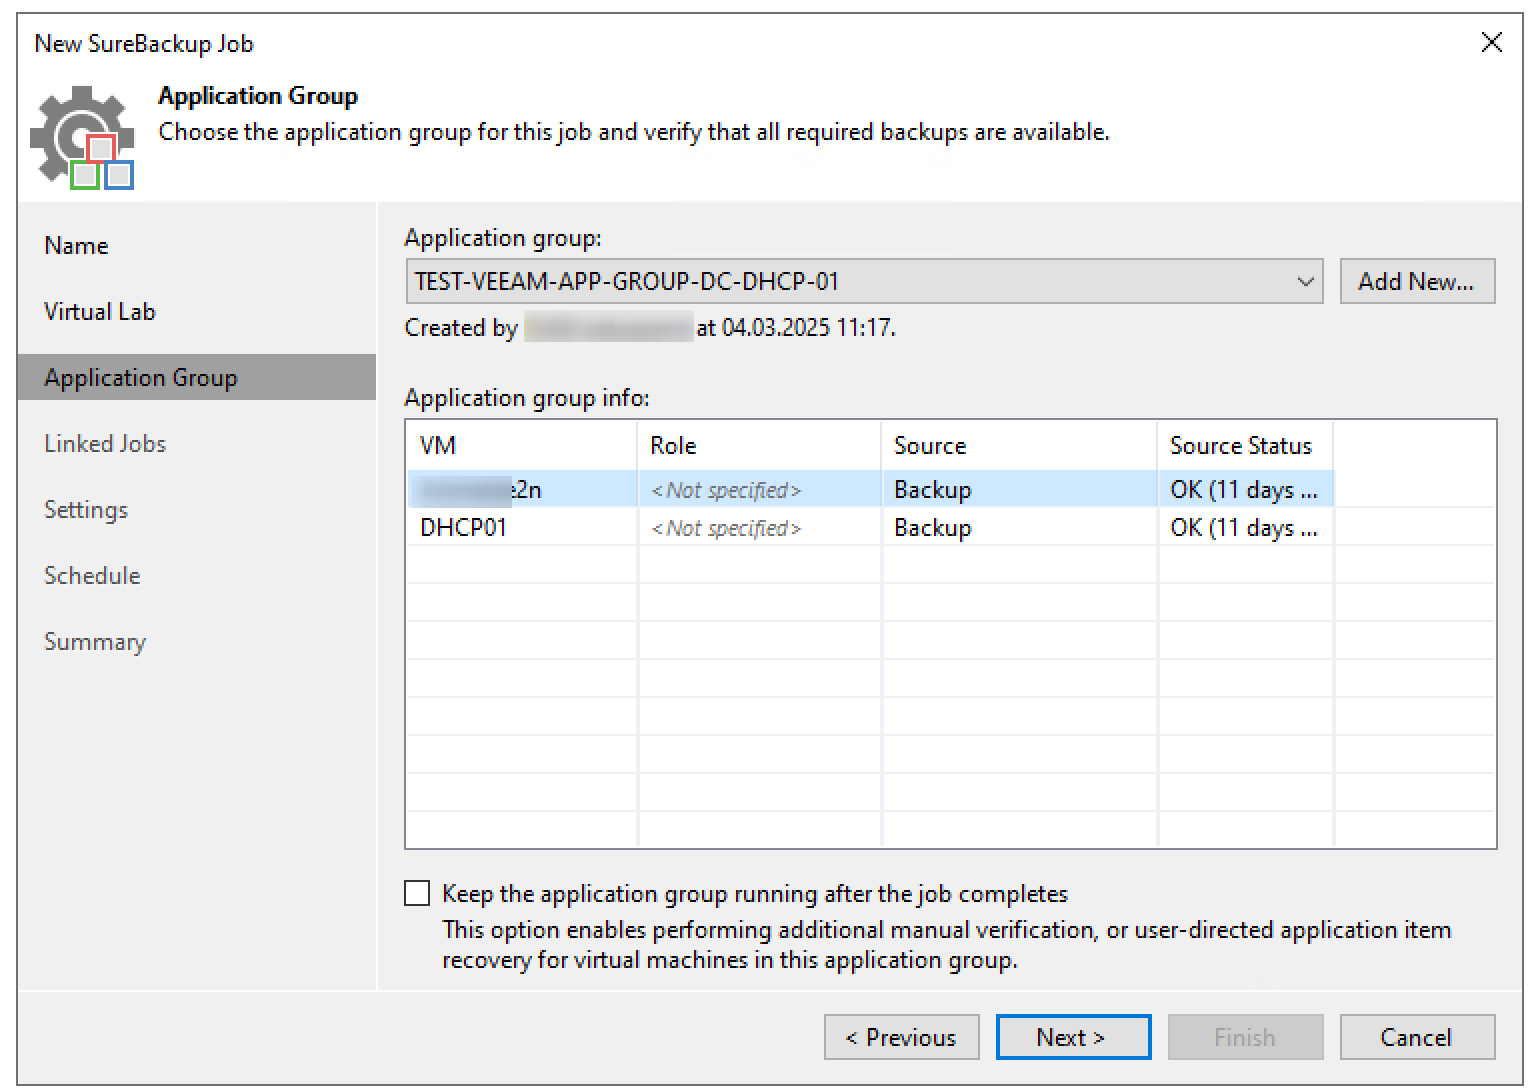
Ok, we have our virtual lab and the application group. Let’s continue. Click on “Next”.
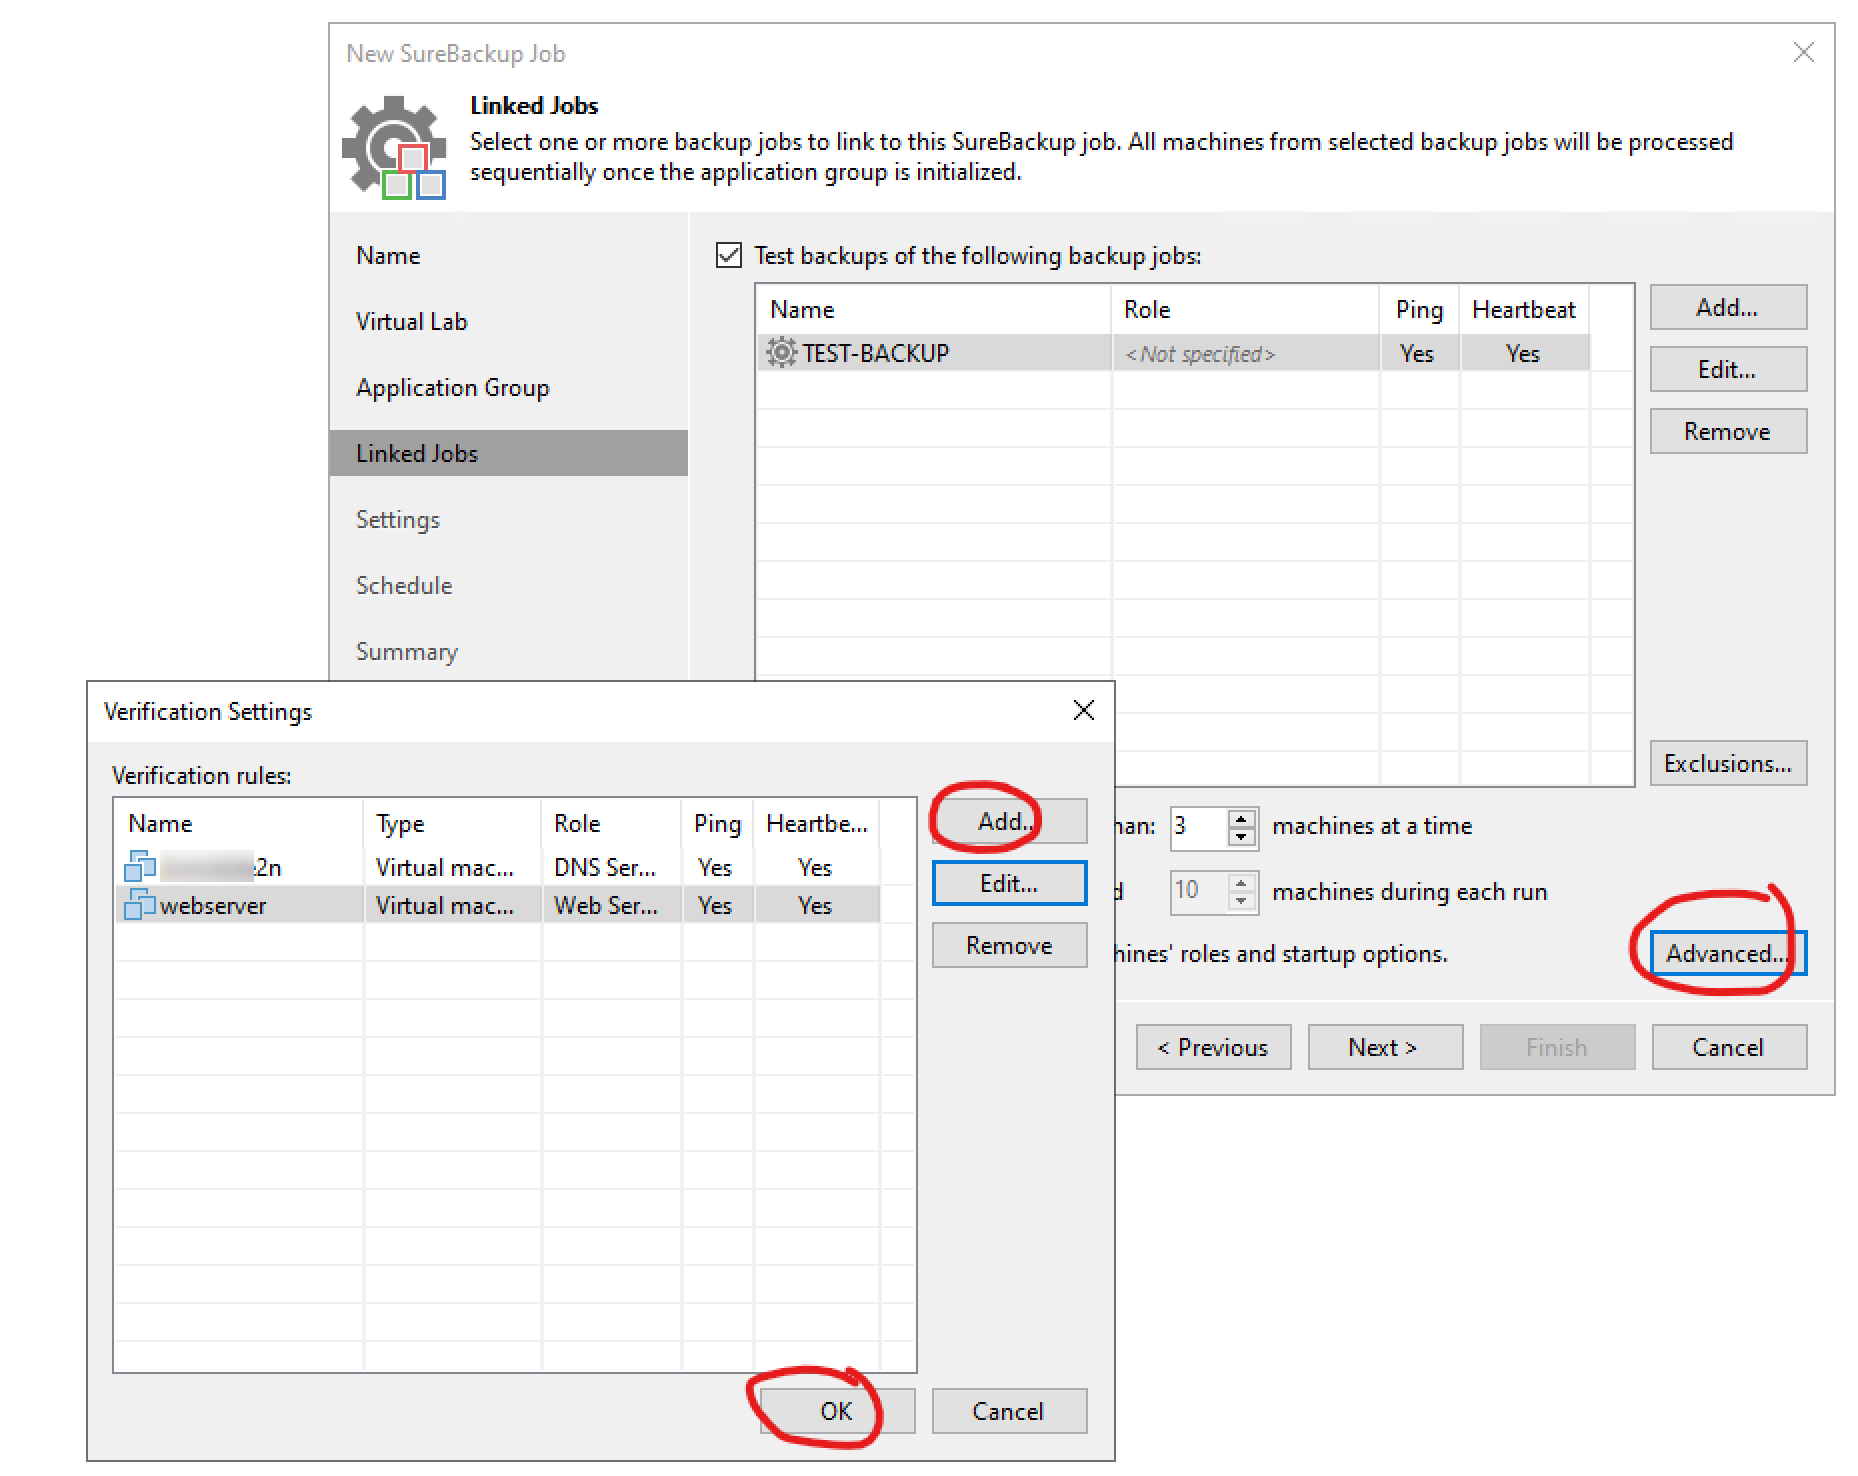
In this step, we choose the VMs we want to test. Click on “Add…” and select your backup.

Once selected, click on “Advanced…” and add VMs for custom roles. I will select a DNS server and a webserver. Then select “Edit…” and select the role you want.
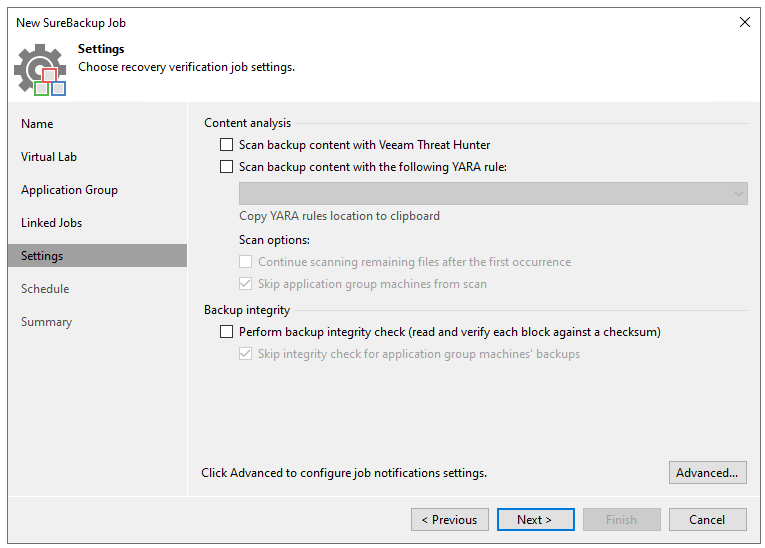
In this step we can run thread hunting and YARA rules. I will skip this for now.
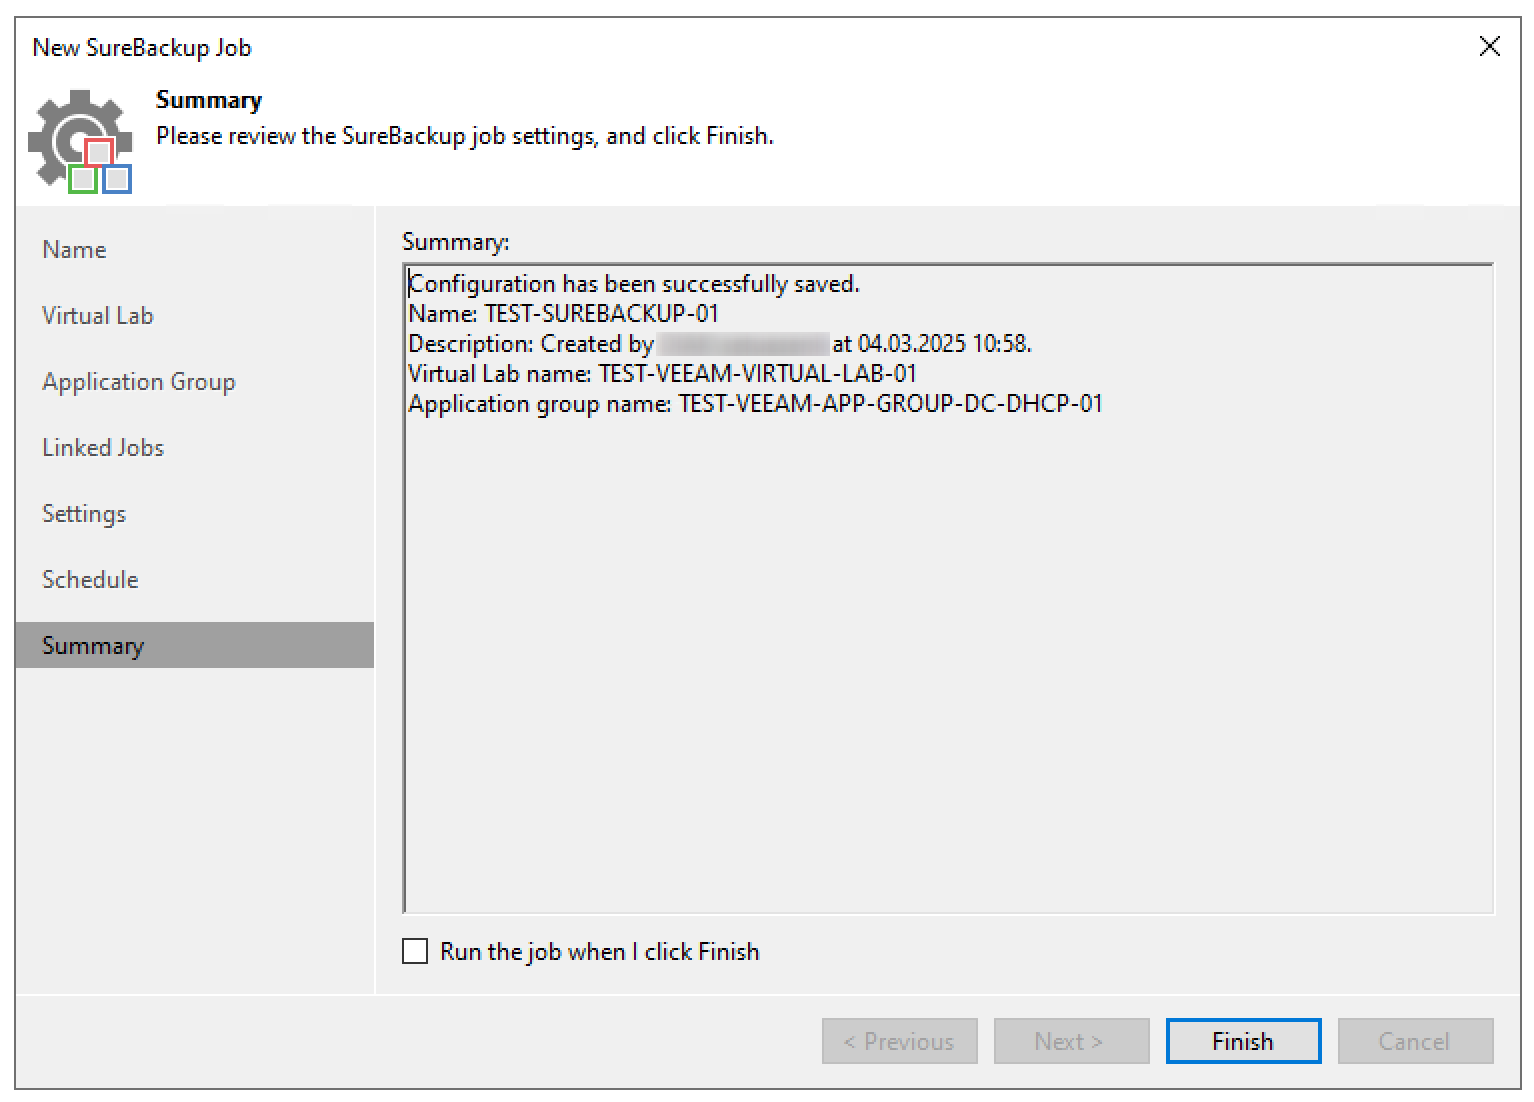
Specify the schedule and apply.

And that’s it.
This will create the objects on your ESXi host. At this point, we could start the job to verify if it’s working.
Unfortunately, I don’t have the screenshots for that anymore. 😓
This was a test environment, but it will be deployed in production soon. I may have screenshots from the ESXi host and the final result once that deployment is complete. I will update this post when those are available.
Hope this helps.
Have a great day. Till next time.