Hello there,
today I want to take a look at the “script-server” by “bugy”. I have been looking for a way to simply execute scripts without having to SSH into the server. And this does basically exactly what I want.
Rocky Linux 9 will be my base for this. Let’s begin.
Deploying the script-server
Prerequirements
We will start with the prerequirements. First things first. We will install the “epel-release” package, which provides the repository for additional packages. I don’t actually remember if we need this, but I like to have this on my RHEL-based servers.
server :: ~ » sudo dnf install epel-release
Next, we need a few more packages for the script-server. Install wget, unzip and python3-pip if it doesn’t exist already.
server :: ~ » sudo dnf install wget unzip python3-pip
With pip3 installed, we can install the “tornado” package.
server :: ~ » sudo pip3 install tornado
Setup the script-server
Now that we have all the required packages, we can begin with the deployment. Download the zip file from github. At the time of writing the latest version is 1.17.1.
server :: ~ » wget https://github.com/bugy/script-server/releases/download/1.17.1/script-server.zip
I will create the folder “script-server” under /opt, and move the downloaded zip into that folder.
server :: ~ » sudo mkdir /opt/script-server
server :: ~ » sudo mv script-server.zip /opt/script-server
Change into the newly created folder and extract the zip file. After this, create a new folder “scripts”. We will need this later.
server :: ~ » cd /opt/script-server/
server :: script-server » sudo unzip /opt/script-server/script-server.zip
server :: script-server » sudo mkdir /opt/script-server/scripts
One more step before we can start the server. Open the port 5000/tcp.
server :: script-server » sudo firewall-cmd --add-port 5000/tcp --permanent ; sudo firewall-cmd --reload
Great. At this point, we could start the server and it should work. It just won’t do anything yet. To start the server, execute the startup script “launcher.py”.
server :: script-server » ./launcher.py
Adding scripts
Let’s add a couple of scripts. Navigate to /opt/script-server/conf/runners. If that folder does not exist, create it. Here we create a json file with the name you want to see on your WebUI. “kvm-start.json” in my case.
server :: script-server » cd /opt/script-server/conf/runners
server :: runners » sudo vim kvm-start.json
Next, we navigate into the scripts folder and create our new script file here. Mine is just a wake-on-lan script to start my server remotely.
server :: runners » cd /opt/script-server/scripts/
server :: scripts » sudo vim kvm-server-start.sh
Create Service Startup File and starting the Server
Since I don’t want to manually start the script-server every time I reboot the server, we will create a systemd service for it.
server :: ~ » sudo vim /usr/lib/systemd/system/script-server.service
Make sure to modify the “ExecStart” path, in case you used a different path than me.
Reload the systemd config files and enable/start the newly created service.
server :: ~ » sudo systemctl daemon-reload
server :: ~ » sudo systemctl enable script-server.service
server :: ~ » sudo systemctl start script-server.service
At this point, the server should be running. Open a web browser and enter the server IP with the port 5000
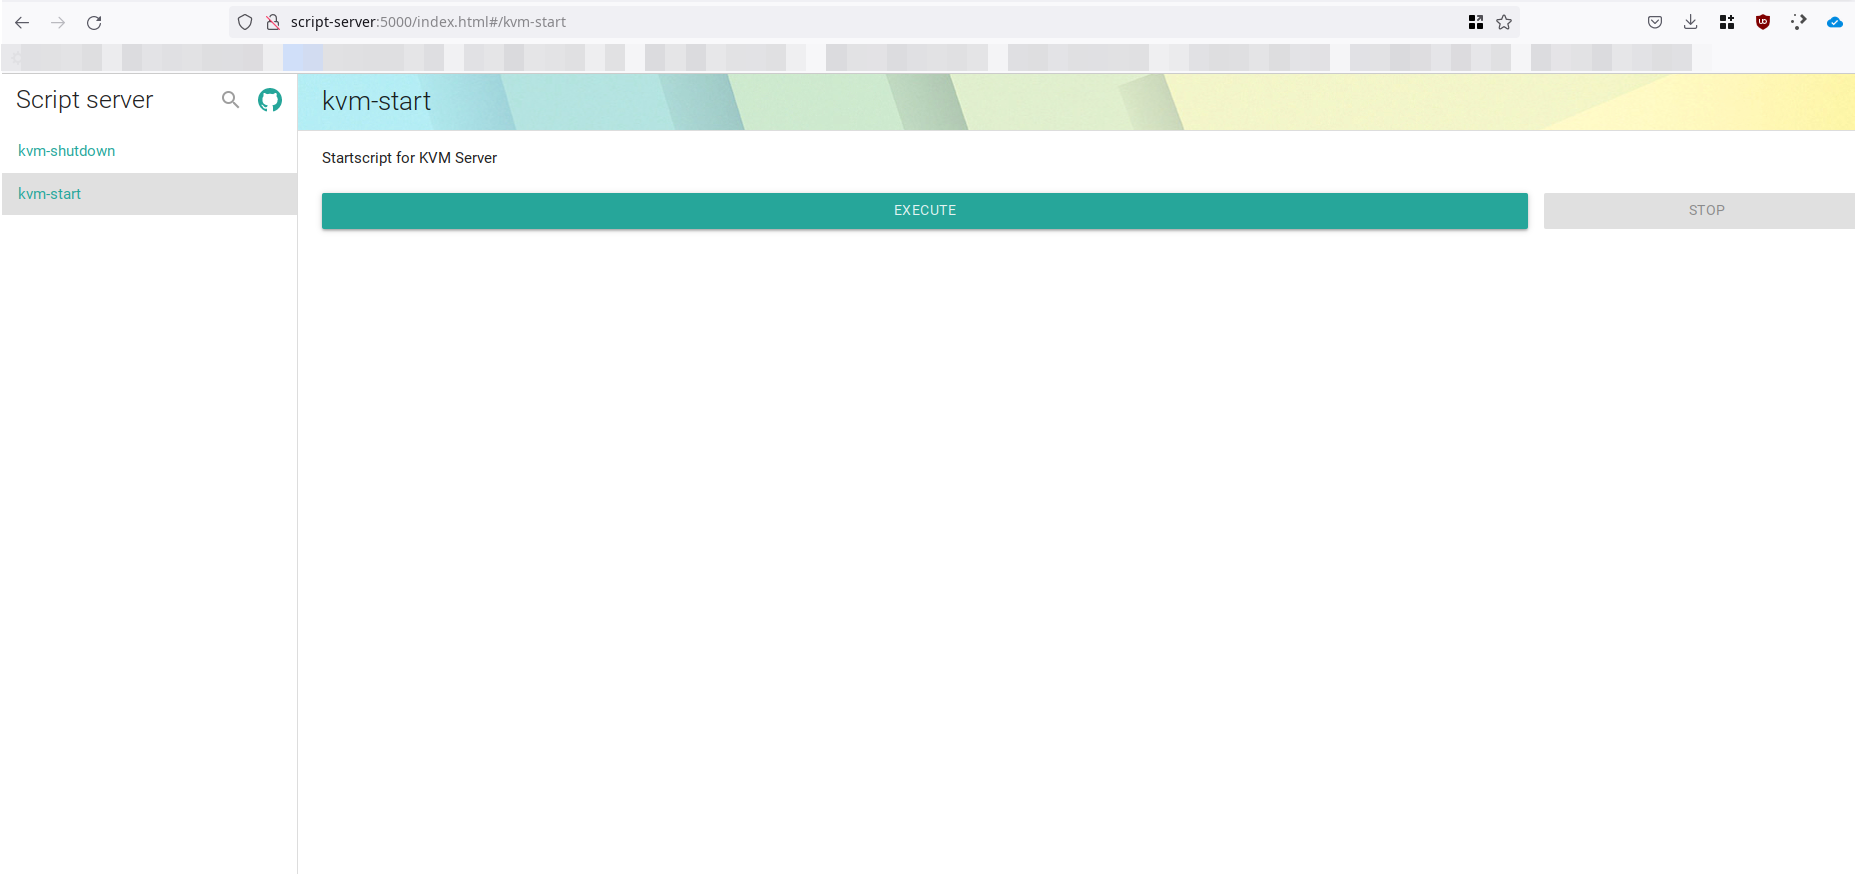
I have been using the server like this for a few months now and it is sufficient for my use case. But there is actually more we can do. There is an administrative WebUI and we can add authentication.
Adding authentication and Admin WebUI Access
There are a few supported types we can use for authentication. I will be showing the (probably) easiest one, using a htpasswd file.
We will start by installing the “httpd-tools” package. This will allow us to create the .htpasswd file.
server :: ~ » sudo dnf install httpd-tools
Ok, now create the htpasswd file. I will do this inside the /opt/script-server/conf/ folder.
server :: ~ » cd /opt/script-server/conf
server :: conf » sudo htpasswd -c .htpasswd admin
New password:
Re-type new password:
Adding password for user admin
Now that’s done, we need to inform the server that this file exists and that we want to use authentication. For this, we create a conf.json file within the “conf” folder.
server :: conf » sudo vim conf.json
This tells the server to allow access to the admin UI from the trusted network (default is localhost only) and also adds the authentication. Keep in mind that we have not configured SSL for the encryption.
Once you restart the server, you should be able to access the admin UI with the following URL.
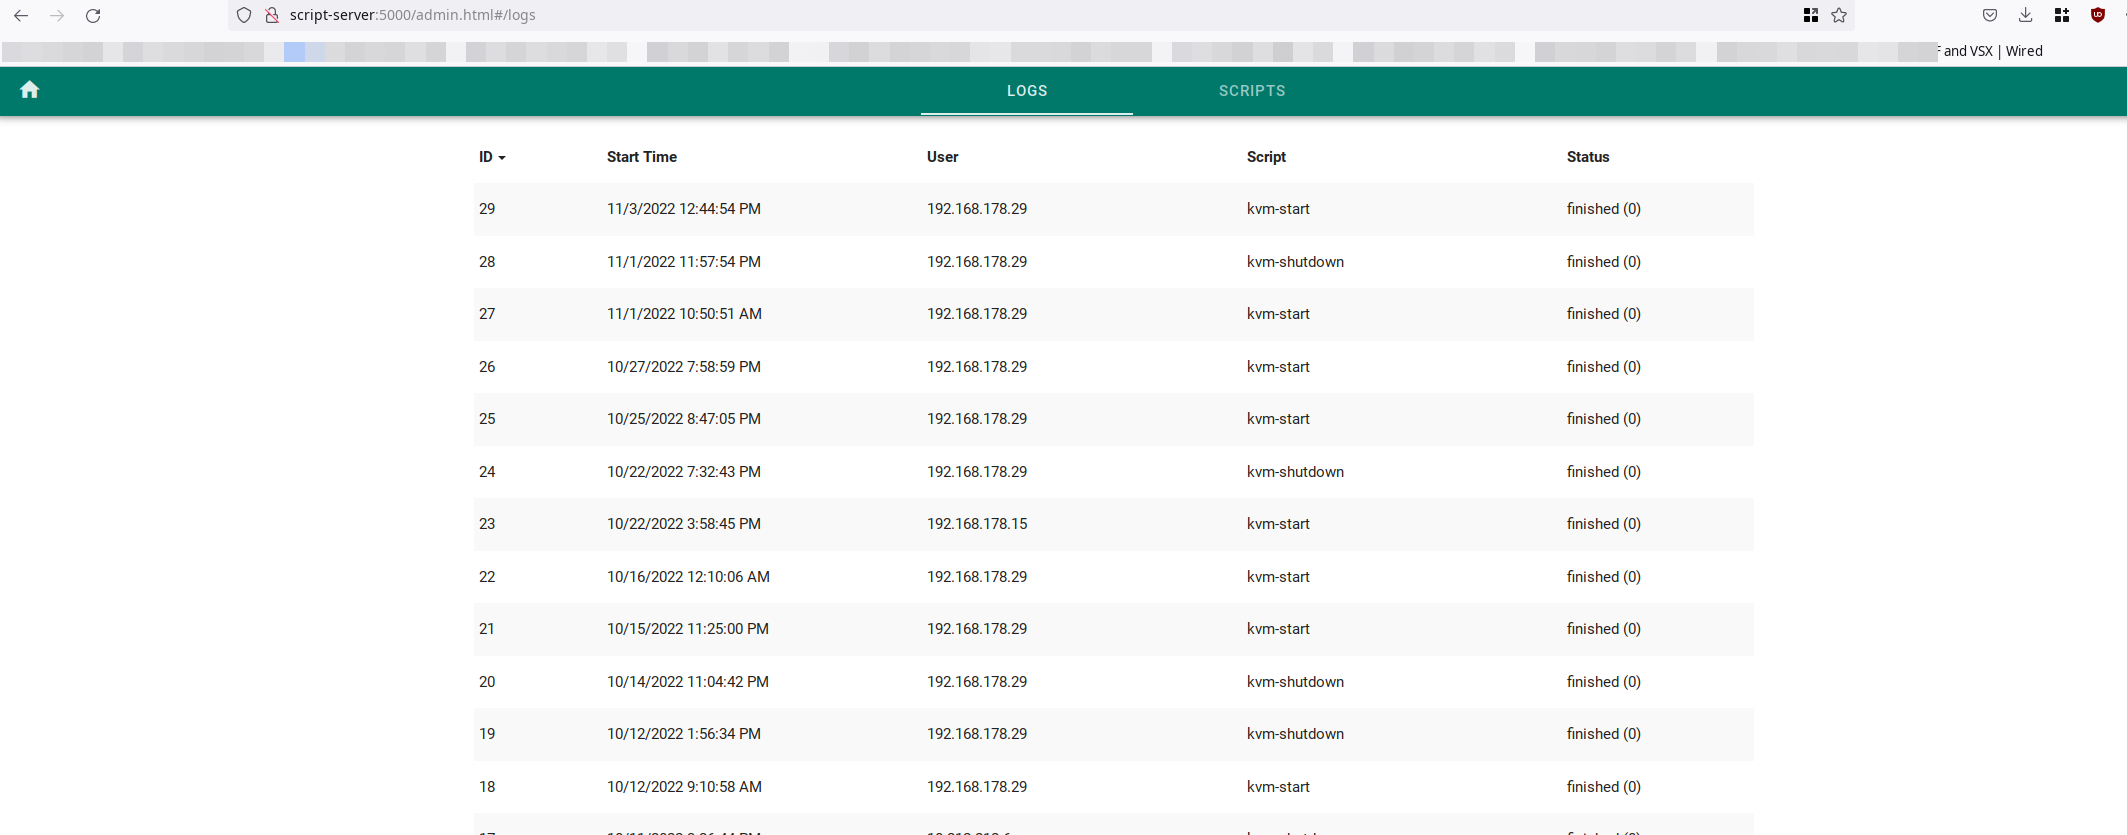
https://script-server:5000/admin.html
server :: ~ » sudo systemctl restart script-server.service
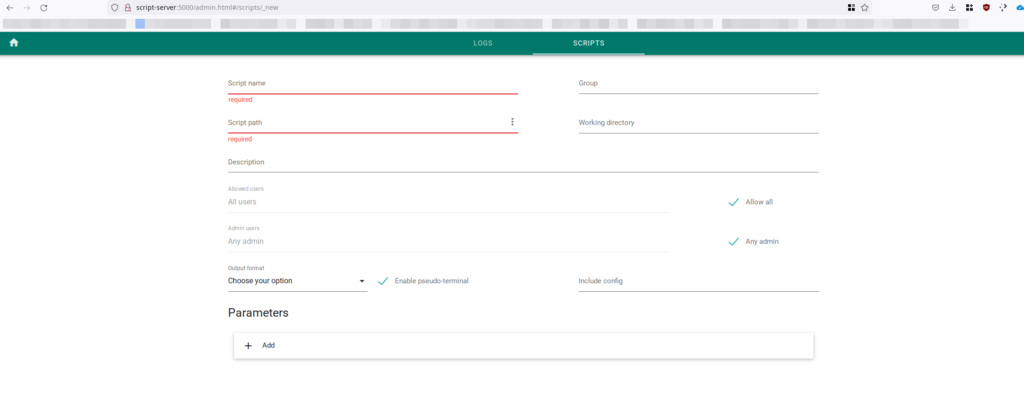
The admin UI allows you to add/create scripts from the web interface and check execution logs. I never used it before, but it looks like a nice feature.
That’s it. The script-server is up and running.
Till next time.