Hello there,
This will be a rather short one today, since the setup is very straightforward. But, this way I won’t forget the name again, and maybe it helps someone.
So let’s begin.
Uptime-Kuma deployment
For this, I will be using an already existing VM with Rocky Linux 8.7. If you want to see how to install docker on Rocky Linux, you can check this post.
Docker container deployment
There is a one-liner on the uptime-kuma github page for a docker deployment. But I want to use Ansible to deploy the container, to make it easily reproducible.
Here is the CLI way of deploying it and how to open port 3001/TCP on the host.
uptime-kuma :: ~ » sudo docker run -d --restart=always -p 3001:3001 -v /home/uptime-kuma/uptime-kuma:/app/data --name uptime-kuma louislam/uptime-kuma:1
uptime-kuma :: ~ » sudo firwall-cmd --add-port 3001/tcp --permanent
uptime-kuma :: ~ » sudo firwall-cmd --add-port 3001/tcp
Here is the playbook. I usually use roles, but this should also work.
This will create a folder named “uptime-kuma” under /home/uptime-kuma/ and map it to the /app/data folder within the uptime-kuma container, map the host port 3001 to the docker container and pull the uptime-kuma container.
Below that is a state that opens port 3001 on the host.
Uptime-Kuma configuration
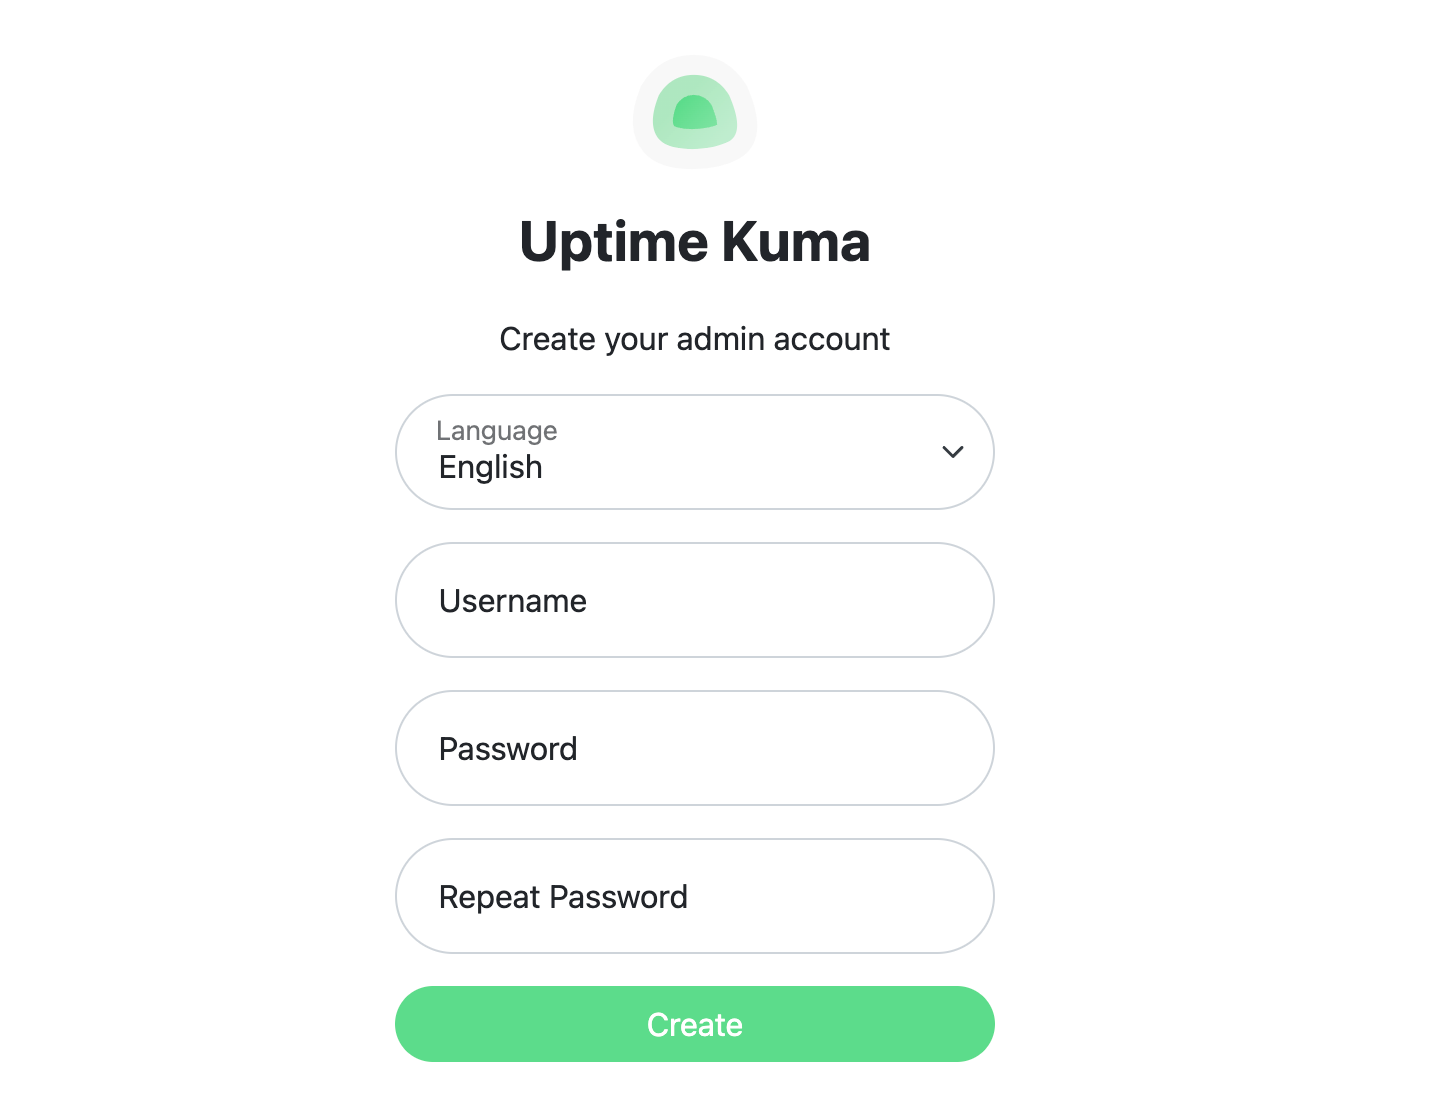
After that, we can navigate to the web interface http://uptime-kuma.example.com:3001 and create a new user.
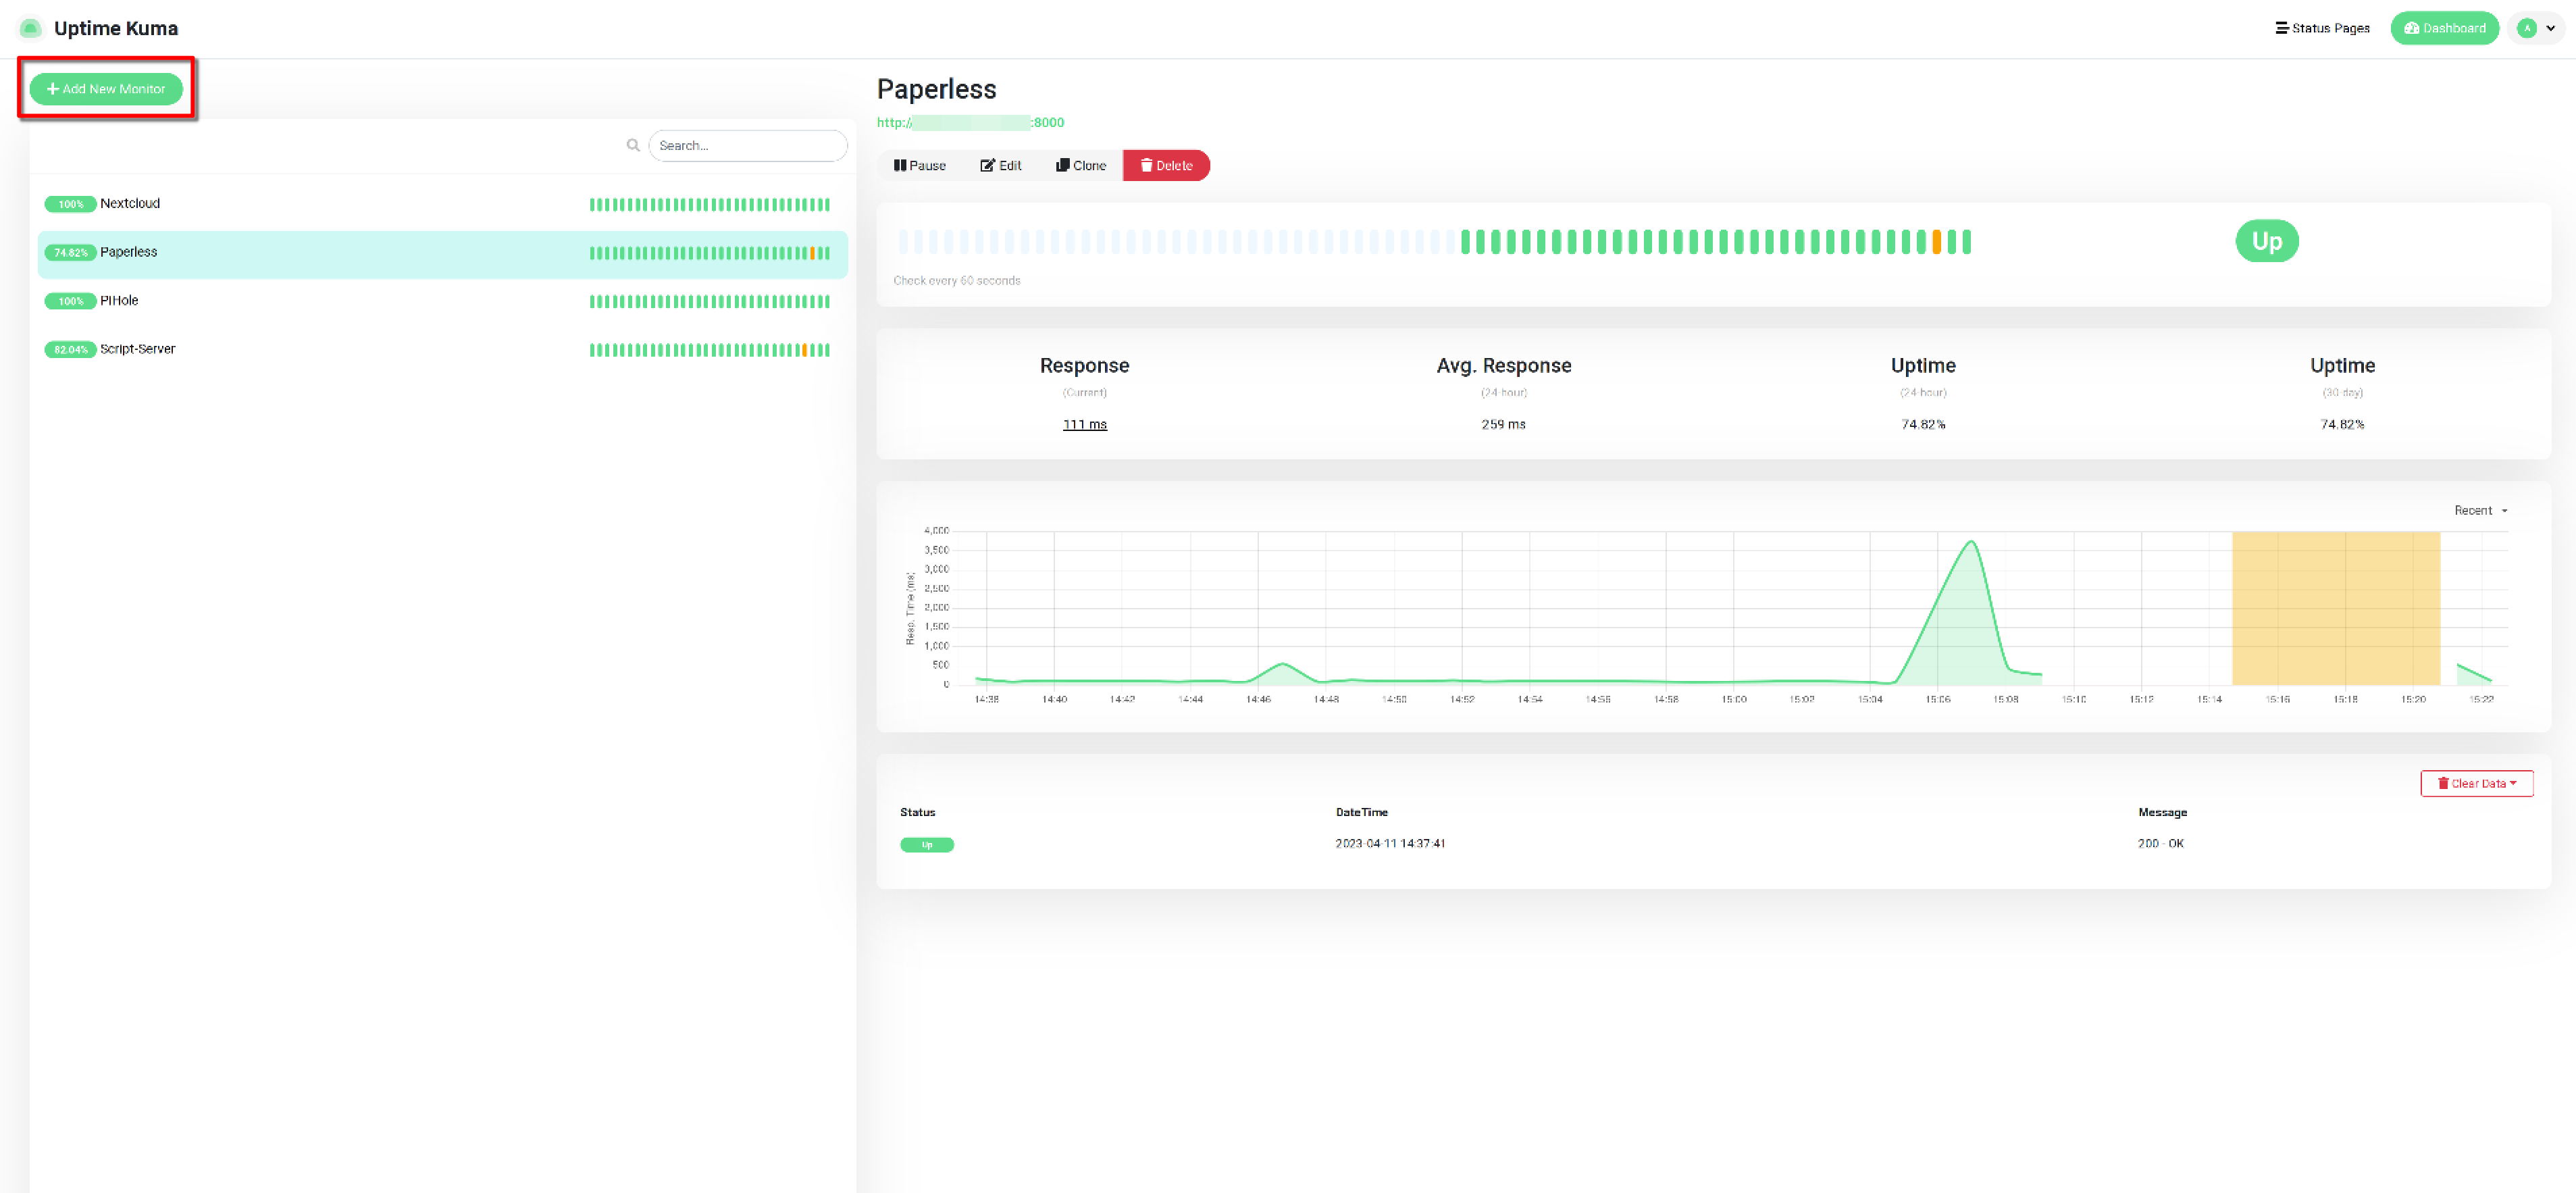
Once logged in we are on the overview page. Here, we can add a new service, by selecting the “Add new Monitor” on the top left.
I will choose “HTTP(s)” for this demonstration, but there are a lot of options, like “docker container” which is kinda cool.
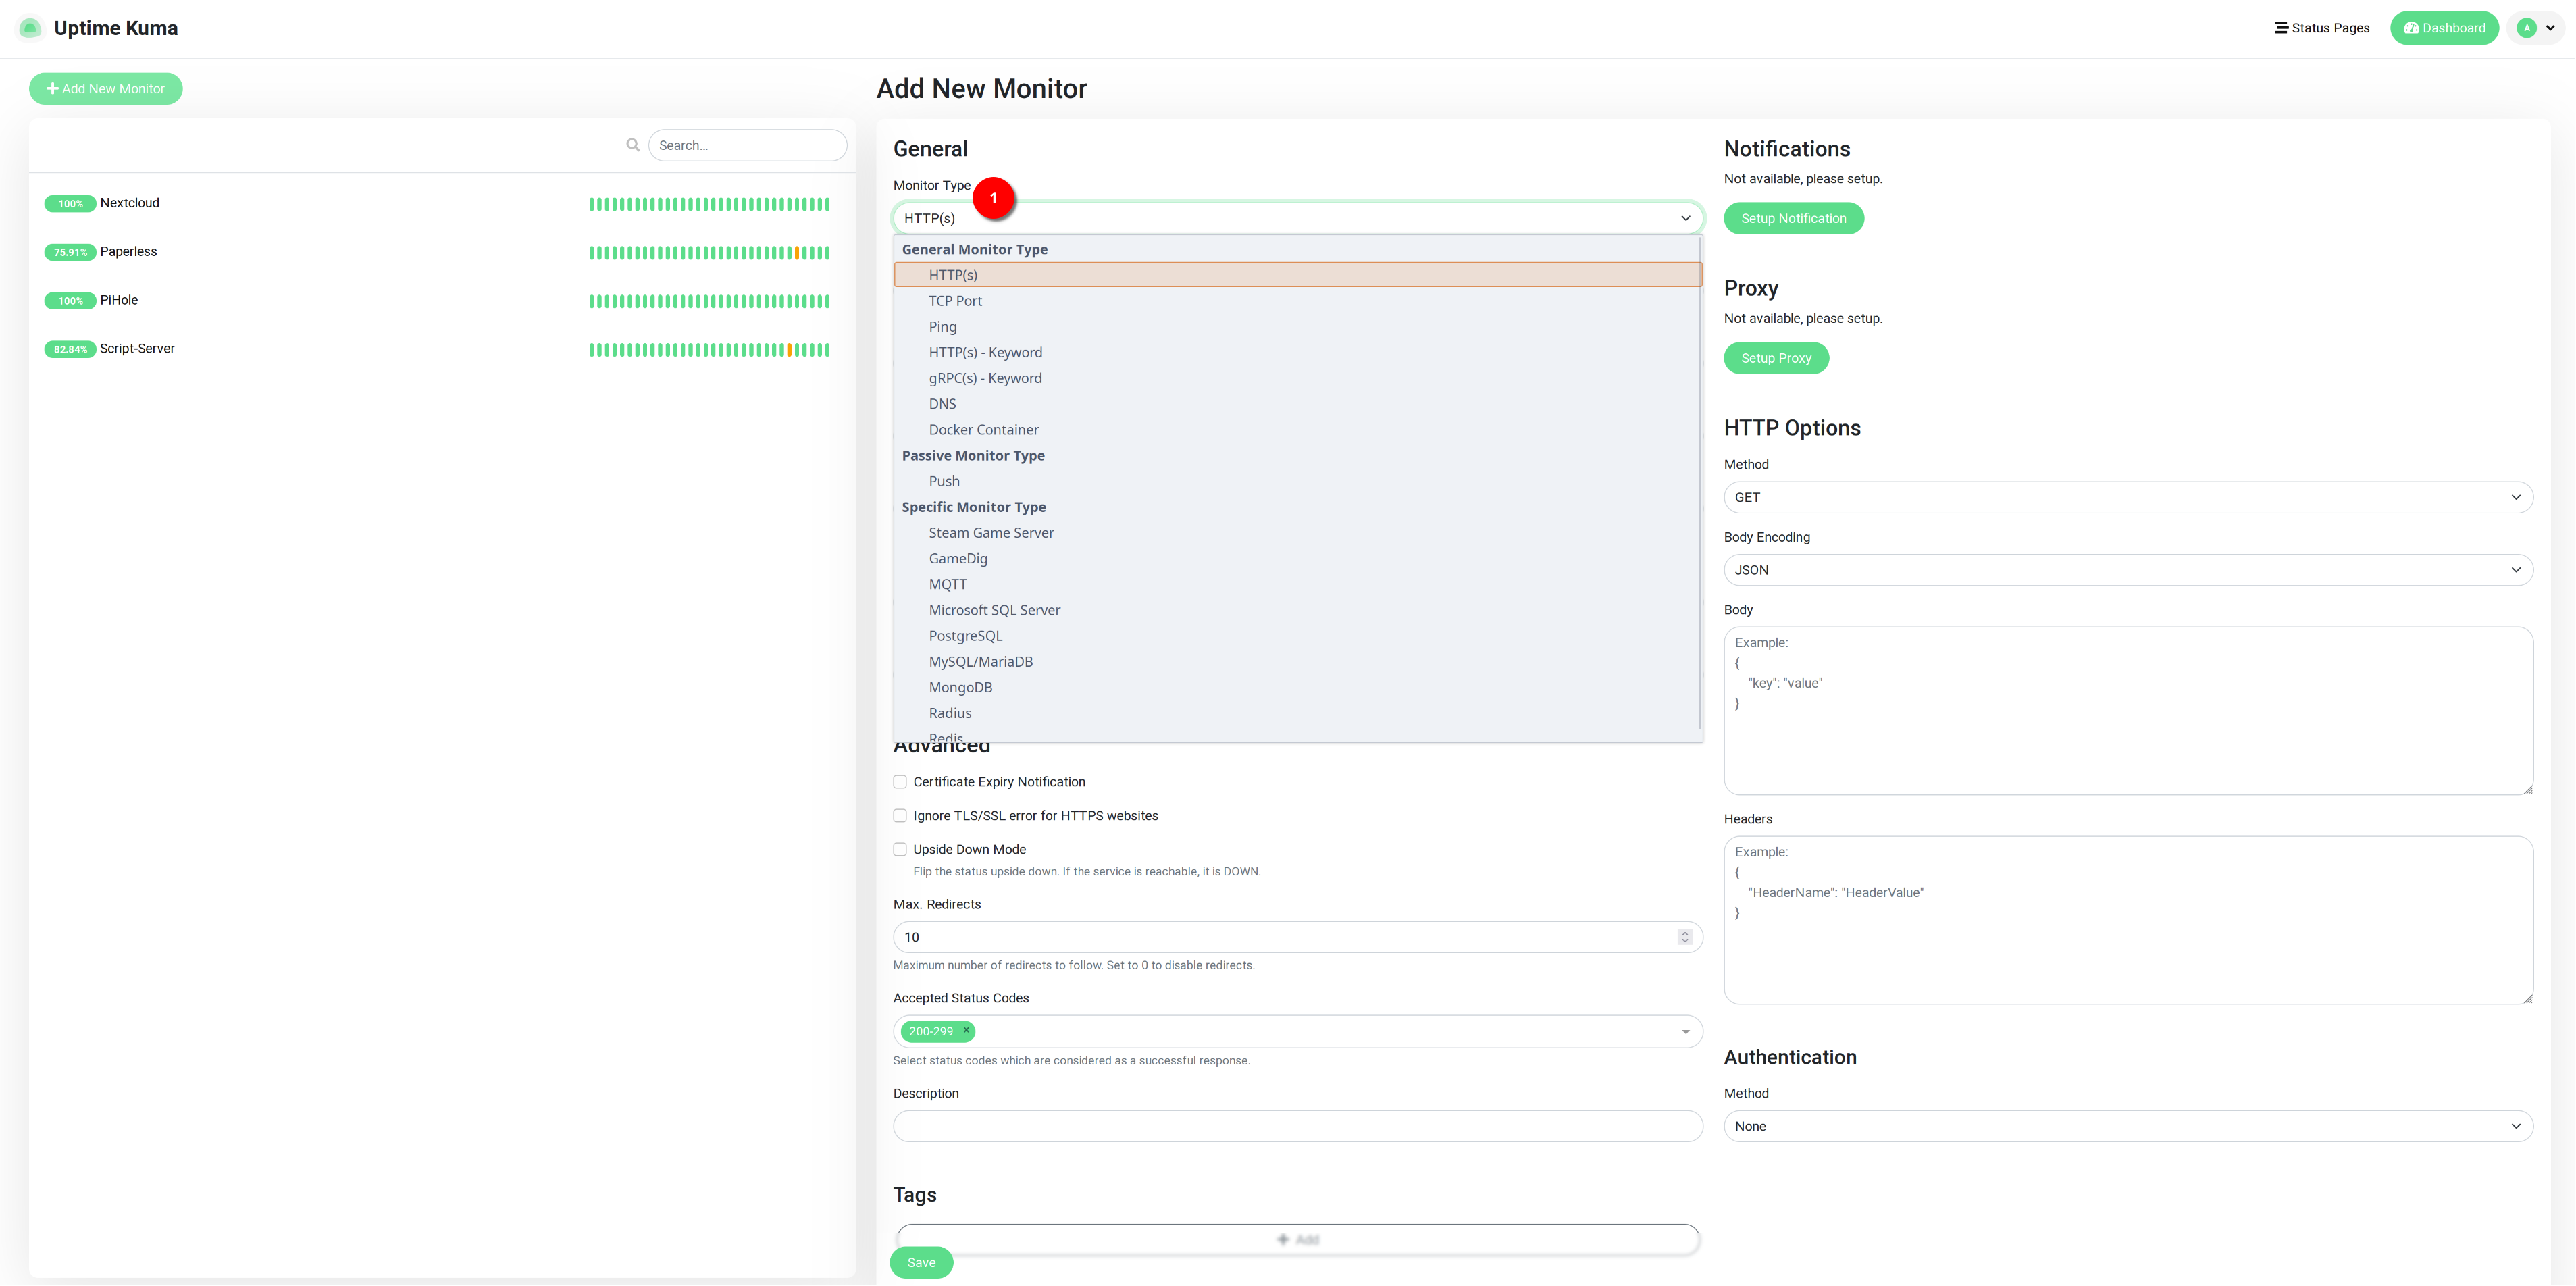
Give it a nice name and enter the URL you want to monitor. Next, click on save and the monitoring should begin.
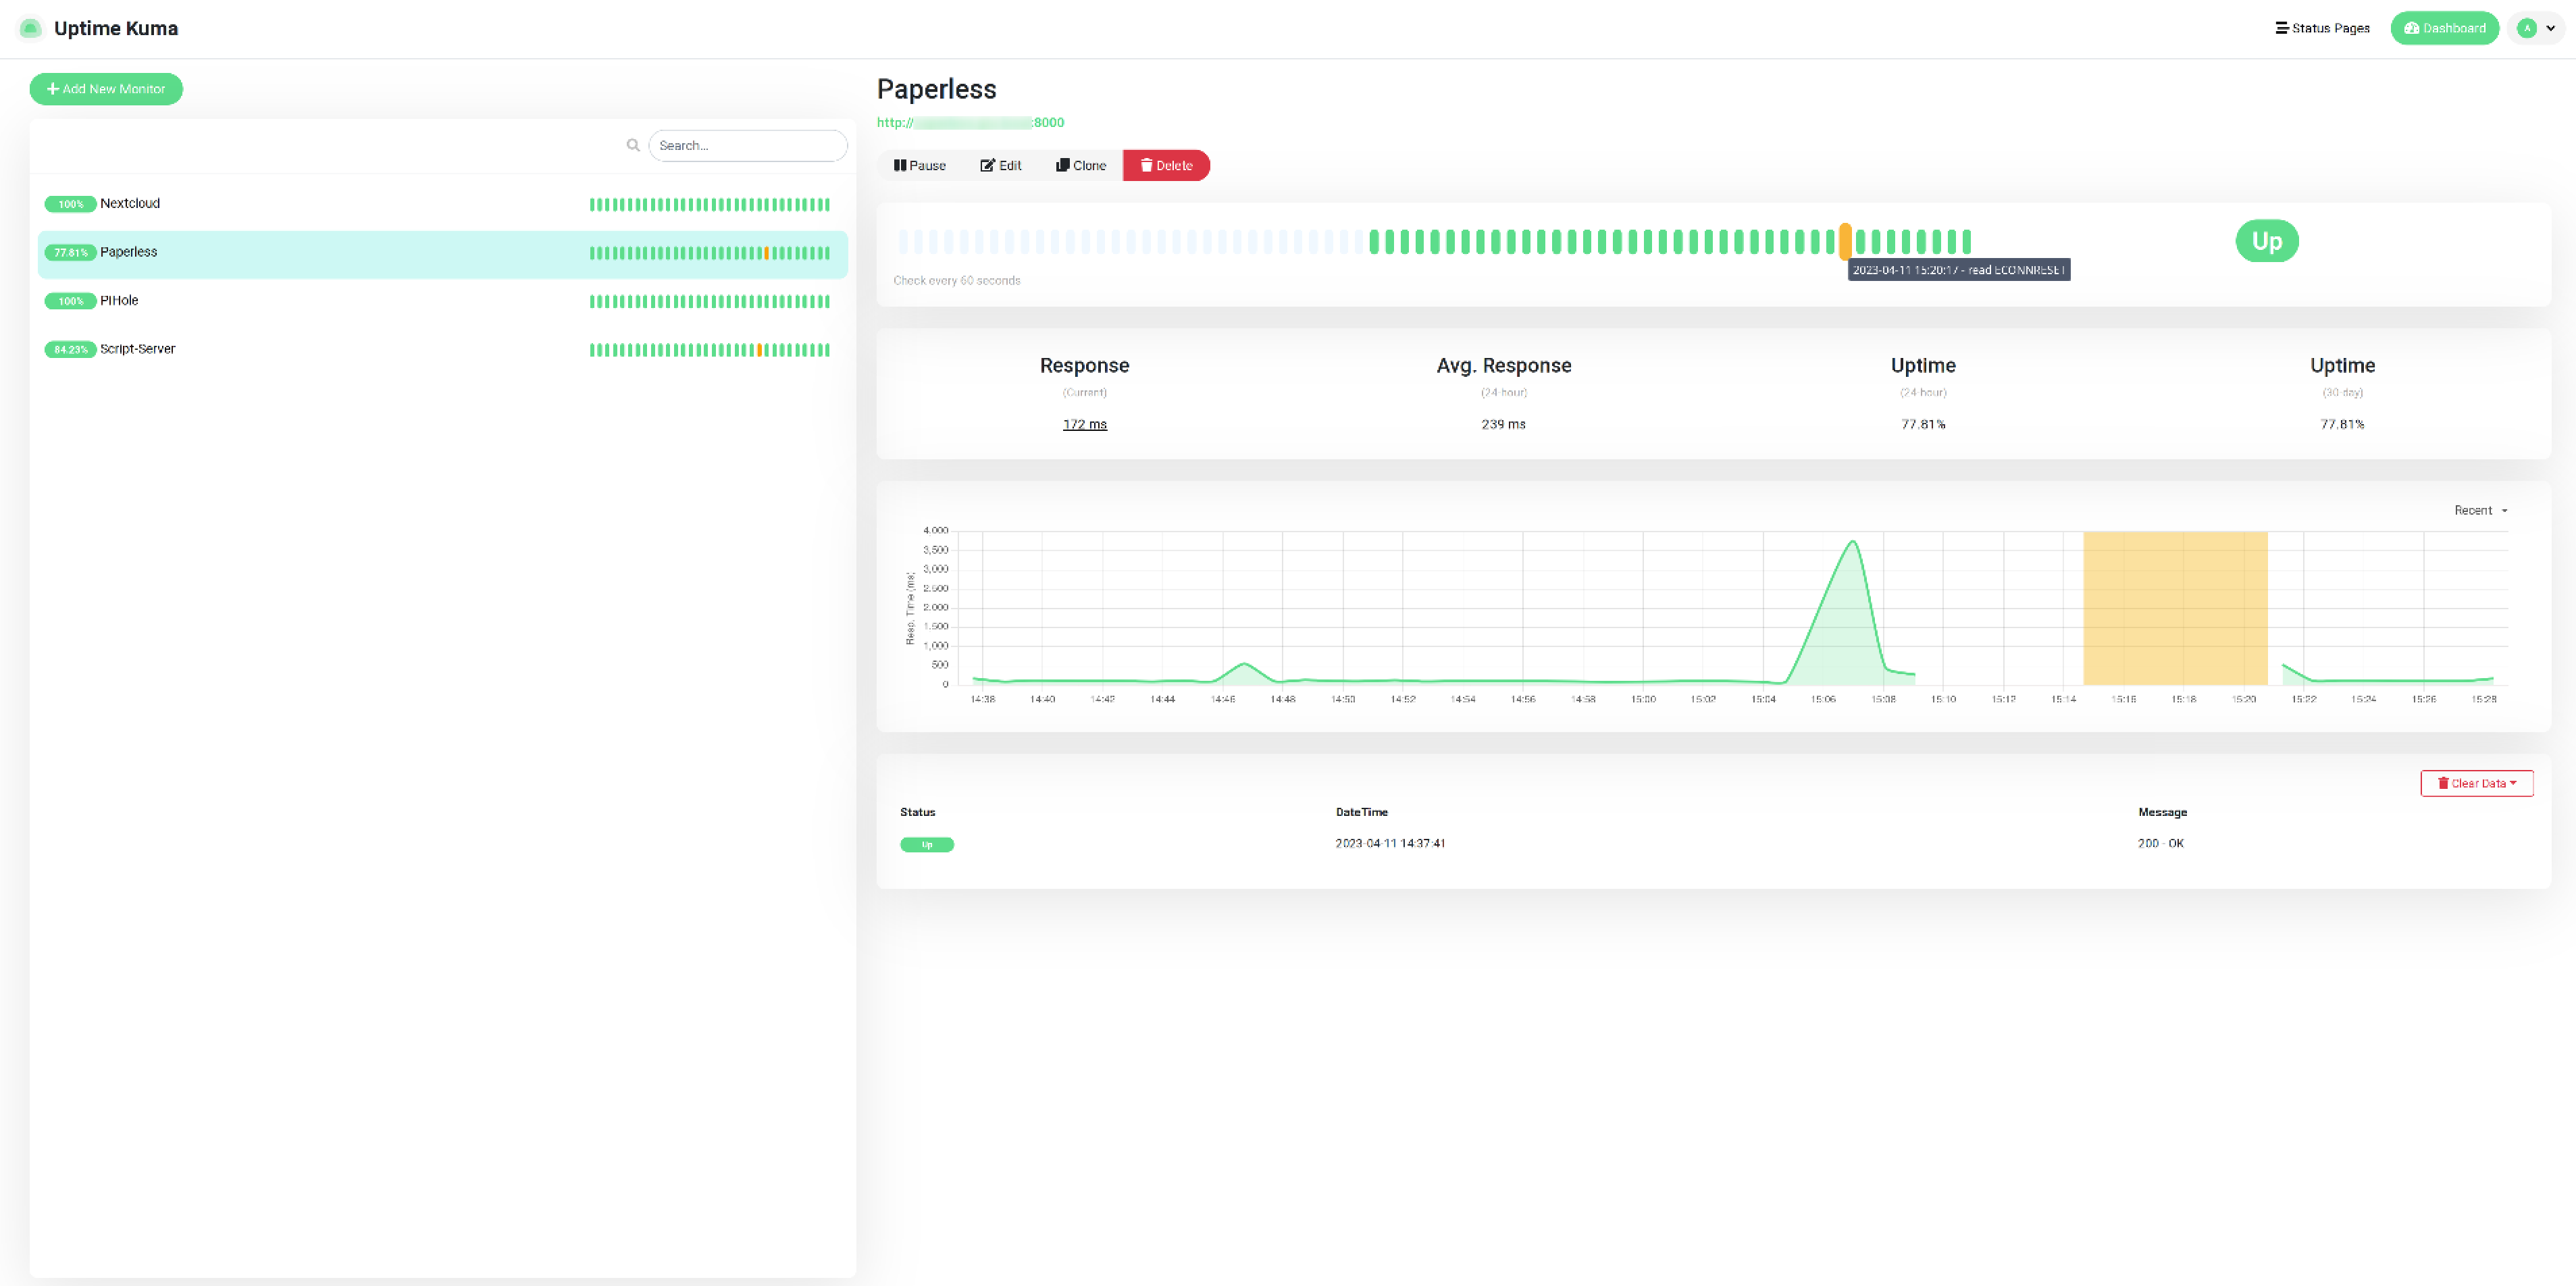
On the left, you can see the currently monitored services. By selecting a service, you can get a bit more details.
Here is a screenshot of a “Paperless” server.
Uptime-Kuma Notification
To set up notifications, select “Settings” in the top right corner.
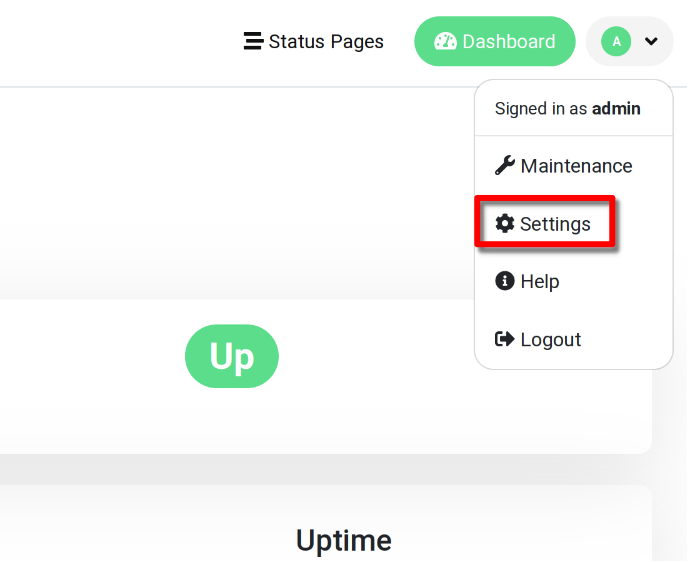
Select “Notifications” and “Setup Notifications”.
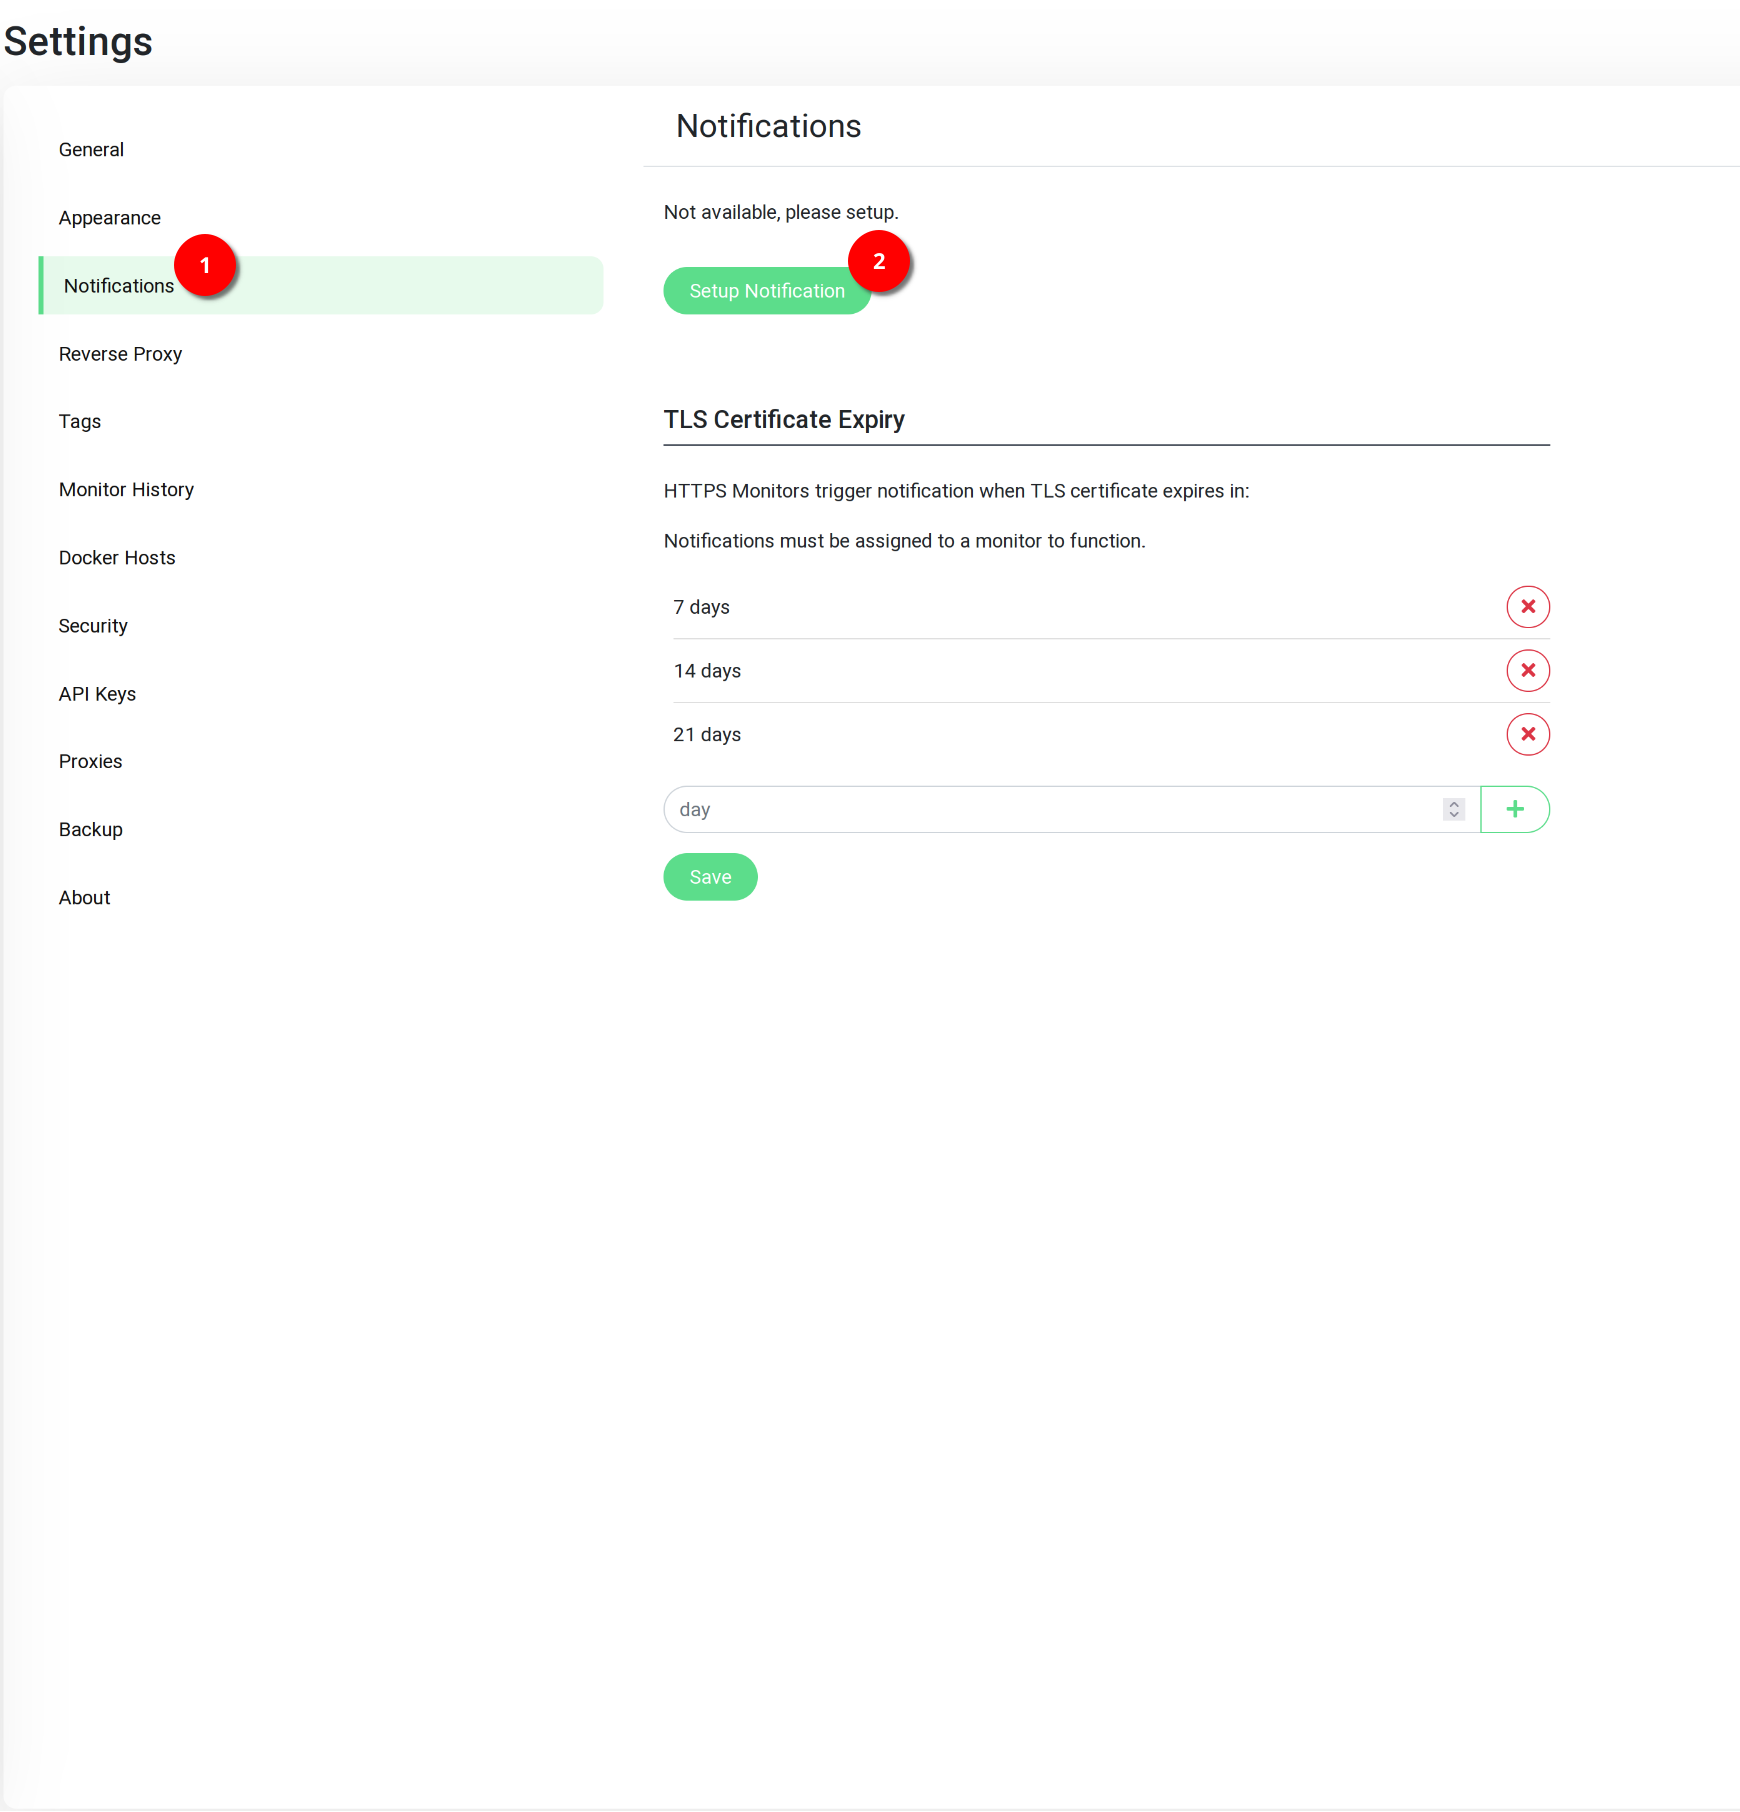
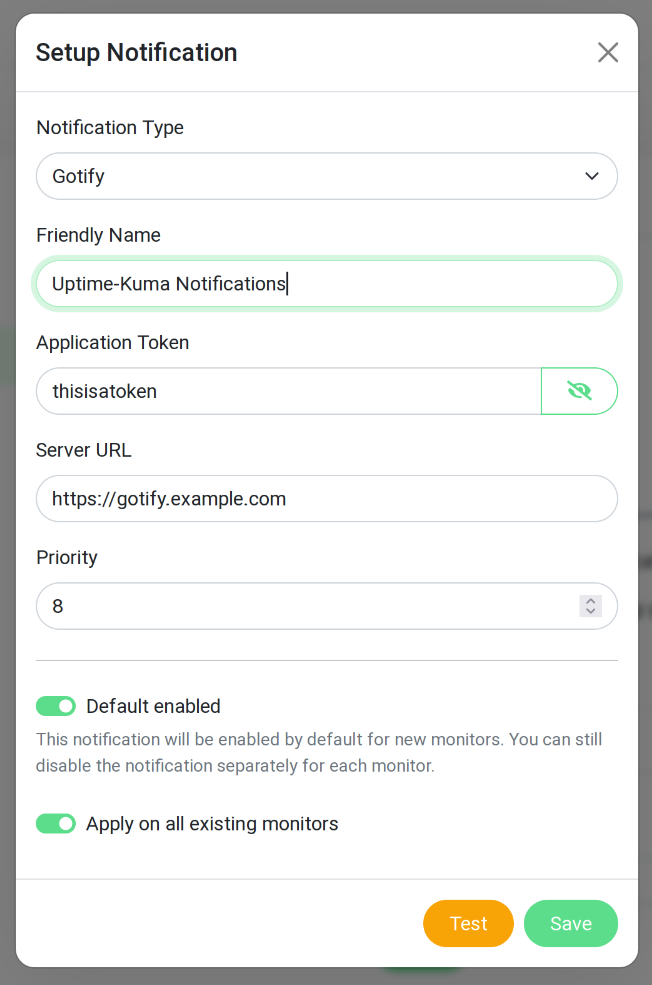
Here you have a huge list of possible services. I will choose “Gotify” and fill in the required fields.
That is it for the basic setup. It is a really nice and easy-to-configure application. And since it does not take too many resources, it’s great for a home lab.
Till next time.