Hey there.
We have a customer who still uses “Sophos Enterprise Console”, an on-premise server for the Endpoint Protection application Sophos provides.
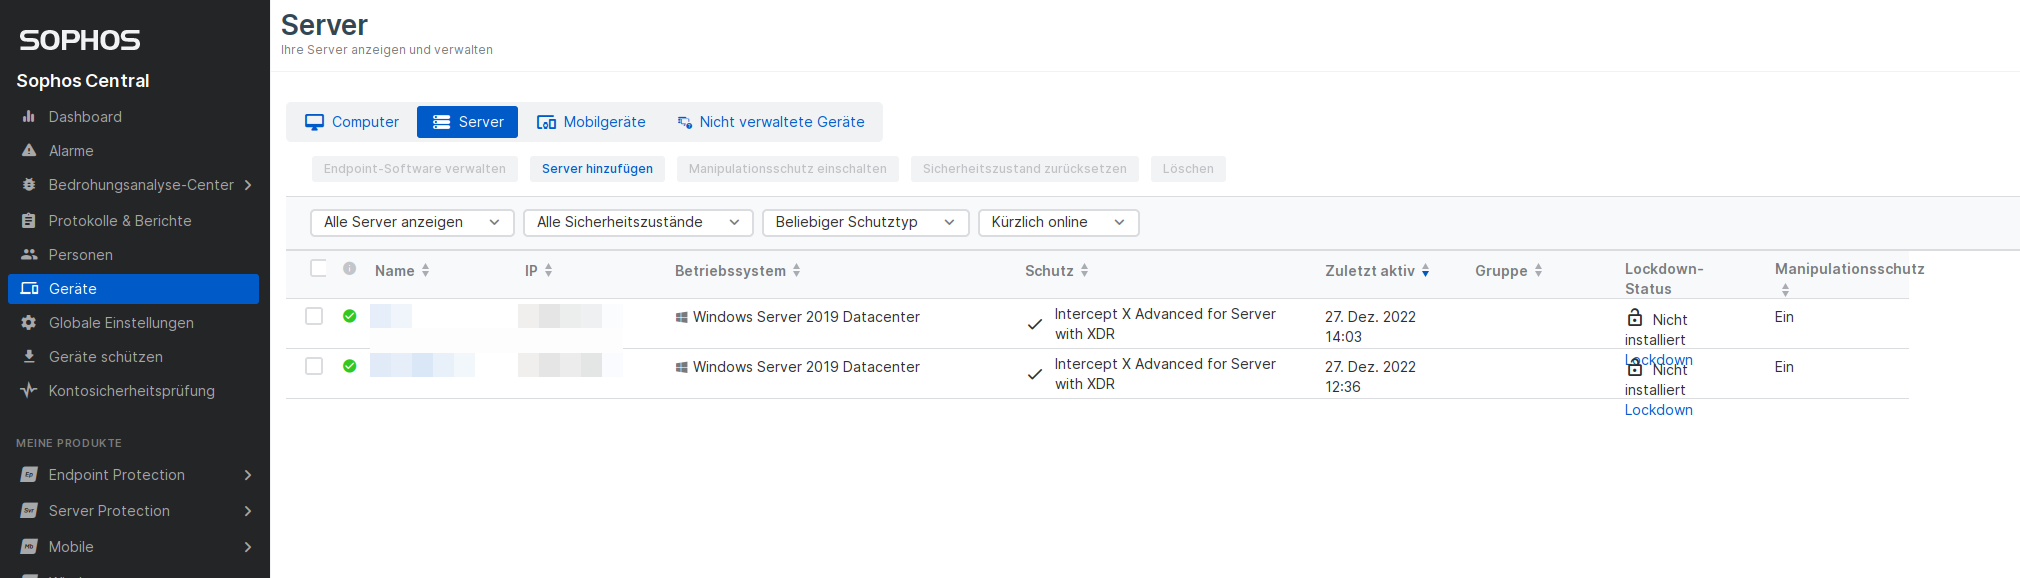
Since it goes EOL at the end of July 2023, we have to migrate the customer to a new Endpoint Protection solution. We talked to the customer, and he was quite happy with Sophos. So we decided to stay with them and migrate to “Sophos Intercept X with EDR” and “Sophos Intercept X for Server with EDR”. These are managed through “Sophos Central” a cloud portal. No on-prem solution anymore. Oh, well.
Now, one way to switch over, would be to uninstall the old Sophos Endpoint application and install the new one manually on every client, but that’s tedious and Sophos provides the “SEC Migration Tool” for exactly this scenario.
I didn’t find any clear guide for this, so I want to show you how you get this up and running. There is documentation from Sophos, didn’t like it, though.
It’s not too difficult, but still.
They also have a video on this here, which I saw after installing and testing the software. This one is quite good.
Let’s begin.
Installation of the SEC Migration Tool
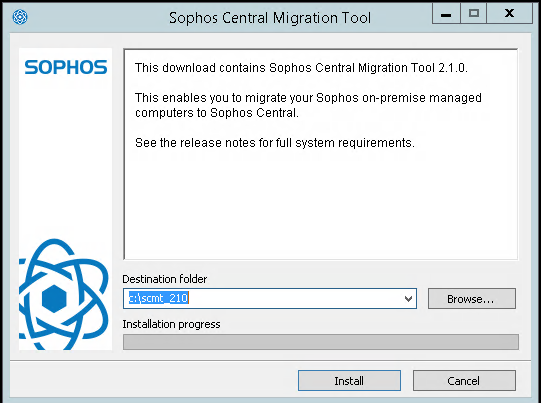
First we have to download the application. You can get it from the video link above or just click on this.
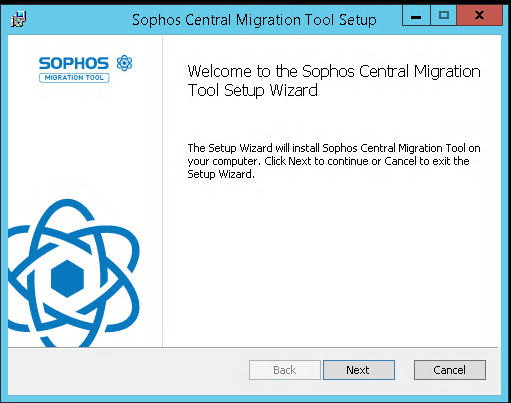
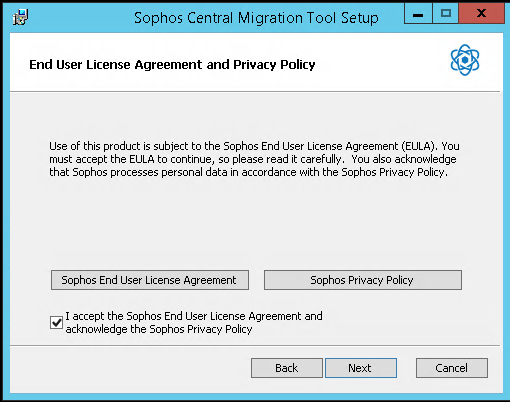
The installation process is straight forward. Execute the exe file and choose a destination folder for the installation.
In the next few windows, we just click on “Next” a few times.
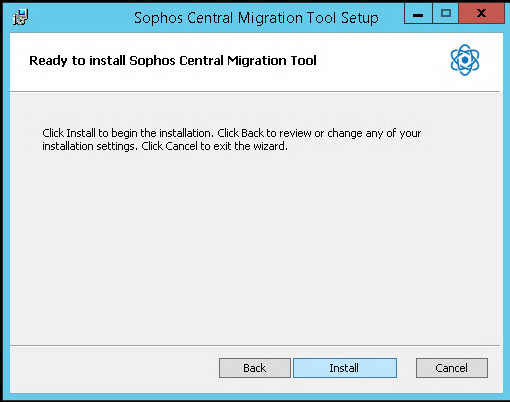
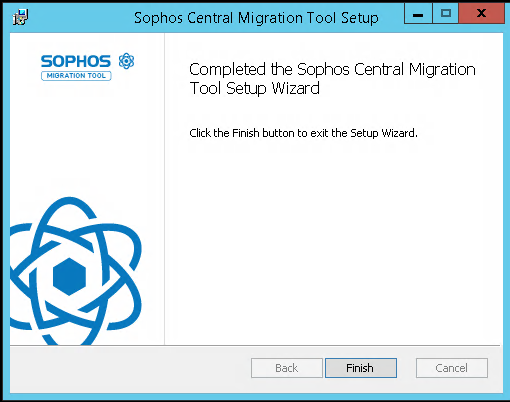
Once done, we should have a “Sophos Central Migration Tool” icon on the desktop.
Setting up the Central connection
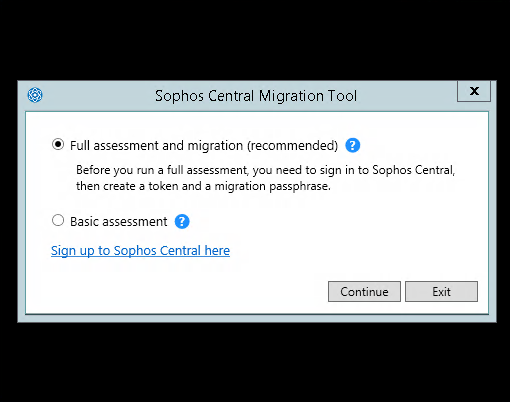
After starting, we get a choice between the “Full assessment and migration (recommended)” and “Basic assessment”. I chose the full assessment option.
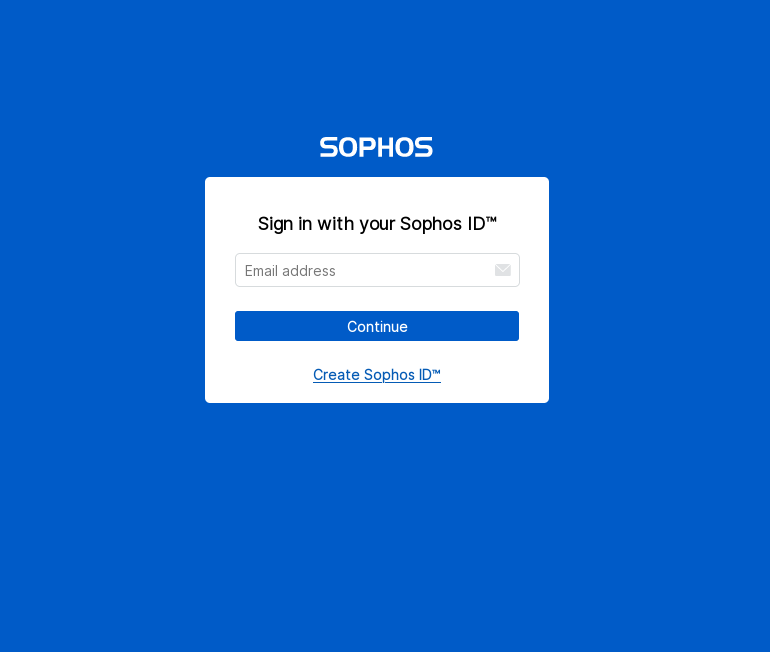
At this point, we have to log in to our Sophos Central account. Click on “click here to go to Sophos Central”.
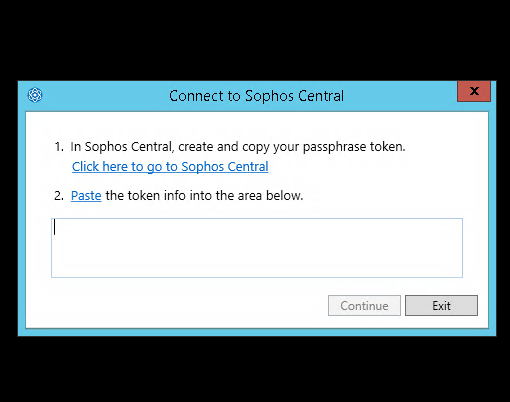
Once in, we get redirected and asked to create a Passphrase-Token. I didn’t find a way to manually create one.
It’s very important to create a complex password, but making it too complex kept causing an error. I struggled to find out why I couldn’t create a token for about 15 min.
I choose a very long passphrase with a couple of symbols and numbers. Give it a nice name like “Migration-Token” and select save.

Copy the “Token-info” and paste it into the window of the migration tool.
Client Migration
Once that’s done, we should have a new window with all the clients that are currently managed by “Sophos Enterprise Console”.
On the left, we have the client name and domain it is currently in (1). Next to it is the status of that specific client (2). If it’s “ready” it means we can migrate it. If not, we can check the reason for it in the pane to the right (3).
To migrate a client, choose one that’s ready and click on “Select” at the bottom (4).
At the top, you can filter the clients depending on their status.
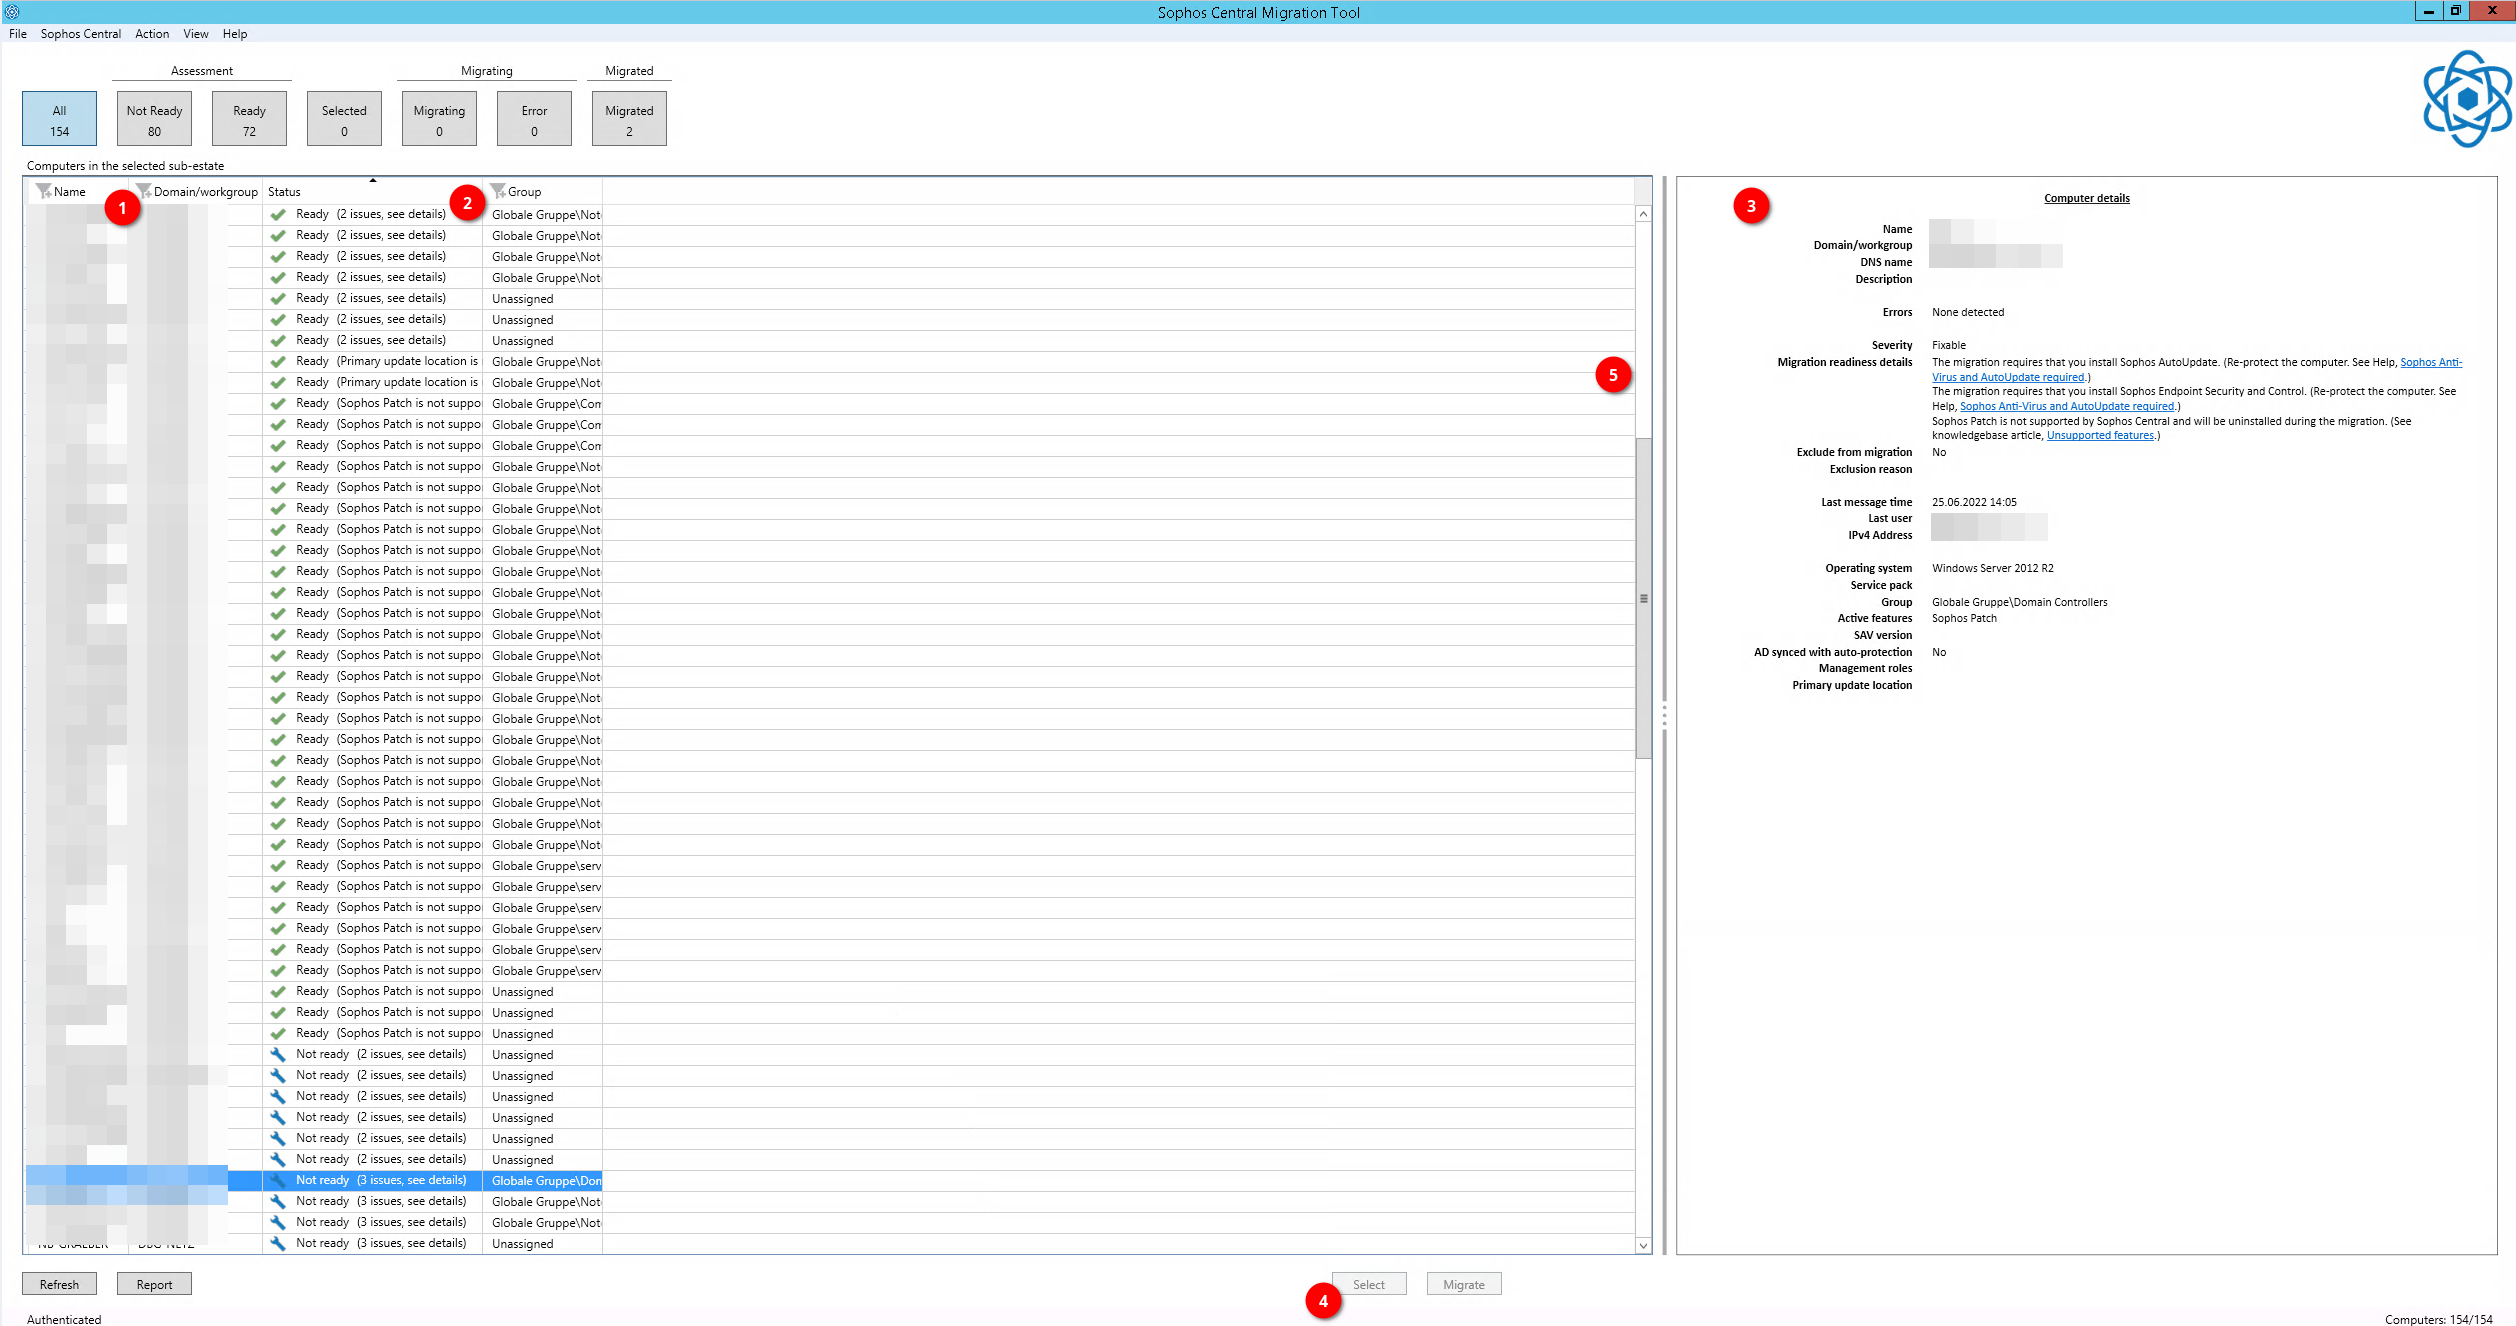
Once selected, you can migrate one or more clients through the “Migrate” button at the bottom.
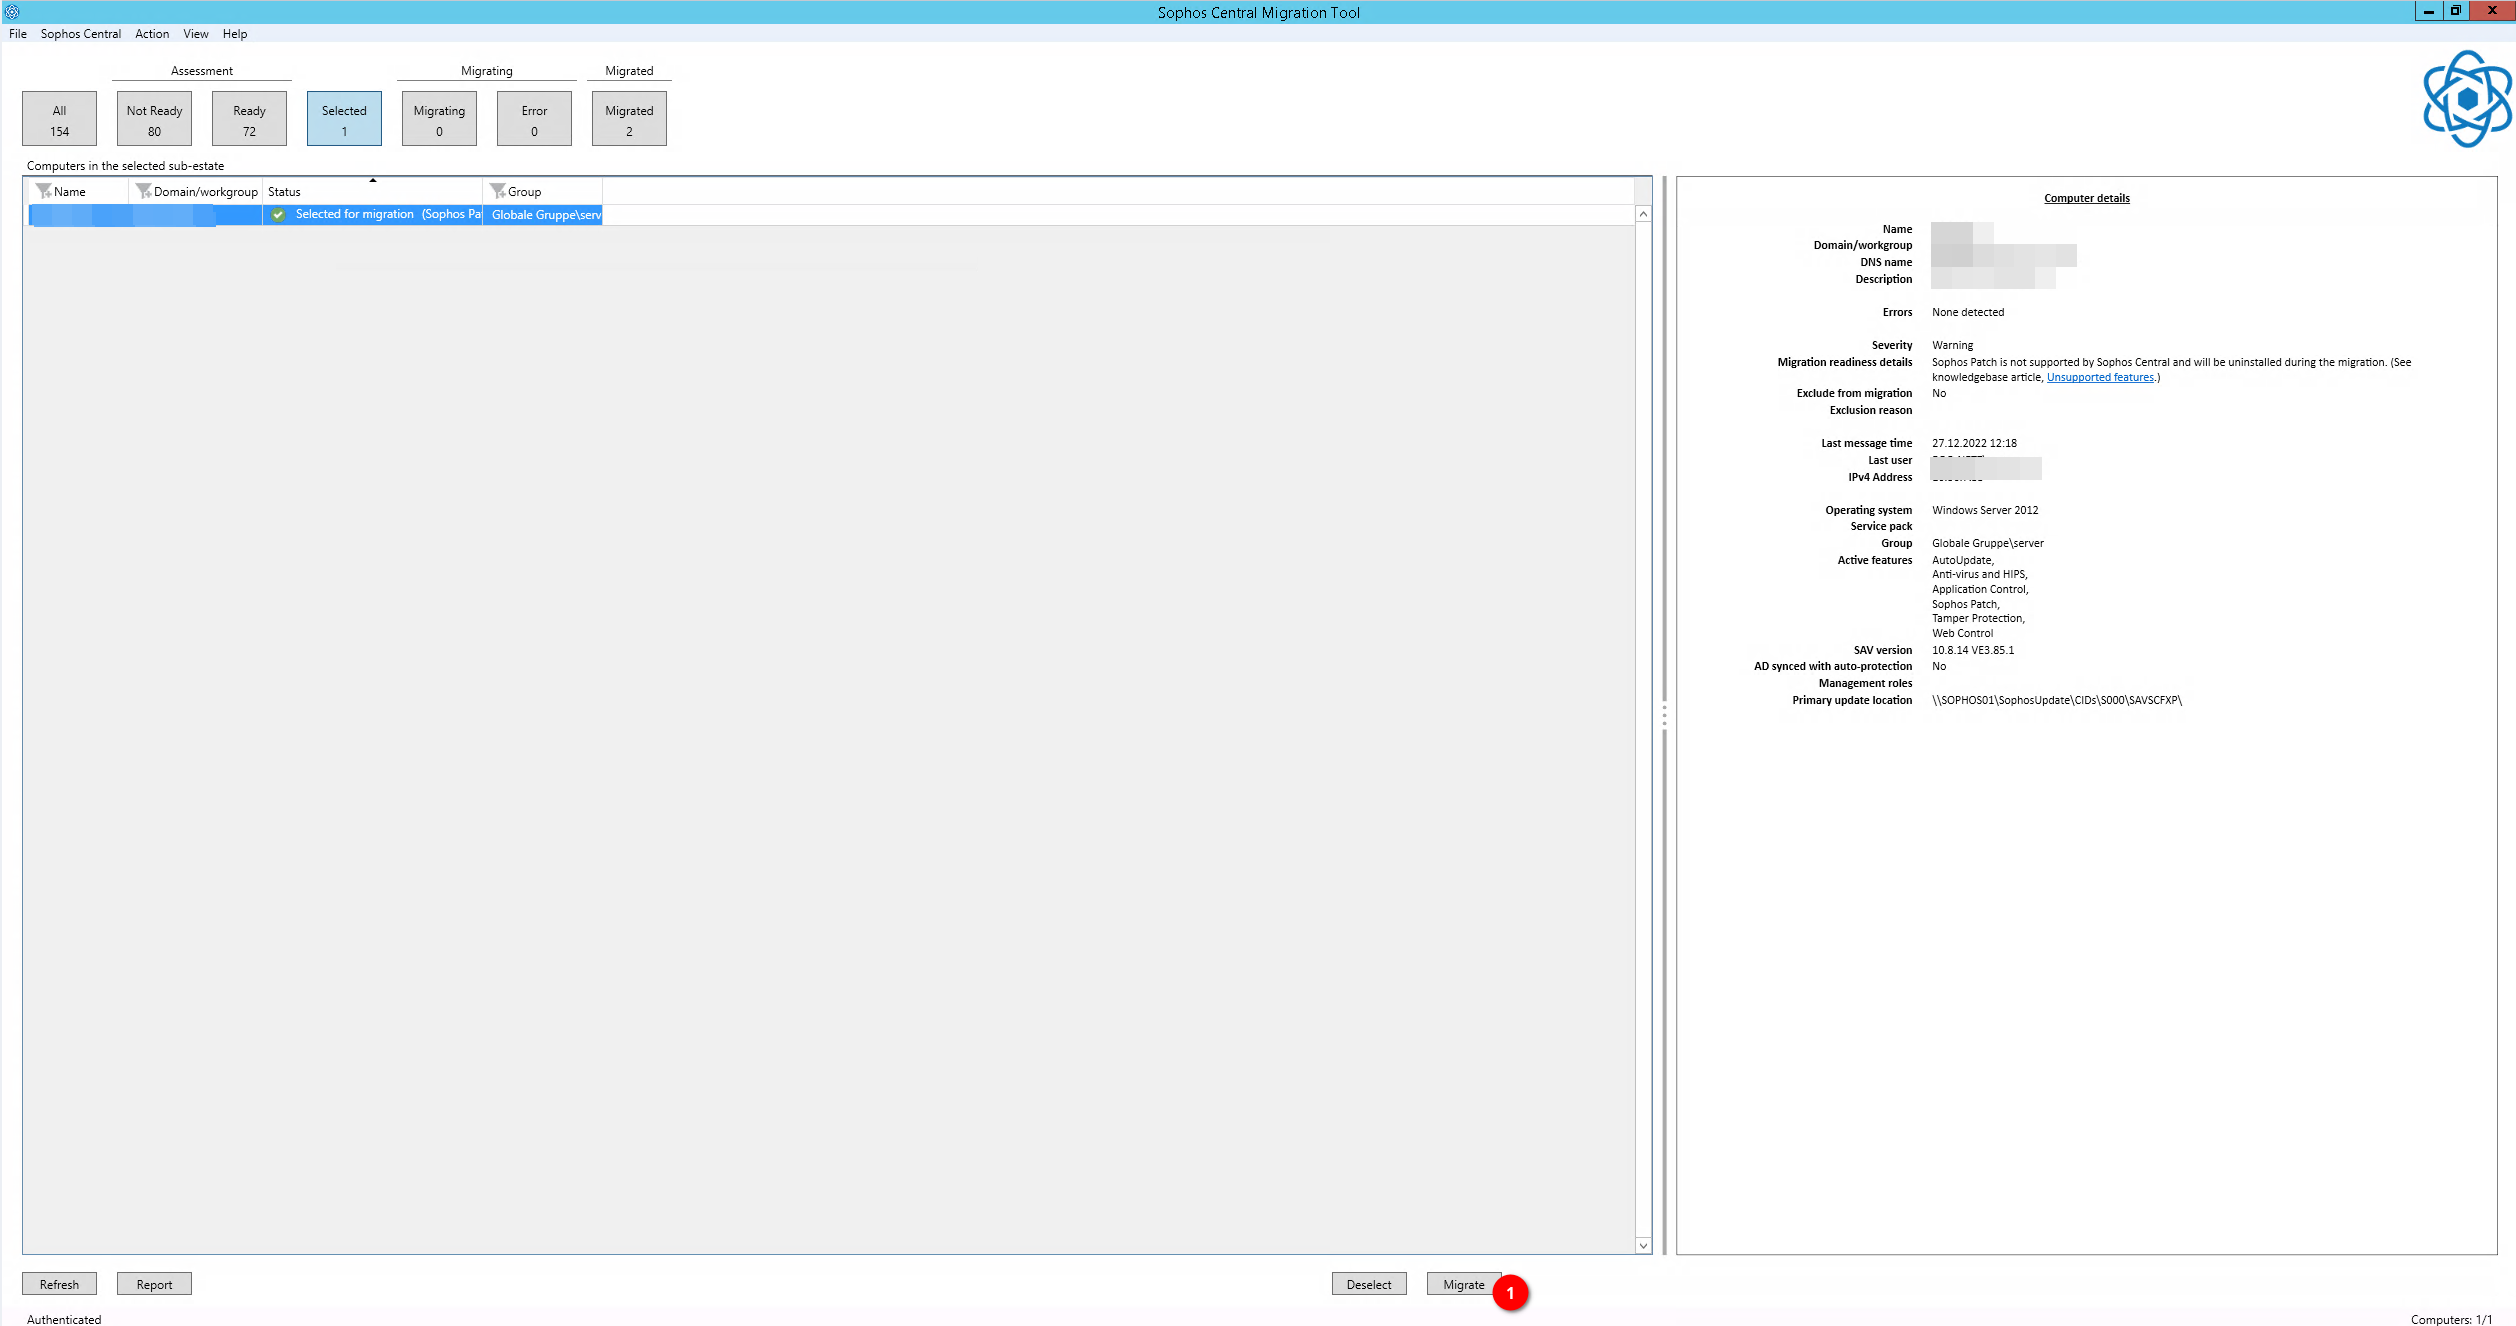
The server will start the migration process and if everything works, you will get a “migrated” status for those clients.
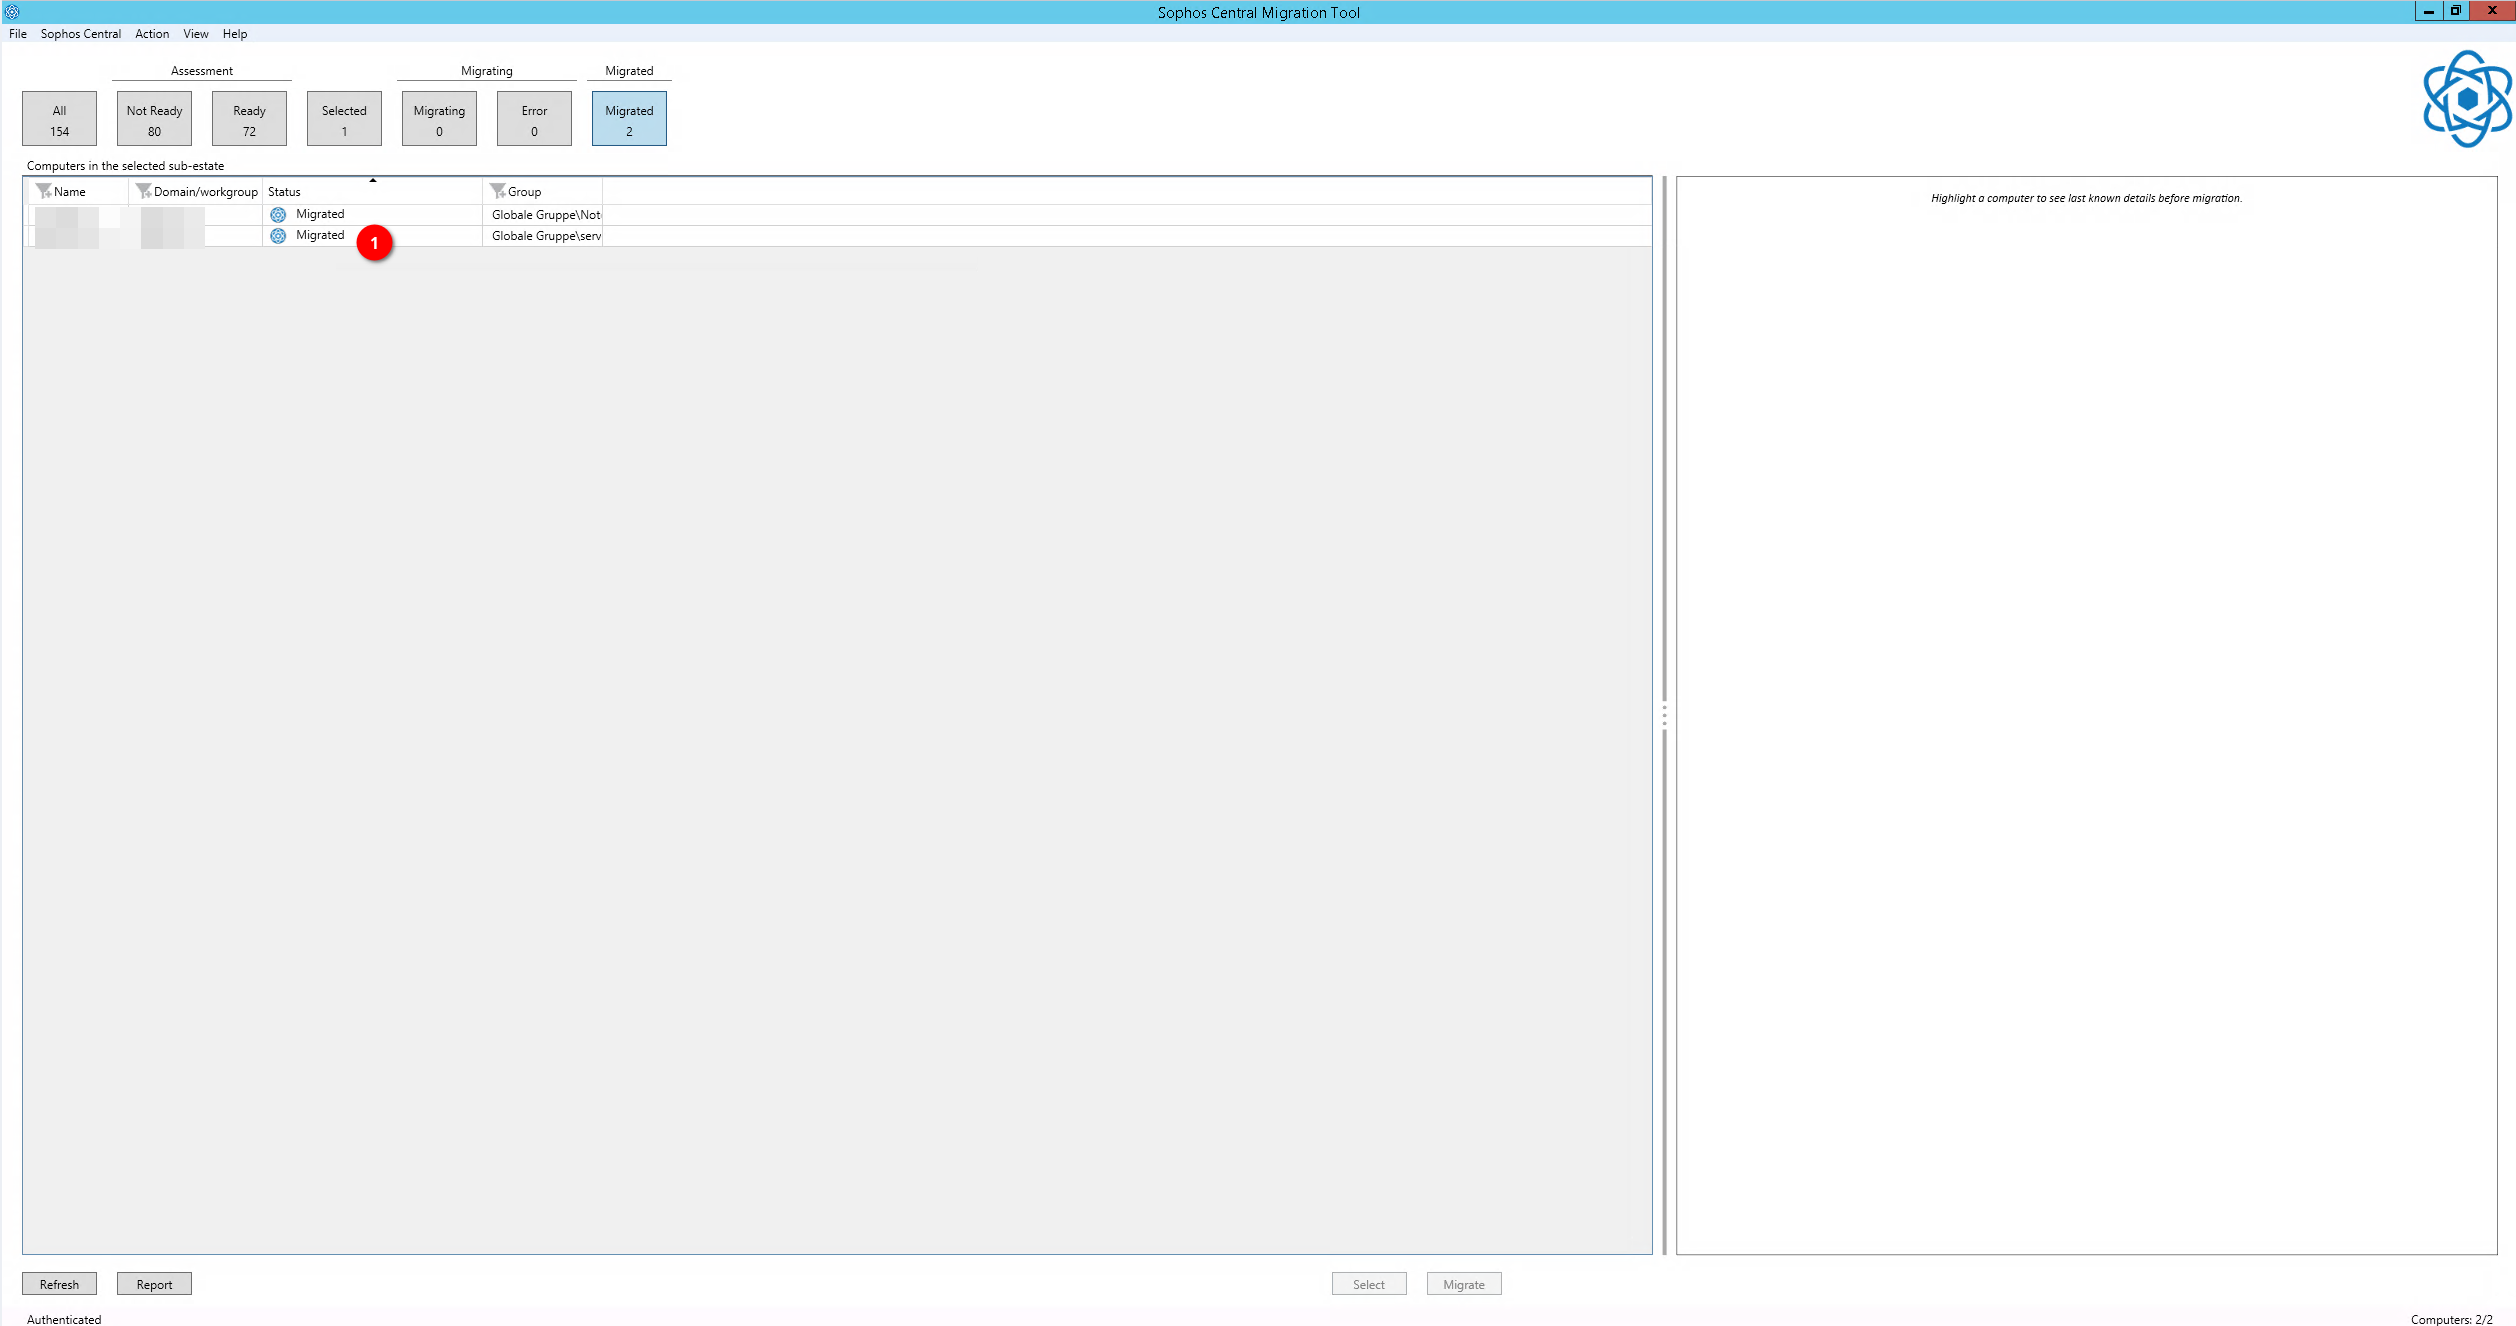
At this point, the client should have the new application, and it should show up in the “Sophos Central” portal.
That’s pretty much it.
Till next time.