- Sophos XGS 2300 and Sophos Firewall base configuration (Part 1)
- Sophos Firewall SSL VPN / IPSec VPN configuration (Part 2)
- Sophos Firewall HA cluster configuration (Part 3)
Hello there,
Last week, I set up 2 “Sophos XGS 2300” in a HA cluster, to replace two older “Sophos SG 230” at a customer’s HQ. Personally, I would have left the SG 230 until they reach EOL (which should take a few more years). They work fine and, in my opinion, the SG is still far better than the XG. It’s more stable, the WebUI is faster, the UI itself is much more intuitive, and so on.
But, the customer wants it, so I will configure it.
The hardware itself is pretty nice, though.
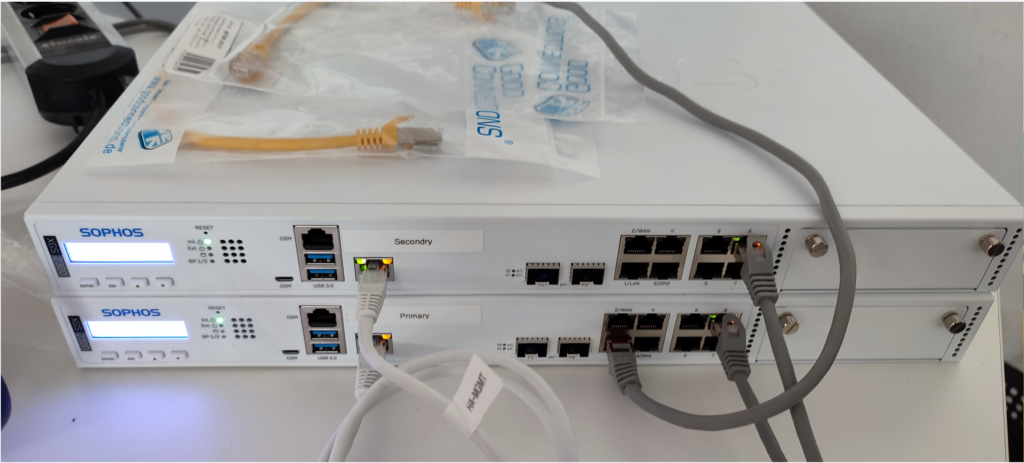
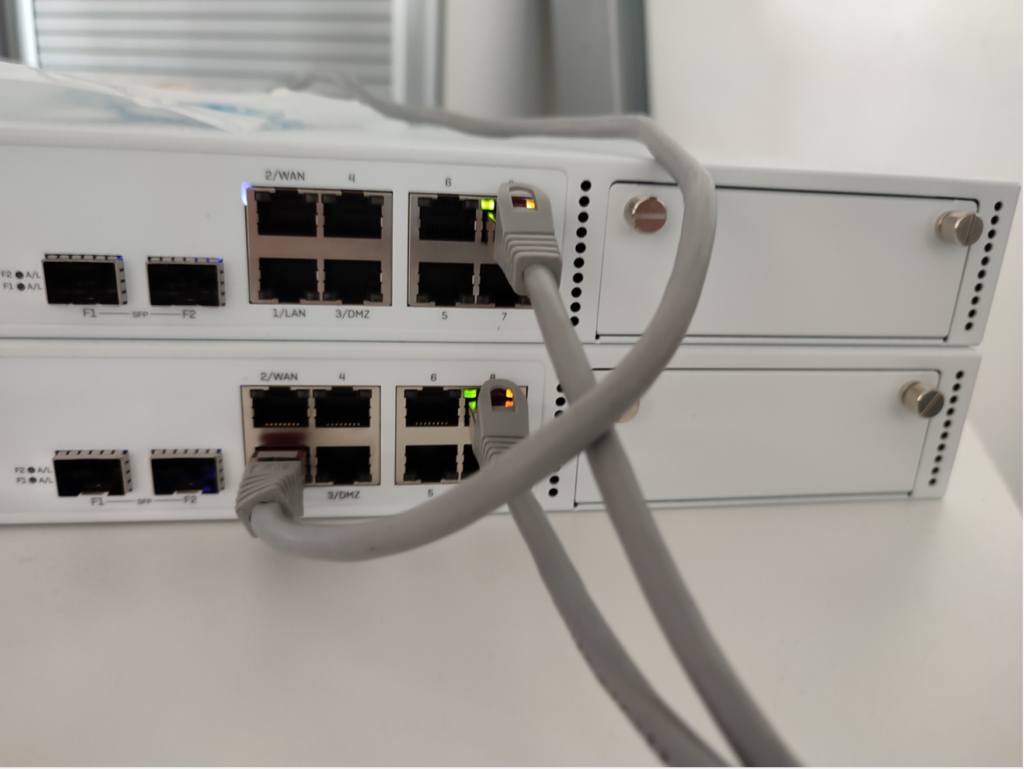
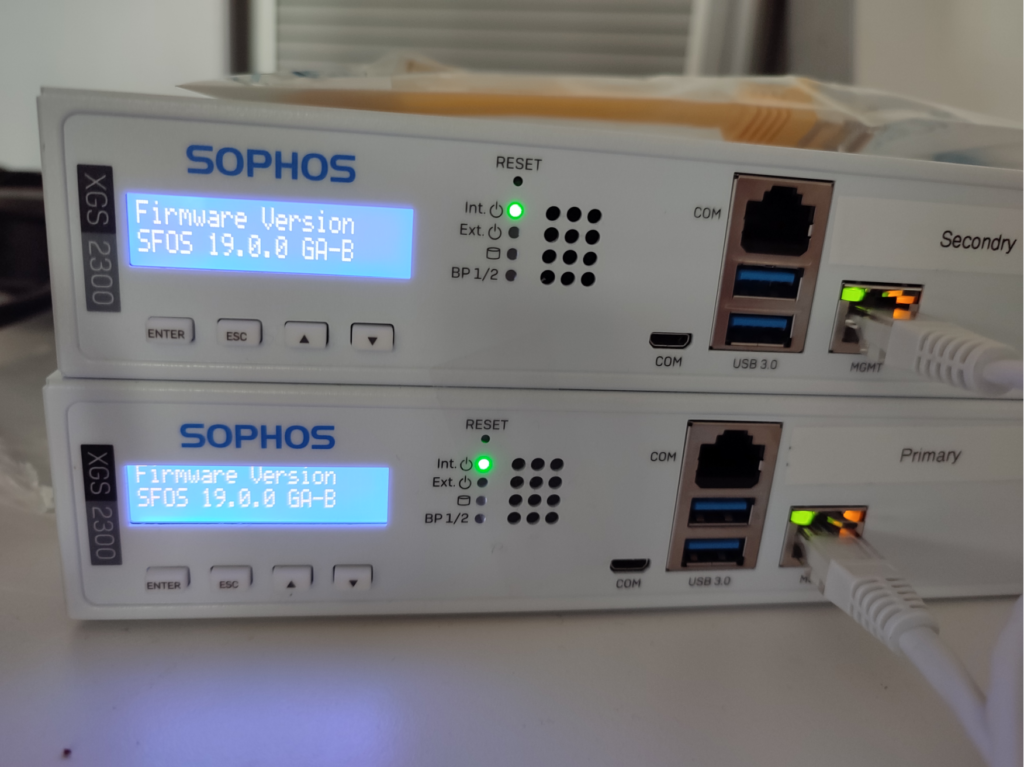
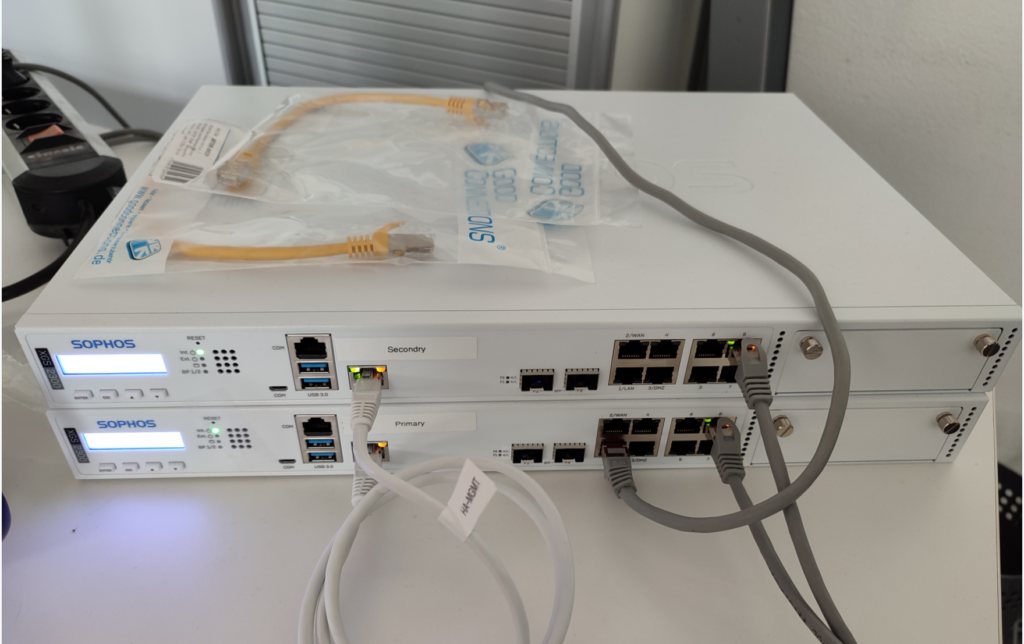
So, I would like to take this as an excuse to go through some of the settings. For the screenshots, I will be using a mix of real hardware and a VM (mostly the VM), since I cannot take the risk of taking screenshots with sensible data. Otherwise, the screenshots would be only a blur, or worse I leave something visible.
To make it a bit more visual, here is the topology.

Initial Setup
Let’s begin with the initial setup. Once the hardware is powered up, we can access the WebUI through port 1 (LAN).
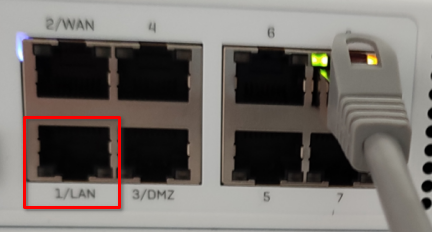
The default IP set on the Sophos XG/XGS is always “172.16.16.16/24”, so we have to set an IP on our local device.
I am using GNS3 for this. The client I will use to access Sophos is the “webterm” appliance for GNS3.
First, we will set the IP on the client.
List the interfaces. “lo” is the loopback interface. “eth0” is the one we want.
fedora-kde :: ~ » ifconfig
eth0      Link encap:Ethernet  HWaddr 4e:21:aa:73:1b:05
          inet6 addr: fe80::4c21:aaff:fe73:1b05/64 Scope:Link
          UP BROADCAST RUNNING MULTICAST  MTU:1500  Metric:1
          RX packets:0 errors:0 dropped:0 overruns:0 frame:0
          TX packets:9 errors:0 dropped:0 overruns:0 carrier:0
          collisions:0 txqueuelen:1000
          RX bytes:0 (0.0 B)  TX bytes:726 (726.0 B)

lo        Link encap:Local Loopback
          inet addr:127.0.0.1  Mask:255.0.0.0
          inet6 addr: ::1/128 Scope:Host
          UP LOOPBACK RUNNING  MTU:65536  Metric:1
          RX packets:368 errors:0 dropped:0 overruns:0 frame:0
          TX packets:368 errors:0 dropped:0 overruns:0 carrier:0
          collisions:0 txqueuelen:1000
          RX bytes:31784 (31.0 KiB)  TX bytes:31784 (31.0 KiB)
Next, set the IP for eth0.
fedora-kde :: ~ » ifconfig eth0 172.16.16.10/24
Now we can access the WebUI. Open a browser and enter “https://172.16.16.16:4444”.
Accept the terms and click on “Start setup”.
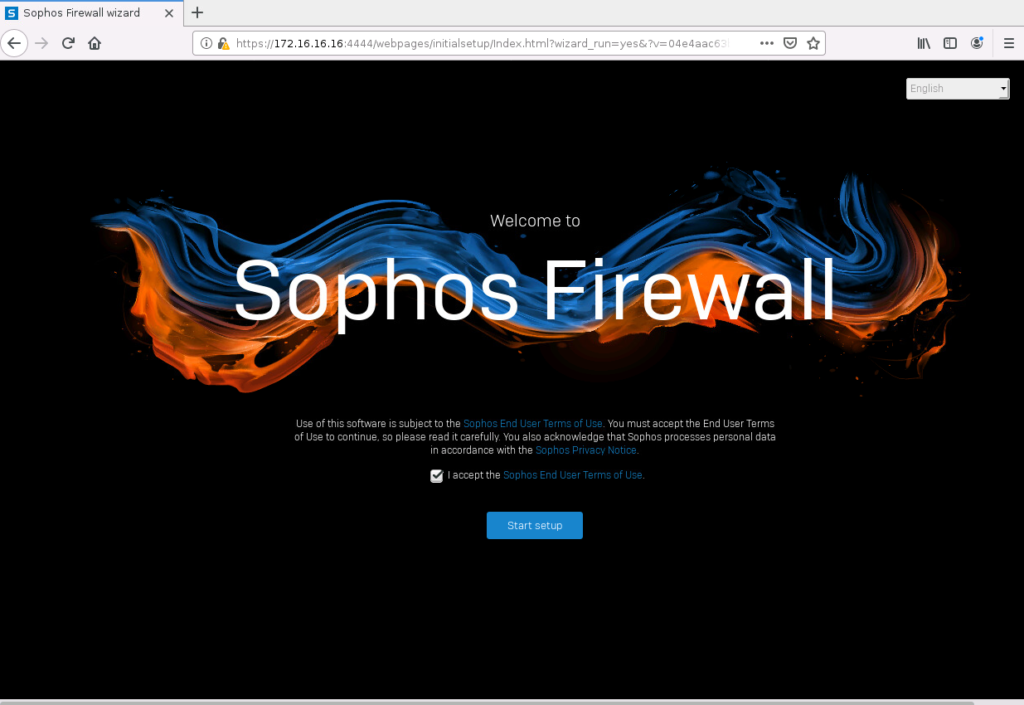
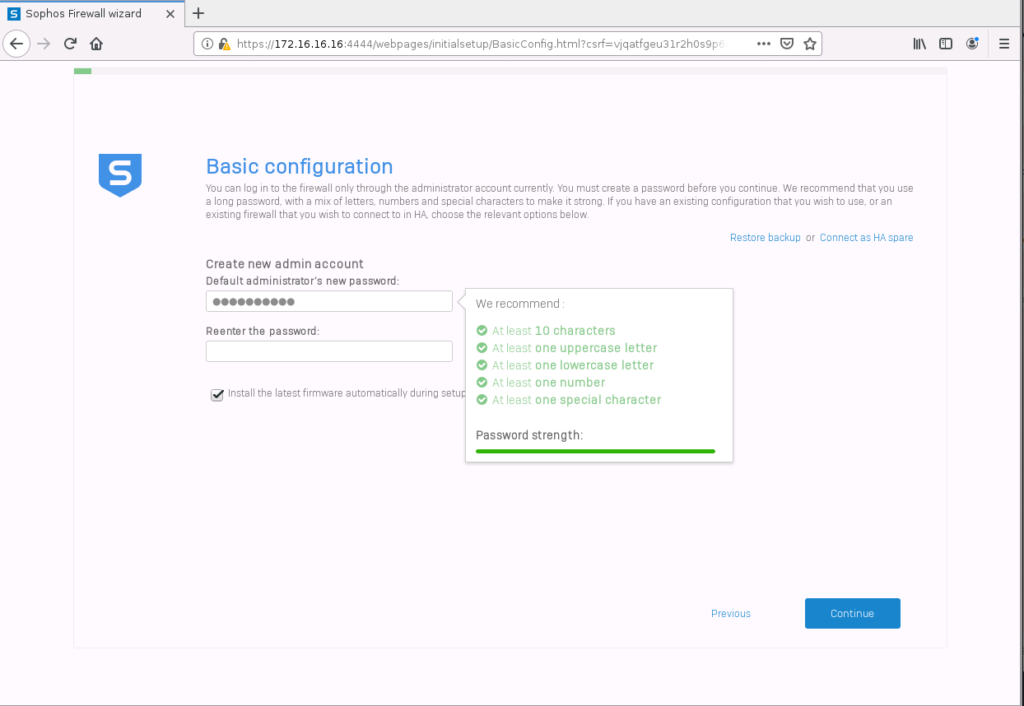
The first step is to set a password for the “admin” user. I will deselect the “install the latest firmware automatically during setup” since this is from a VM without internet access. Click on “Continue”.
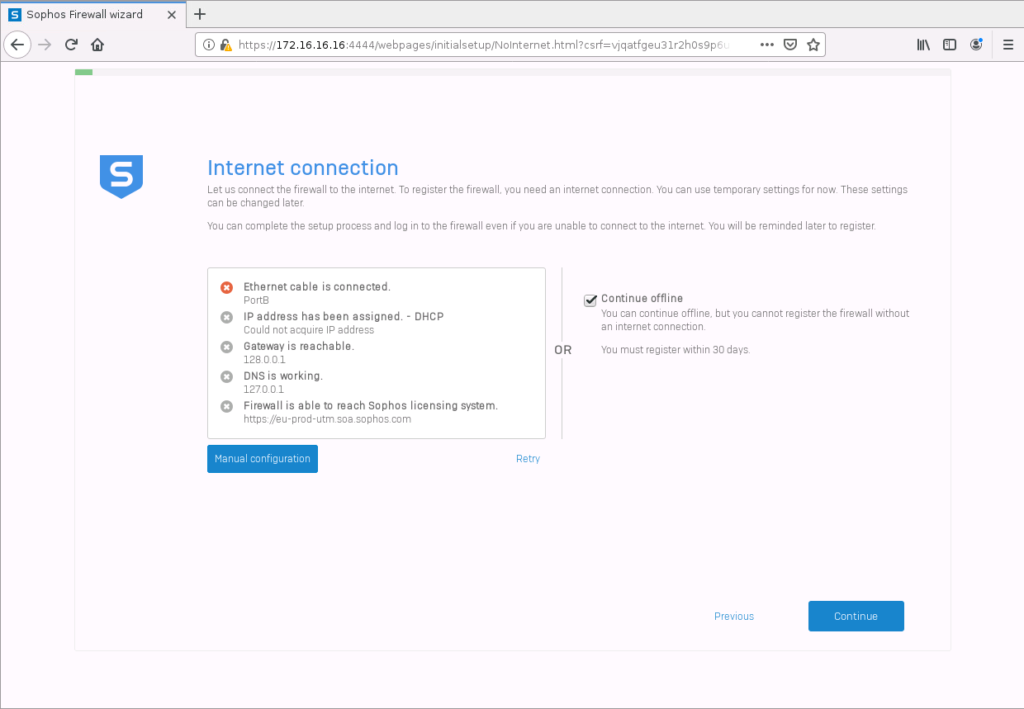
Here we set up the internet connection. I tend to skip this step by selecting “Continue offline”.
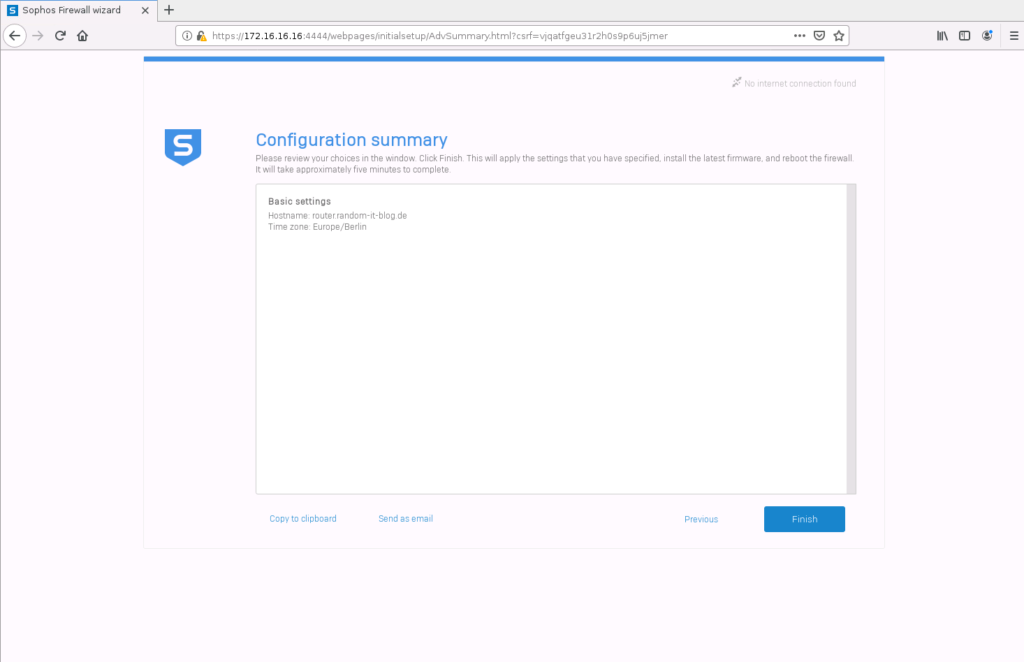
Type in the hostname and select the timezone for the firewall.

Now we are technically done. We can select “Skip to finish” which would restart the firewall and greet us with a login screen.
We could also continue with the configuration. This would allow us to enable a few things like the web filter and firewall rules, but I like to set this up myself.
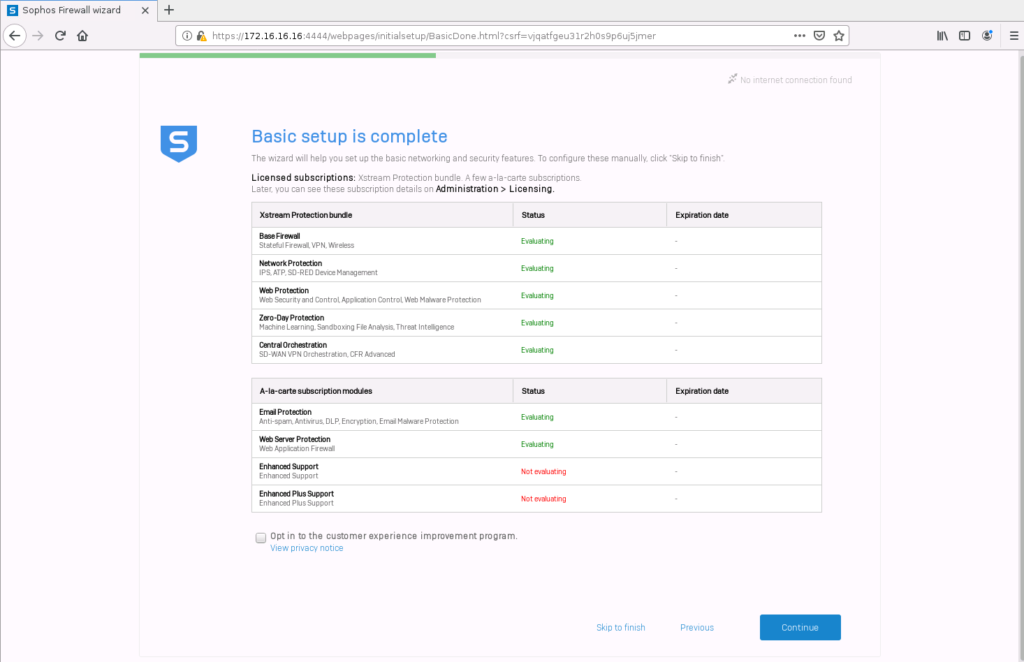
Click “Finish” to complete the setup and restart.
Basic Setup
Interface configuration
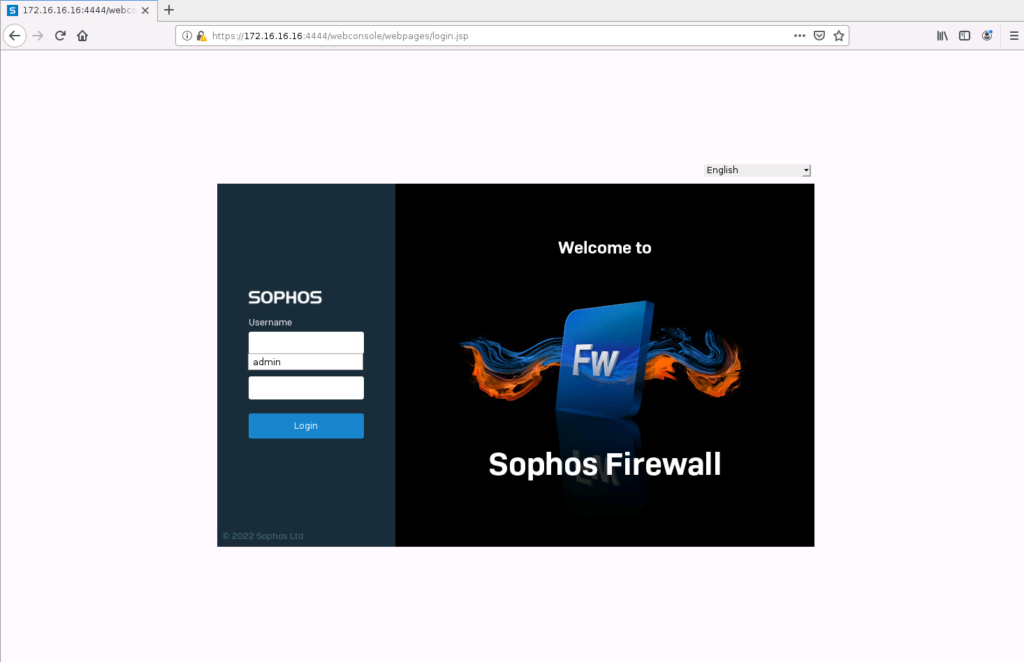
OK, after a couple of minutes the system should be up and running. We can log in with the username “admin” and the password we set earlier. Let us get through a basic setup, enough to be able to (somewhat) safely access the internet.
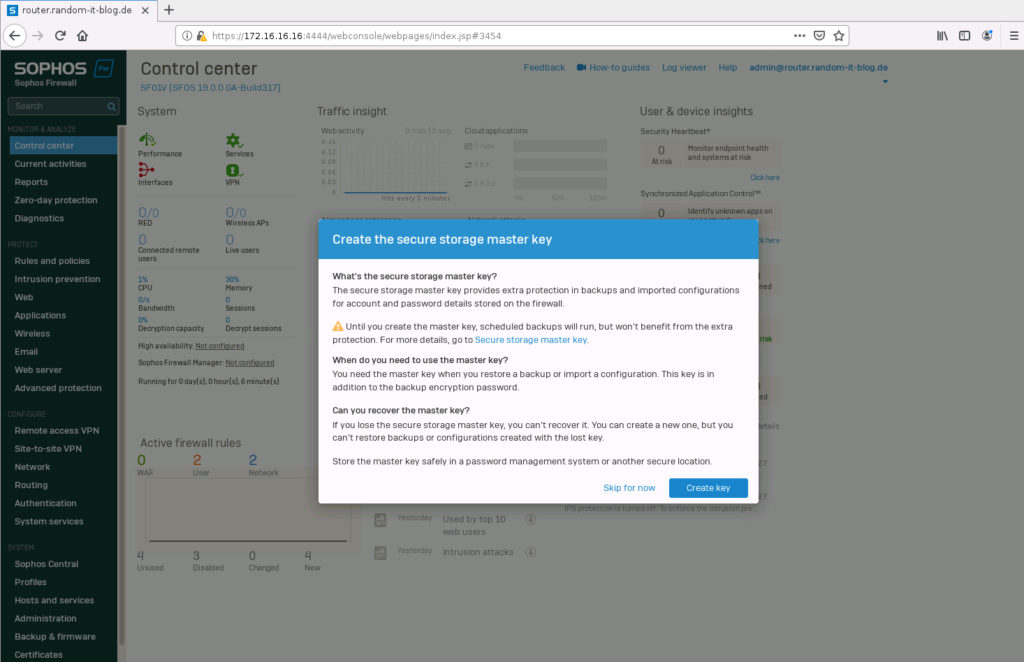
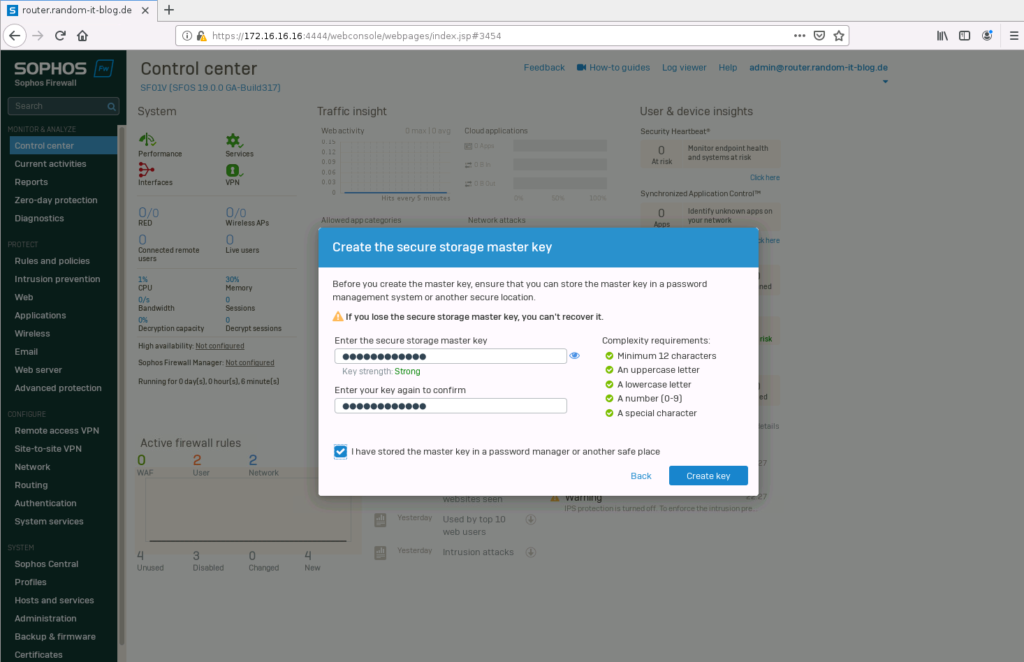
Once we are in, we are greeted by a pop-up, which asks us to create a “Storage Master Key”. This is an additional password for your Sophos backups. We will create one now.
Do not lose this password, since we cannot recover it. You can always set a new one for new backups, though.
Now we are in. The first step for me is to set the interfaces. So let’s begin there.
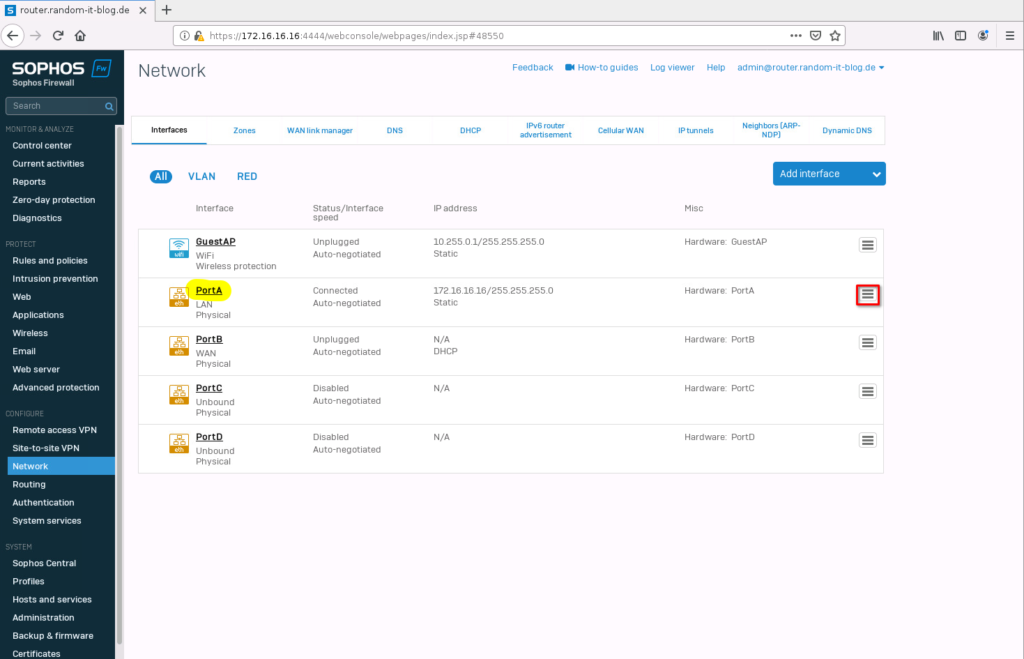
Select “Network” on the left. Depending on the hardware you are using, the interface page might look slightly different. We will ignore the “GuestAP” interface. I will begin with the internal interface, so select “PortA” or click on the collapsed menu on the right.
Choose a fitting name, I will use “INTERNAL” and set the IP address. “172.24.1.254/24” in my case.
Click on Save to confirm.

To be able to access the system again, we have to change the IP of our device. And while we are at it, let’s set the gateway.
fedora-kde :: ~ » ifconfig eth0 172.24.1.1/24
fedora-kde :: ~ » ip route add default via 172.24.1.254
fedora-kde :: ~ » ip route
default via 172.24.1.254 dev eth0
172.24.1.0/24 dev eth0  proto kernel  scope link  src 172.24.1.1
OK. Now let’s log back in.
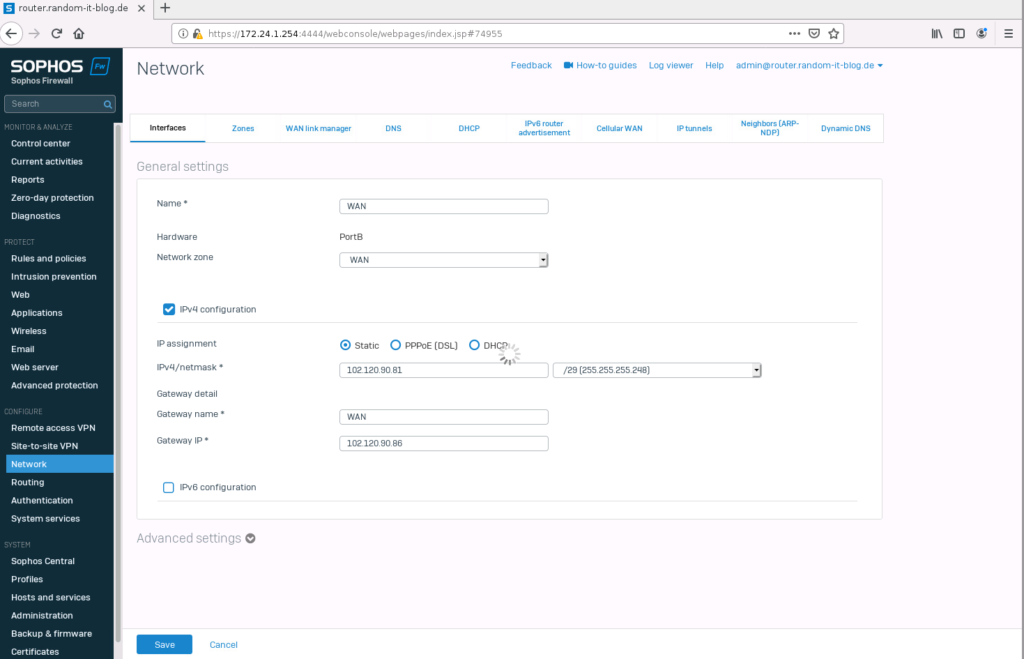
Let us set up the “WAN” interface. I will be using the second port for this. So click on “PortB”.
Let’s just assume that my provider assigned the network 102.120.90.80/29 to me and the gateway is the last IP in that subnet. So 102.120.90.86. I will be using the first possible IP, 102.120.90.81. The interface will be named “WAN”.
This customer has also a second ISP, so we have to configure another interface. Select “PortC”. For this, we will assume the ISP assigned the IPs via DHCP, so no additional configuration is needed.
Select the “Network Zone” WAN and give it a pretty name. I will choose “WAN2-DHCP”.

Checking NAT/Masq
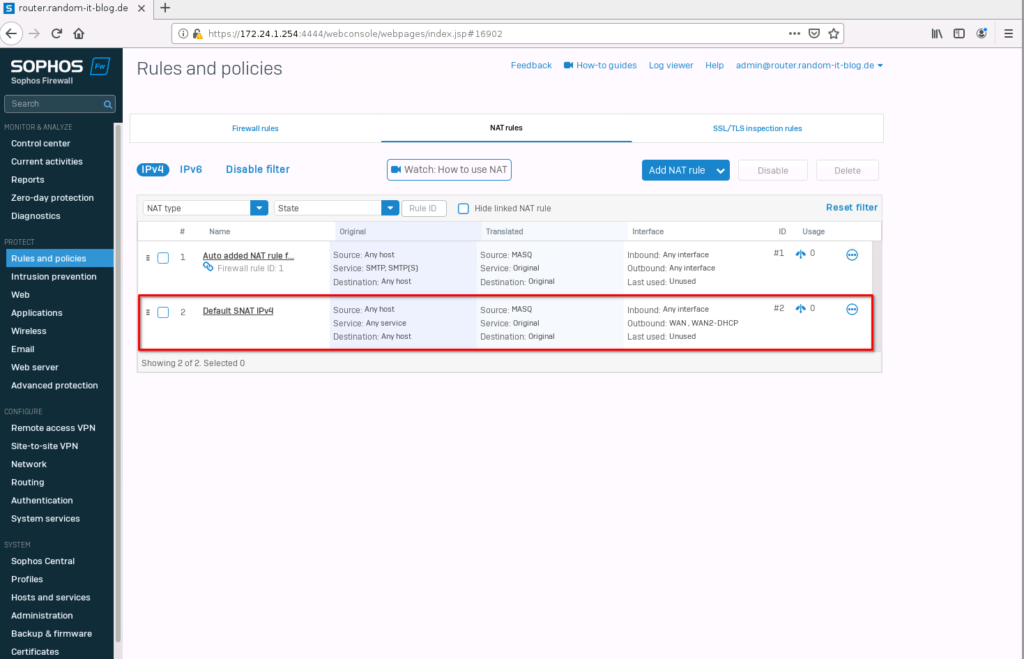
Great. Next, we should check if there is a SNAT/Masq rule set. Normally it should be created automatically, but just to make sure. Click on “Rules and policies” and select “NAT rules” in the top bar.
We can see that the second rule is a “SNAT/MASQ” rule and includes both wan interfaces for the “outbound”.
If you don’t have that entry, create a new NAT rule and set the settings identically to the ones listed below.
Firewall Configuration
Let’s check the firewall rules. There are no active rules (except SMTP) since we skipped the end of the “initial setup”.
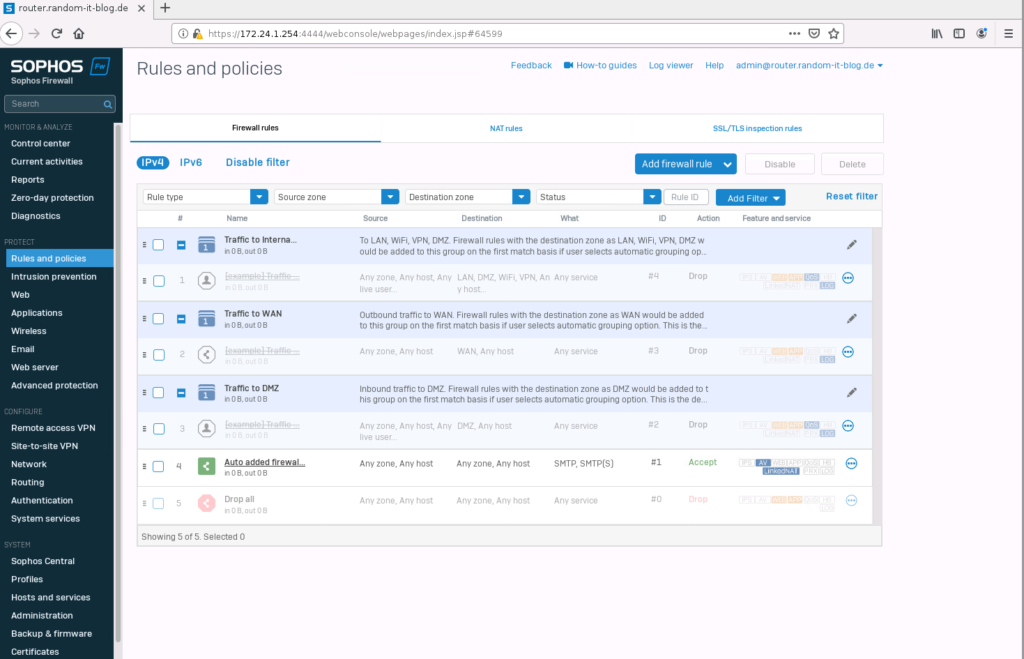
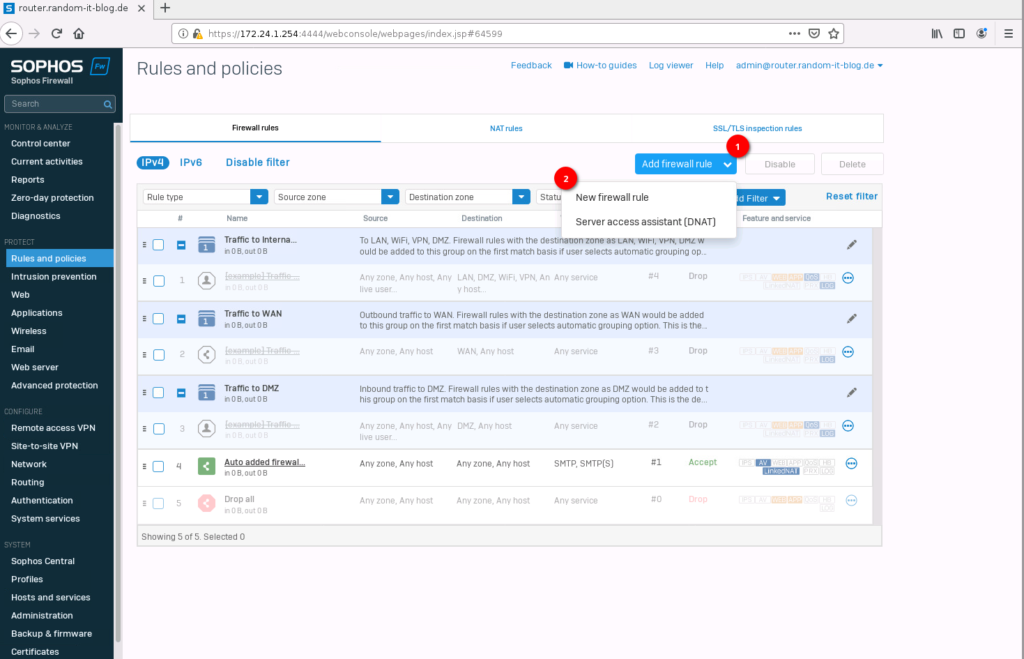
Let’s create one. Select “Add firewall rule” and click on “New firewall rule”.
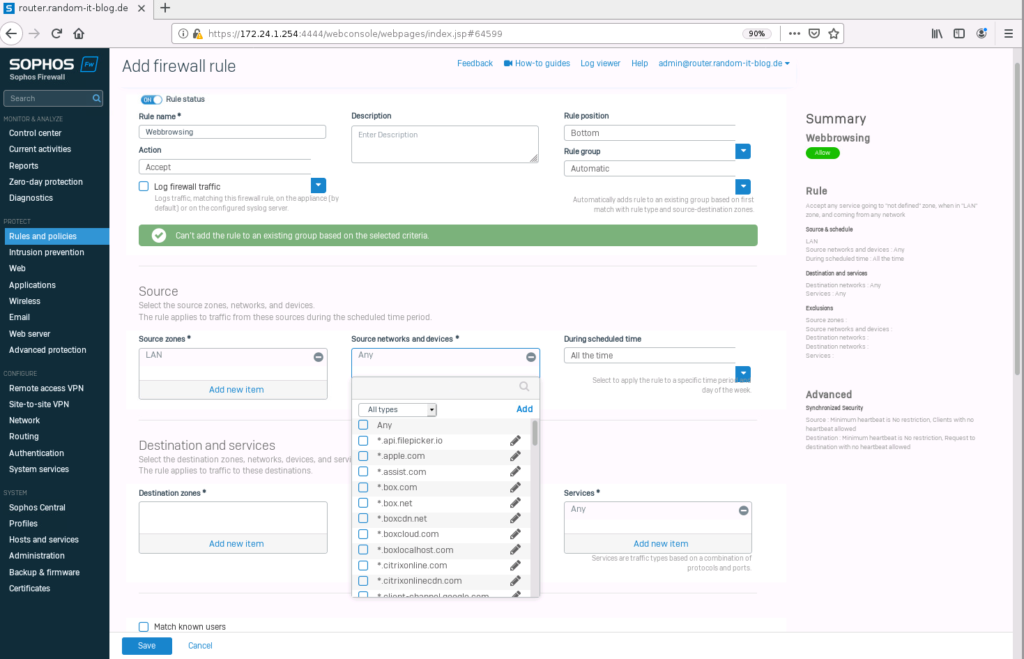
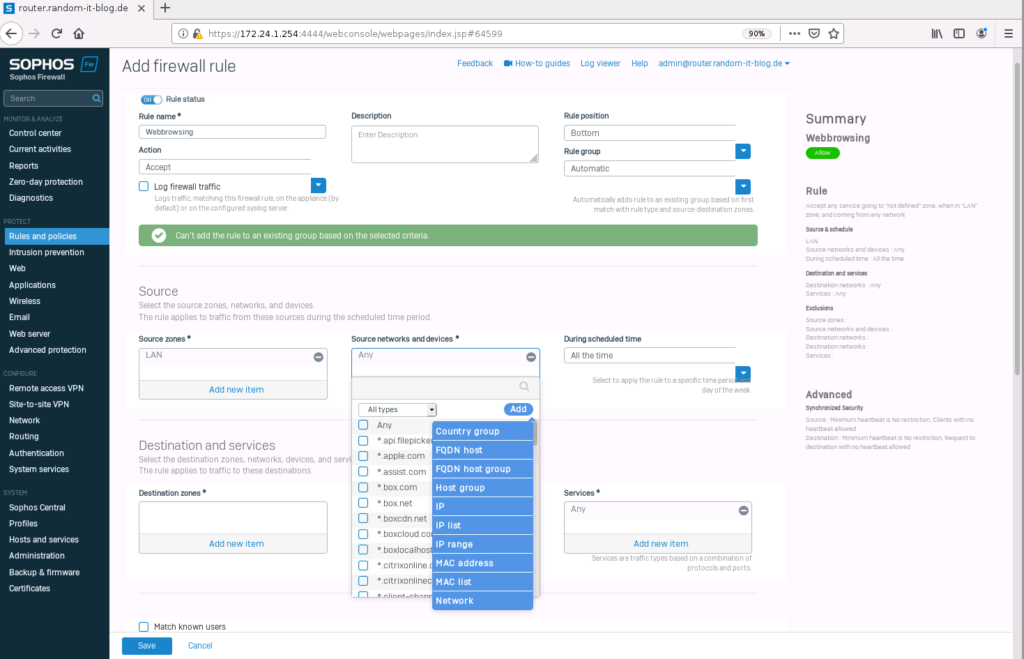
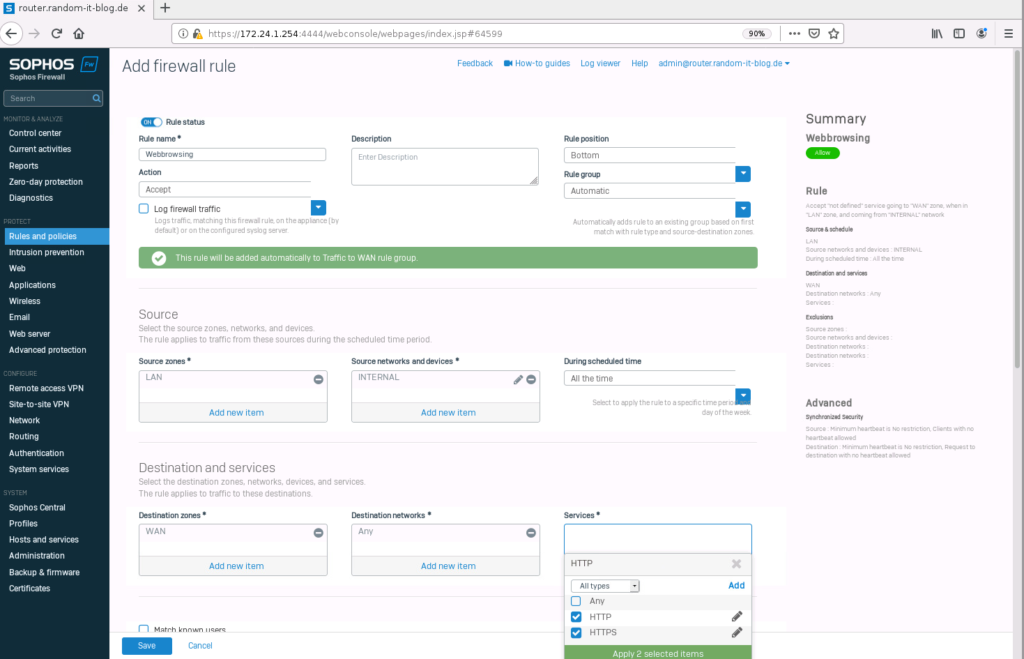
Give the new rule a name. I will create one for “webbrowsing”. For the “source zone” select “LAN”. In “Source networks and devices” remove “Any” and create a new “network” item.
Type in the internal network you use, in my case 172.24.1.0/24, and click on “Save”.

Choose “WAN” for the “destination zone”. Leave “Any” in the “destination networks”.
Remove “Any” from the “Services” and click on “Add new item”. Here you can search for the protocol. Type in HTTP and select both “HTTP” and “HTTPs”.
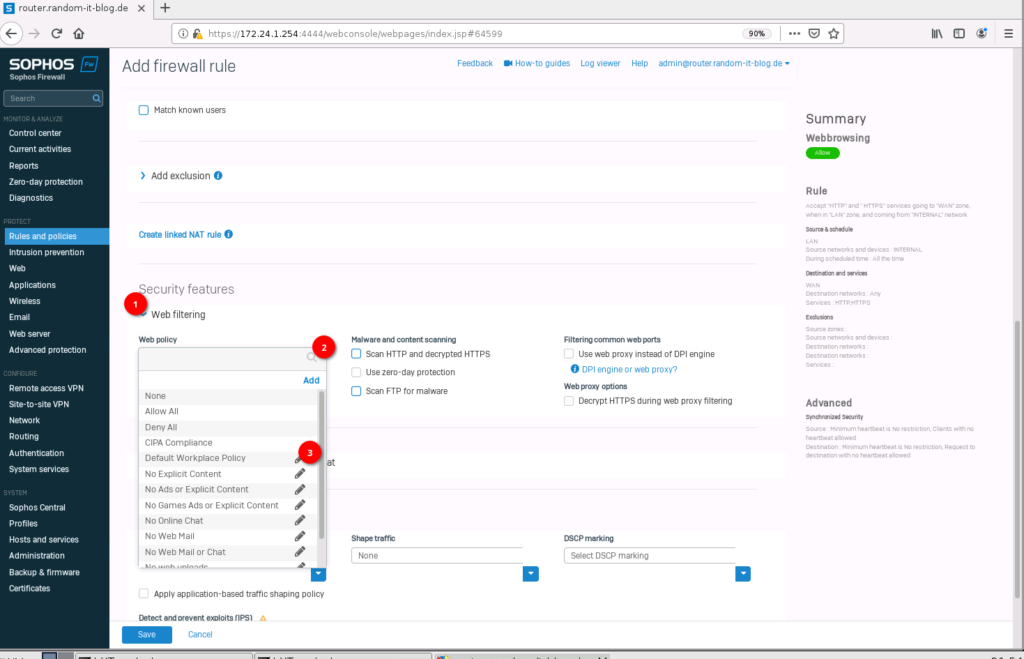
Scroll down until you see the “Security features”. Select “Web filtering” and click on “Default Workplace Policy”. We will set this up later.
That’s it. Click on Save.
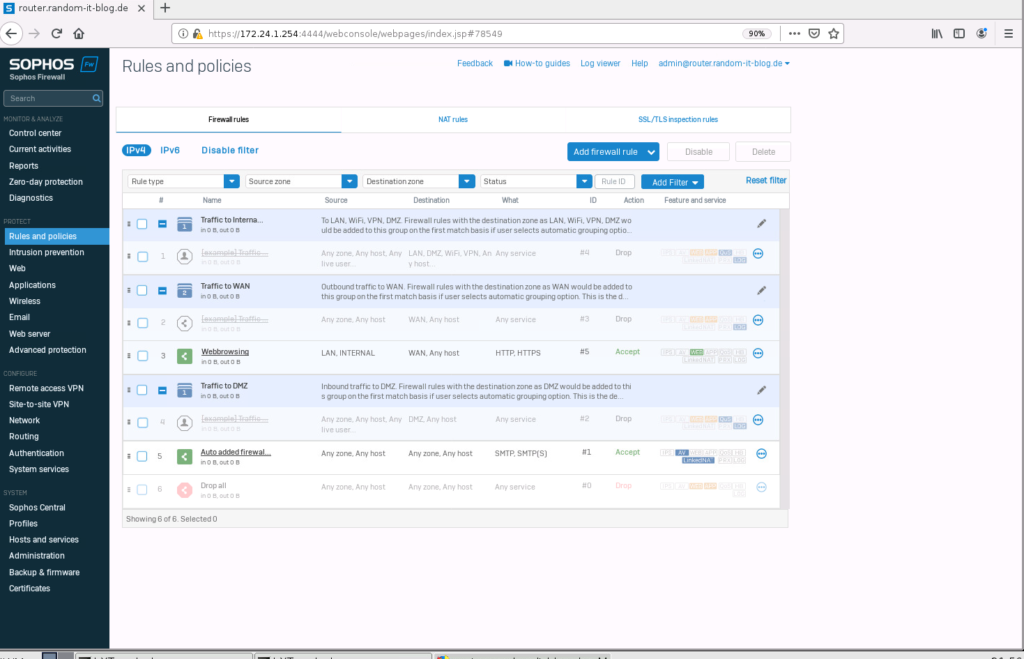
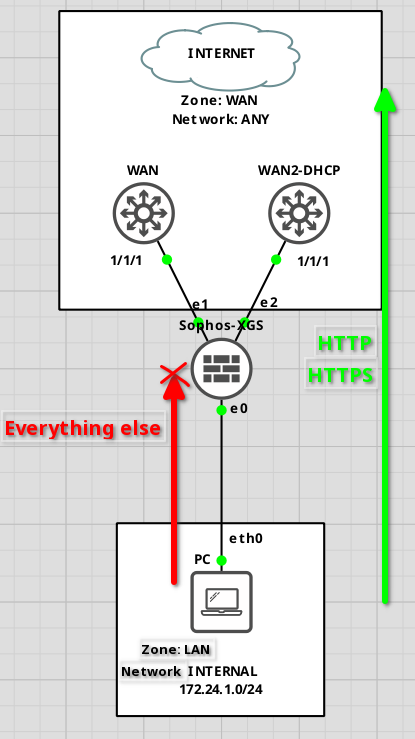
This rule allows any system from the “LAN” zone with an IP from the “INTERNAL” network to access “Any” IP in the “WAN” zone (basically the internet) with the protocols HTTP (80/TCP) and HTTPs (443/TCP).
The default is to block everything.
Maybe this helps to understand the concept a little bit?
Webfilter Configuration
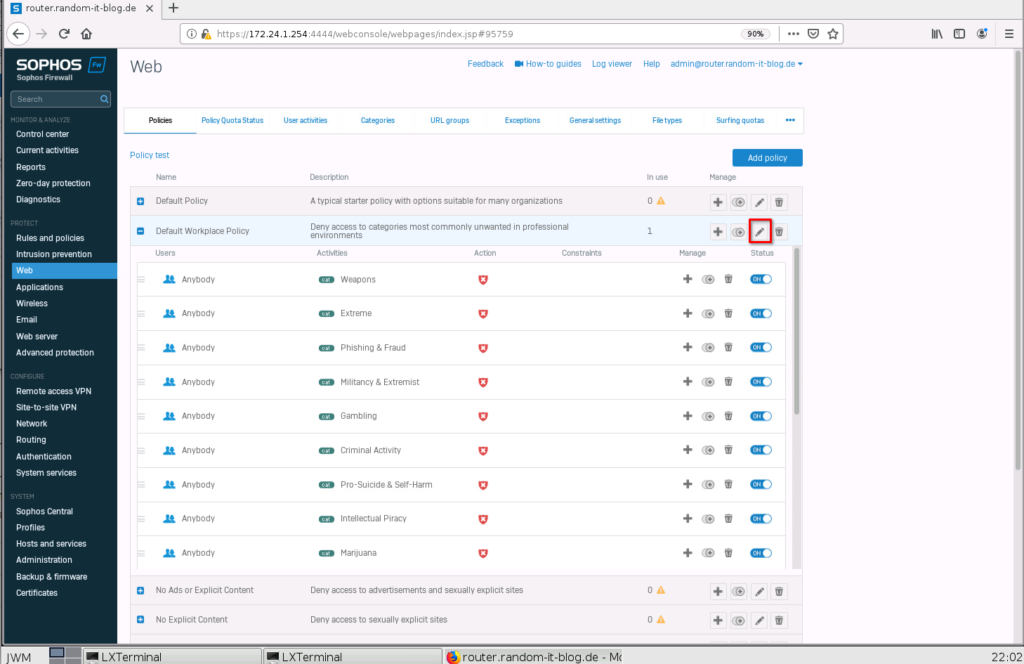
Onto the Webfilter configuration. Click on “Web” and select “Default Workplace Policy”.
For the most part, this filter is actually fine, but let’s just add another rule. Click on the pen symbol and select “Add rule”.

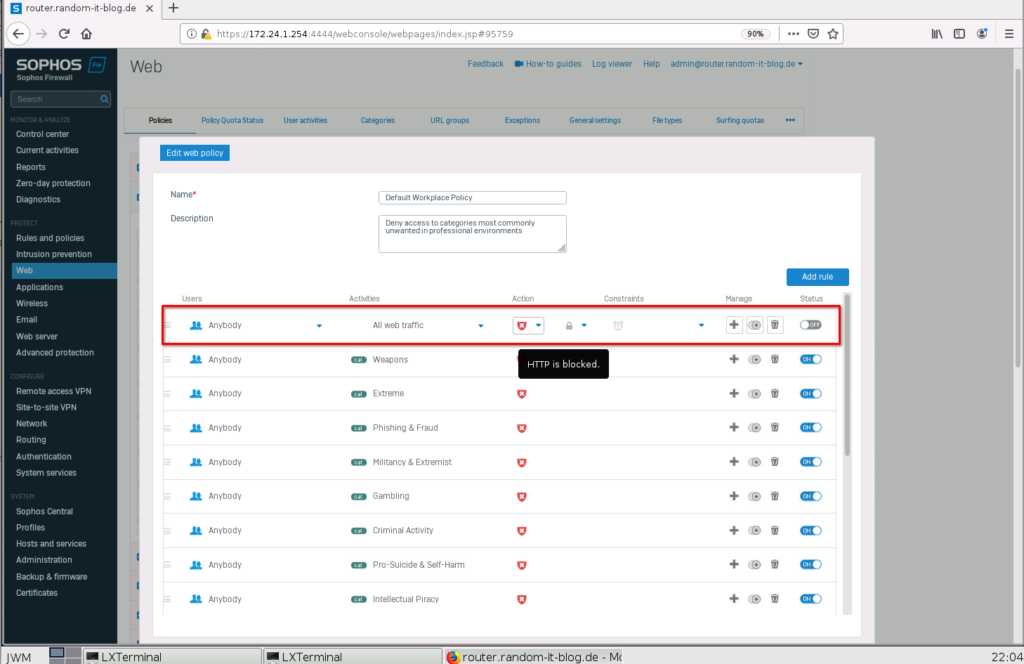
This will add a new line at the top of the list. Here you can choose what kind of activities should be filtered, what kind of action should be taken and during what time (only weekends for instance).
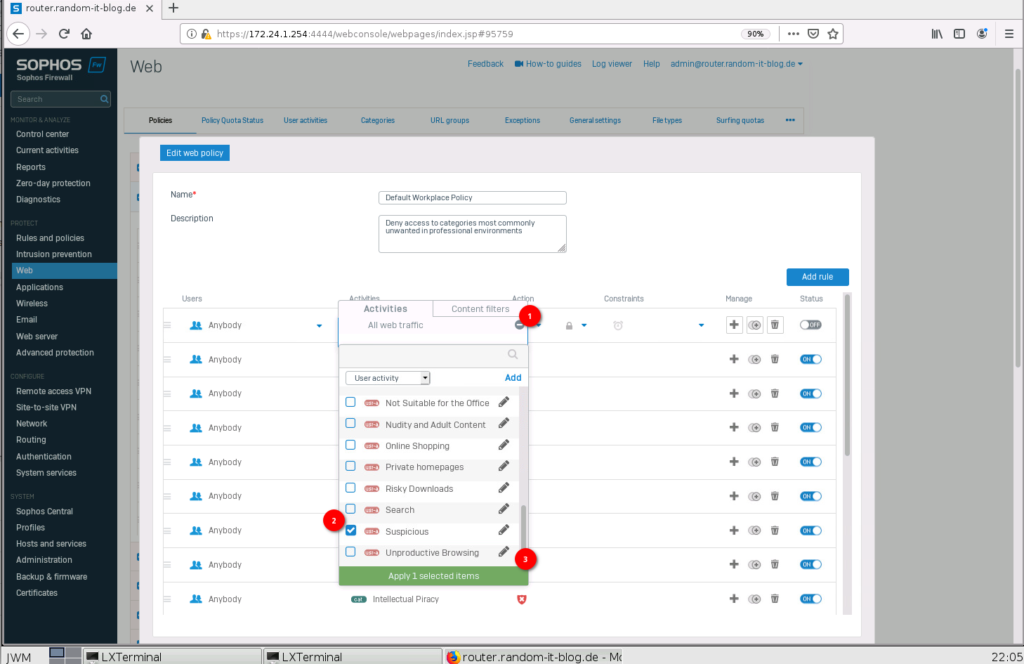
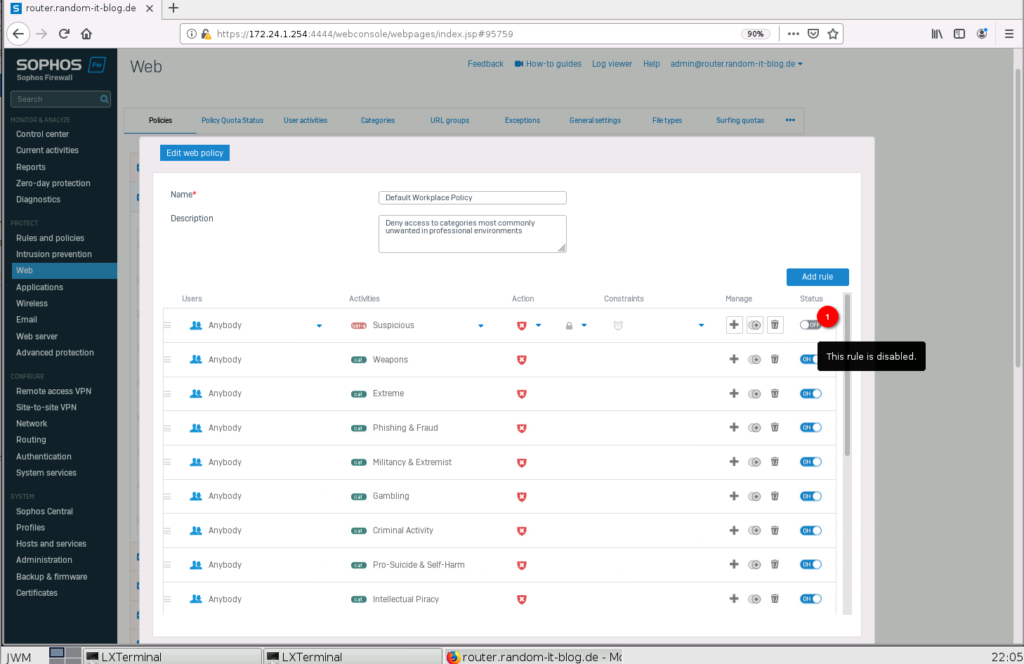
Click on “All web traffic” under “Activities”, deselect it, and select something more specific. I will choose “User activity” “Suspicious”. You could also choose something more specific, by switching to “All types” in the drop-down above. Enable the rule with the switch on the right.
DNS Configuration
DNS is next on the list.
Select “Network” -> “DNS”. Here we can set the nameservers we want to use. I will use a few public DNS servers. Two are from Cloudflare and the other one is Quad9. Apply the configuration.
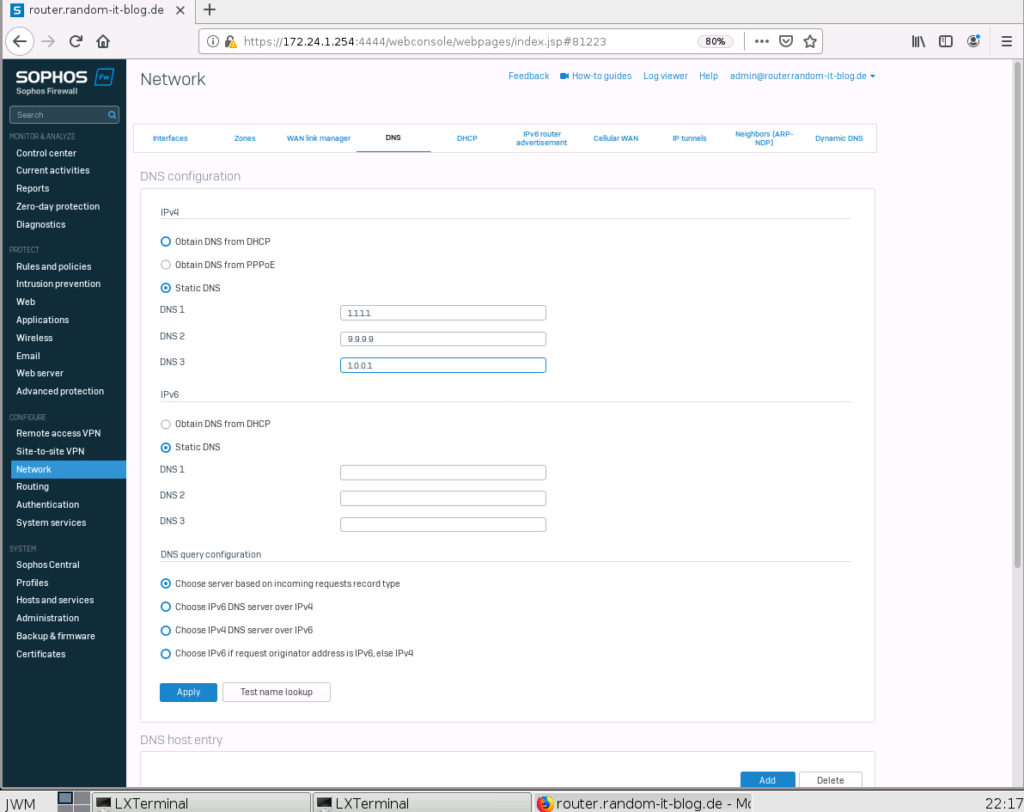
DHCP Configuration
This should be the last setting. DHCP is disabled in the default configuration. This will stay disabled for the customer, but we will enable it for this demonstration.
Select “Network” -> “DHCP” and just click on the “Default DHCP Server”. Change the IP range to the correct subnet and the desired range. Enter the DNS server you want to distribute and click on “Save”.
Now switch the “off” button on the right to enable the DHCP Server. That’s it.

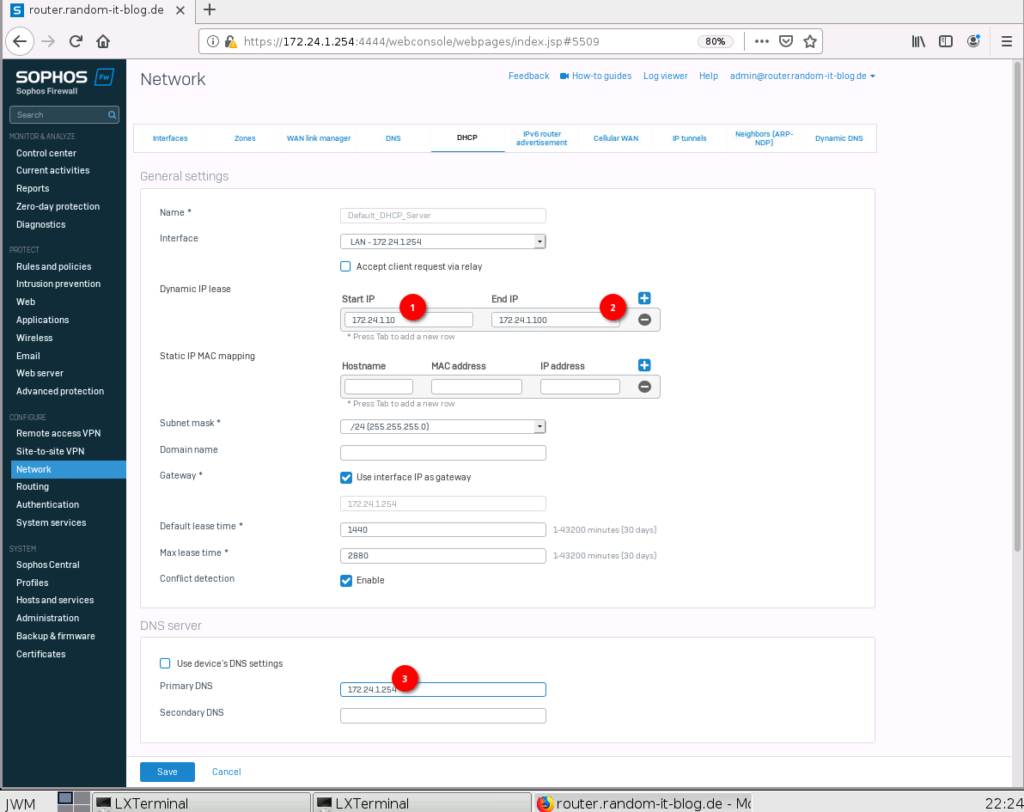

I think this should be enough for this part. At this point, you should have internet access.
I will do a few more “advanced” (I guess) settings in the next part. Things like VPN and HA configuration.
Till than.