Hello there,
In the previous post, I mentioned MinIO as an on-premise S3 solution. Today I want to take a look at how to deploy and while at it, also connect Veeam Backup & Replication to it.
MinIO is a High-Performance Object Storage and API compatible with Amazon S3 cloud storage service.
For the OS, I will use RHEL 9 in the minimal installation, but it should also work with Rocky Linux 9, AlmaLinux, and all the other forks that exist. I just happened to be testing RHEL and didn’t want to install a new VM.
Let’s begin.
MinIO Installation and Configuration
The installation itself is quite simple actually, we just need a bit of preparation.
First, let’s get the latest (at the time of writing) version of MinIO from the main page.
minio :: ~ » sudo wget https://dl.min.io/server/minio/release/linux-amd64/archive/minio-20221212192727.0.0.x86_64.rpm -O minio.rpm
And install it.
minio :: ~ » sudo dnf install ./minio.rpm
Next, create a user for the MinIO service. I will be using “minio-user” as the username. If you want to use a different username, you have to change it in the MinIO service file as well. “/etc/systemd/system/minio.service”
minio :: ~ » sudo useradd -m minio-user -s /sbin/nologin
We also need a folder for the volumes MinIO creates, and give it the right permissions. I mapped four 15 GB disks to the VM, which I will use for this.
minio :: ~ » lsblk
sda             8:0    0   30G  0 disk
├─sda1          8:1    0  600M  0 part /boot/efi
├─sda2          8:2    0    1G  0 part /boot
└─sda3          8:3    0 28.4G  0 part
  ├─rhel-root 253:0    0 25.4G  0 lvm  /
  └─rhel-swap 253:1    0    3G  0 lvm  [SWAP]
sdb             8:16   0   15G  0 disk
sdc             8:32   0   15G  0 disk
sdd             8:48   0   15G  0 disk
sde             8:64   0   15G  0 disk
Create an xfs filesystem on the disks and mount them. I will be creating the folders under /mnt for this.
minio :: ~ » sudo mkfs.xfs /dev/sdb -L MINIO-DISK1
minio :: ~ » sudo mkfs.xfs /dev/sdc -L MINIO-DISK2
minio :: ~ » sudo mkfs.xfs /dev/sdd -L MINIO-DISK3
minio :: ~ » sudo mkfs.xfs /dev/sde -L MINIO-DISK4
minio :: ~ » sudo mkdir /mnt/MINIO-DISK{1..4}
minio :: ~ » sudo mount /dev/sdb /mnt/MINIO-DISK1
minio :: ~ » sudo mount /dev/sdc /mnt/MINIO-DISK2
minio :: ~ » sudo mount /dev/sdd /mnt/MINIO-DISK3
minio :: ~ » sudo mount /dev/sde /mnt/MINIO-DISK4
minio :: ~ » sudo chown minio-user:minio-user /mnt/MINIO-DISK* -R
We should also add those into the fstab file. Otherwise, it won’t be mounted on boot.
Get the UUID of the disk with “blkid” and edit the fstab file.
minio :: ~ » sudo blkid
...
/dev/sdb: LABEL="MINIO-DISK1" UUID="e28cf5ab-8ae5-4ef9-a7fe-5a1ee946a6ca" TYPE="xfs"
/dev/sdc: LABEL="MINIO-DISK2" UUID="f8a3bb5a-bcaf-4b57-8854-406005fd2806" TYPE="xfs"
/dev/sdd: LABEL="MINIO-DISK3" UUID="cbae3a19-616f-4346-8e34-ceace6e1a288" TYPE="xfs"
/dev/sde: LABEL="MINIO-DISK4" UUID="0b170aaa-960d-4650-ad3e-bfb0bce525bc" TYPE="xfs"
...
minio :: ~ » sudo vim /etc/fstab
...
UUID="e28cf5ab-8ae5-4ef9-a7fe-5a1ee946a6ca" /mnt/MINIO-DISK1 xfs defaults 0 0
UUID="f8a3bb5a-bcaf-4b57-8854-406005fd2806" /mnt/MINIO-DISK2 xfs defaults 0 0
UUID="cbae3a19-616f-4346-8e34-ceace6e1a288" /mnt/MINIO-DISK3 xfs defaults 0 0
UUID="0b170aaa-960d-4650-ad3e-bfb0bce525bc" /mnt/MINIO-DISK4 xfs defaults 0 0
...
Create the configuration file under /etc/default/ named “minio” and set the permissions.
minio :: ~ » sudo vim /etc/default/minio
MINIO_VOLUMES="/mnt/MINIO-DISK{1...4}"
MINIO_OPTS="--address :9000 --console-address :9001 --certs-dir /home/minio-user/.minio/certs"
MINIO_ROOT_USER="minio"
MINIO_ROOT_PASSWORD="<YOUR-PASSWORD>"

minio :: ~ » sudo chown minio-user:minio-user /etc/default/minio
Set the firewall rules.
minio :: ~ » sudo firewall-cmd --add-port 9000-9001/tcp --permanent
minio :: ~ » sudo firewall-cmd --reload
Now for the certificate. This is technically not required for MinIO to work, but Veeam requires it for the connection. Besides, encrypting the traffic is always a good idea.
MinIO provides a tool for this. With this, we can generate a self-signed certificate. The current latest version is 1.2.1 but check the github webpage.
You can directly install it with dnf.
minio :: ~ » sudo dnf install https://github.com/minio/certgen/releases/download/v1.2.1/certgen_1.2.1_linux_amd64.rpm
Now we can create the private key and a certificate.
Use the correct FQDN for your deployment.
minio :: ~ » certgen -host "localhost,minio-*.example.net"
Assign the correct permissions and move those files into the “/home/minio-user/.minio/certs” folder.
minio :: ~ » sudo chown minio-user:minio-user private.key public.crt
minio :: ~ » sudo mv private.key public.crt /home/minio-user/.minio/certs
Now we can start MinIO.
minio :: ~ » sudo systemctl start minio.service
To check the status, use the “status” option. Here we can also see the URL.
minio :: ~ » sudo systemctl status minio.service
At this point, we should be able to access the WebUI. Here we can create buckets, Access Keys, delegate permissions to users, and much more. I won’t go too in-depth into it (because I don’t understand it myself completely), but we can go through a few basic things.
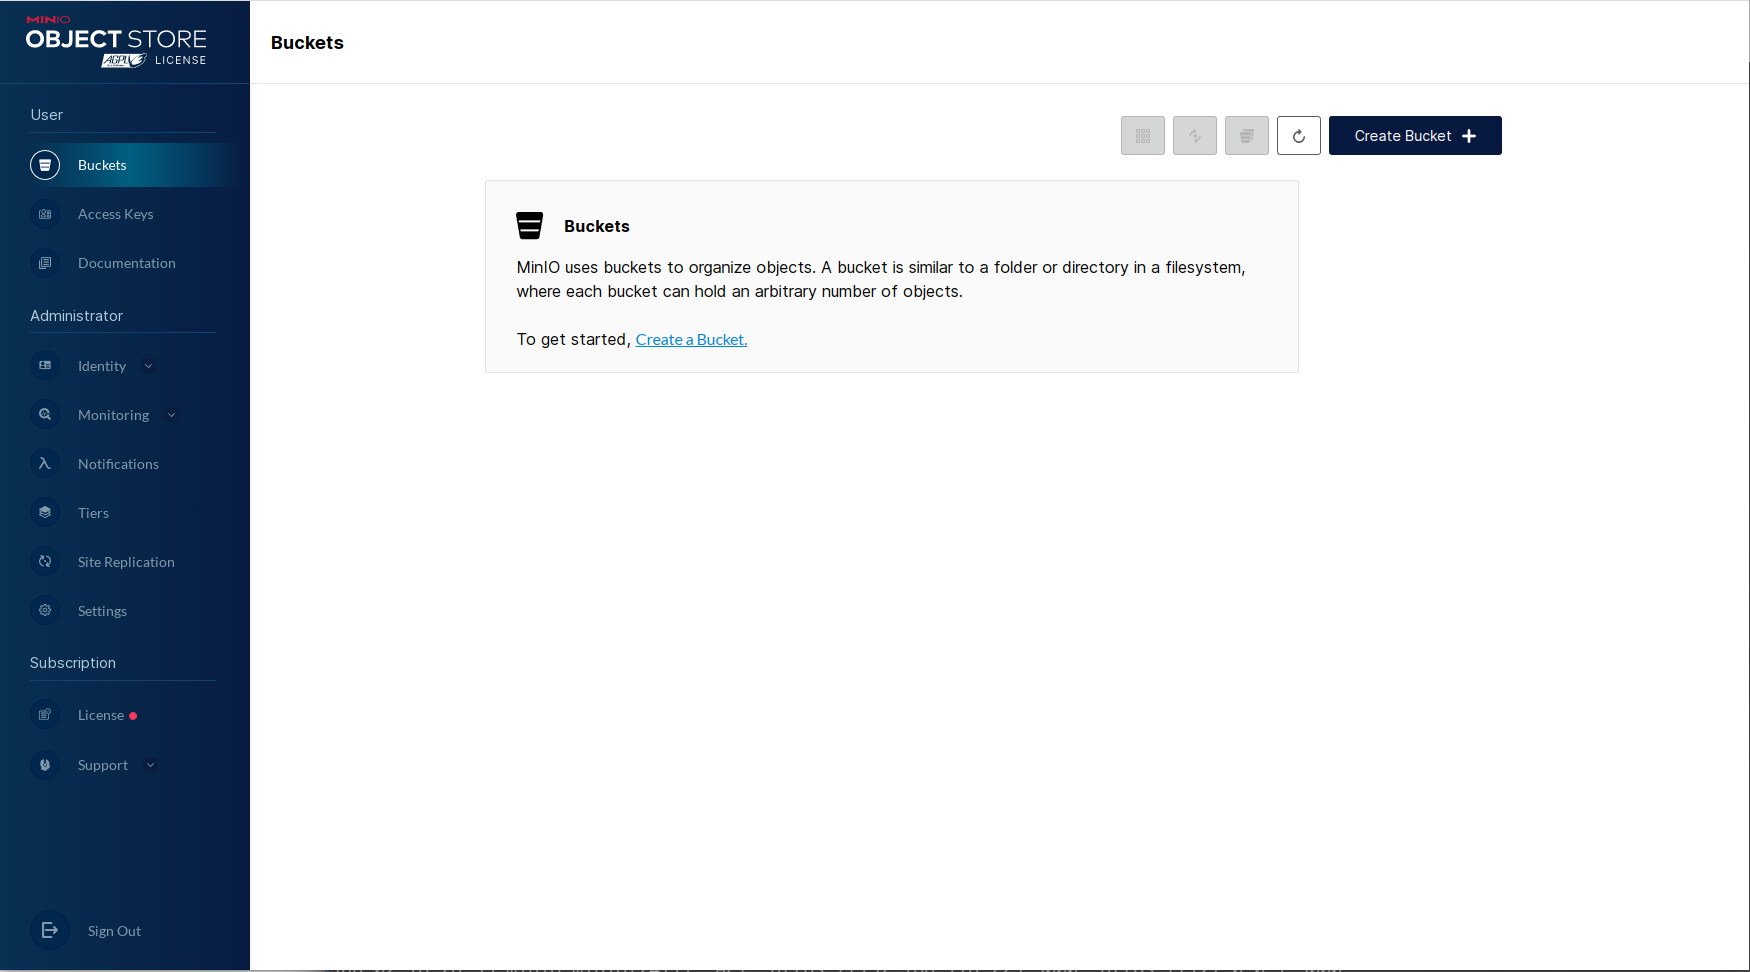
MinIO – Creating a Bucket
Let’s create a bucket (something like a volume or folder) and an access key to allow Veeam Backup & Replication to connect to it.
Navigate to “Buckets” and click on “Create Bucket +”.
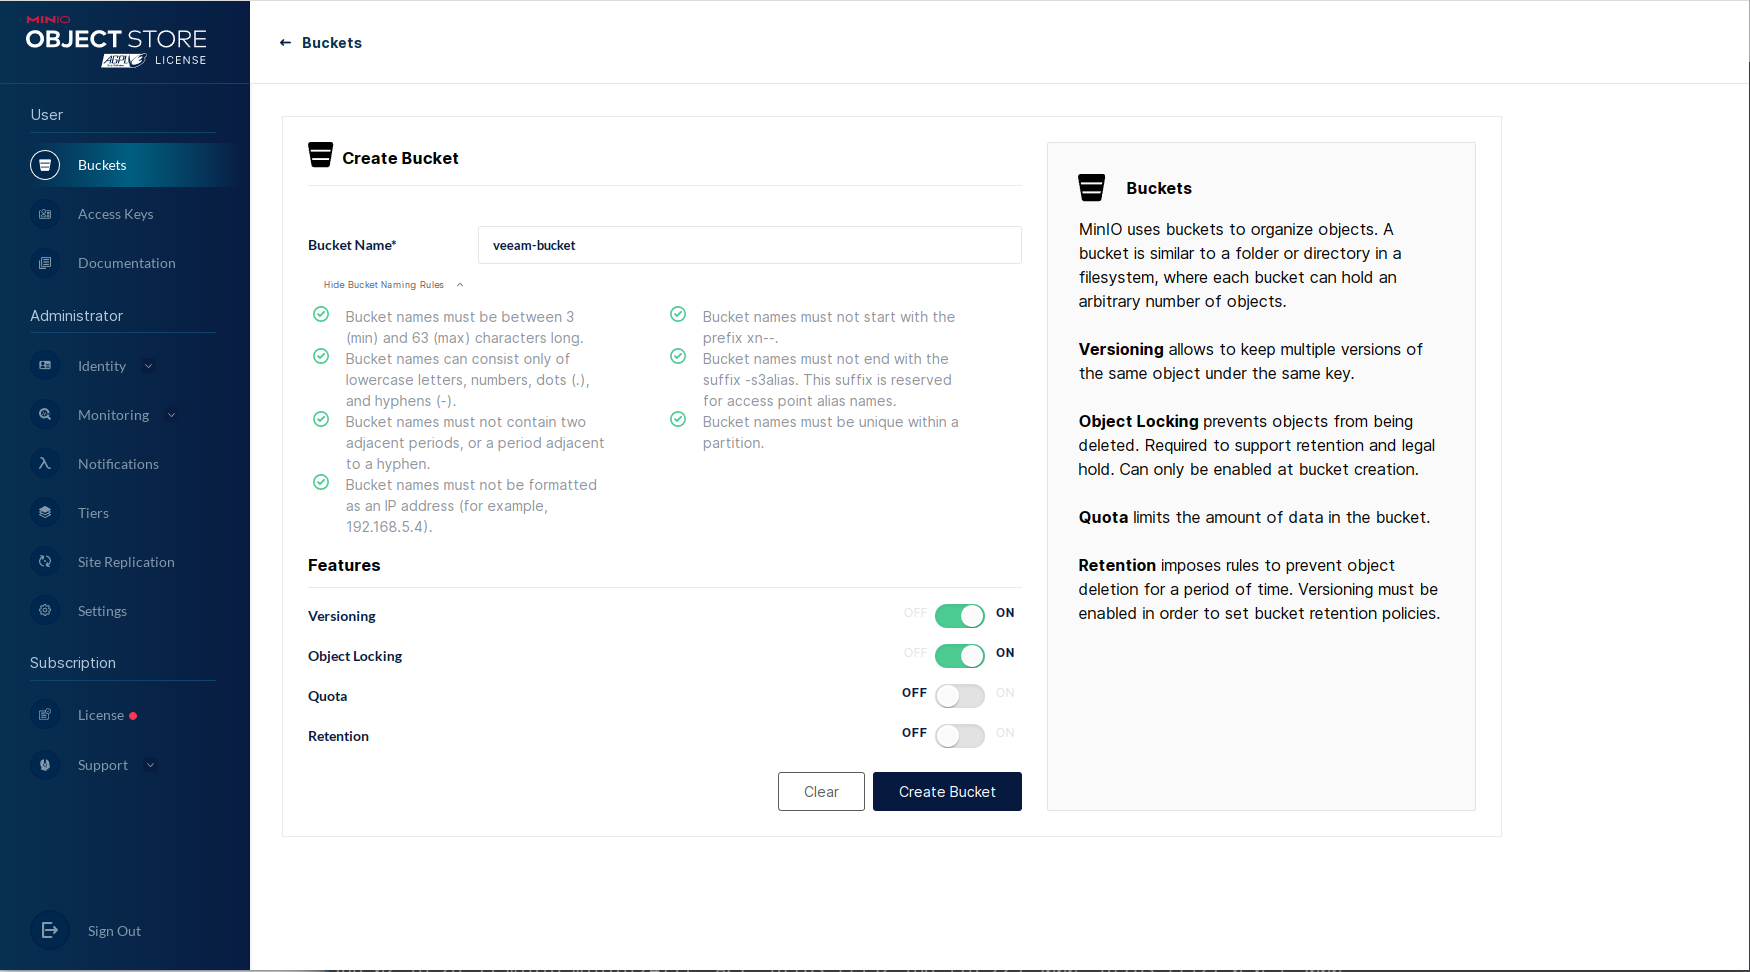
Give it a name and enable “Object Locking”. Once that’s done, click on “Create Bucket”.
MinIO – Create Access Key
Next, navigate to “Access Keys” and select “Create access key +”.
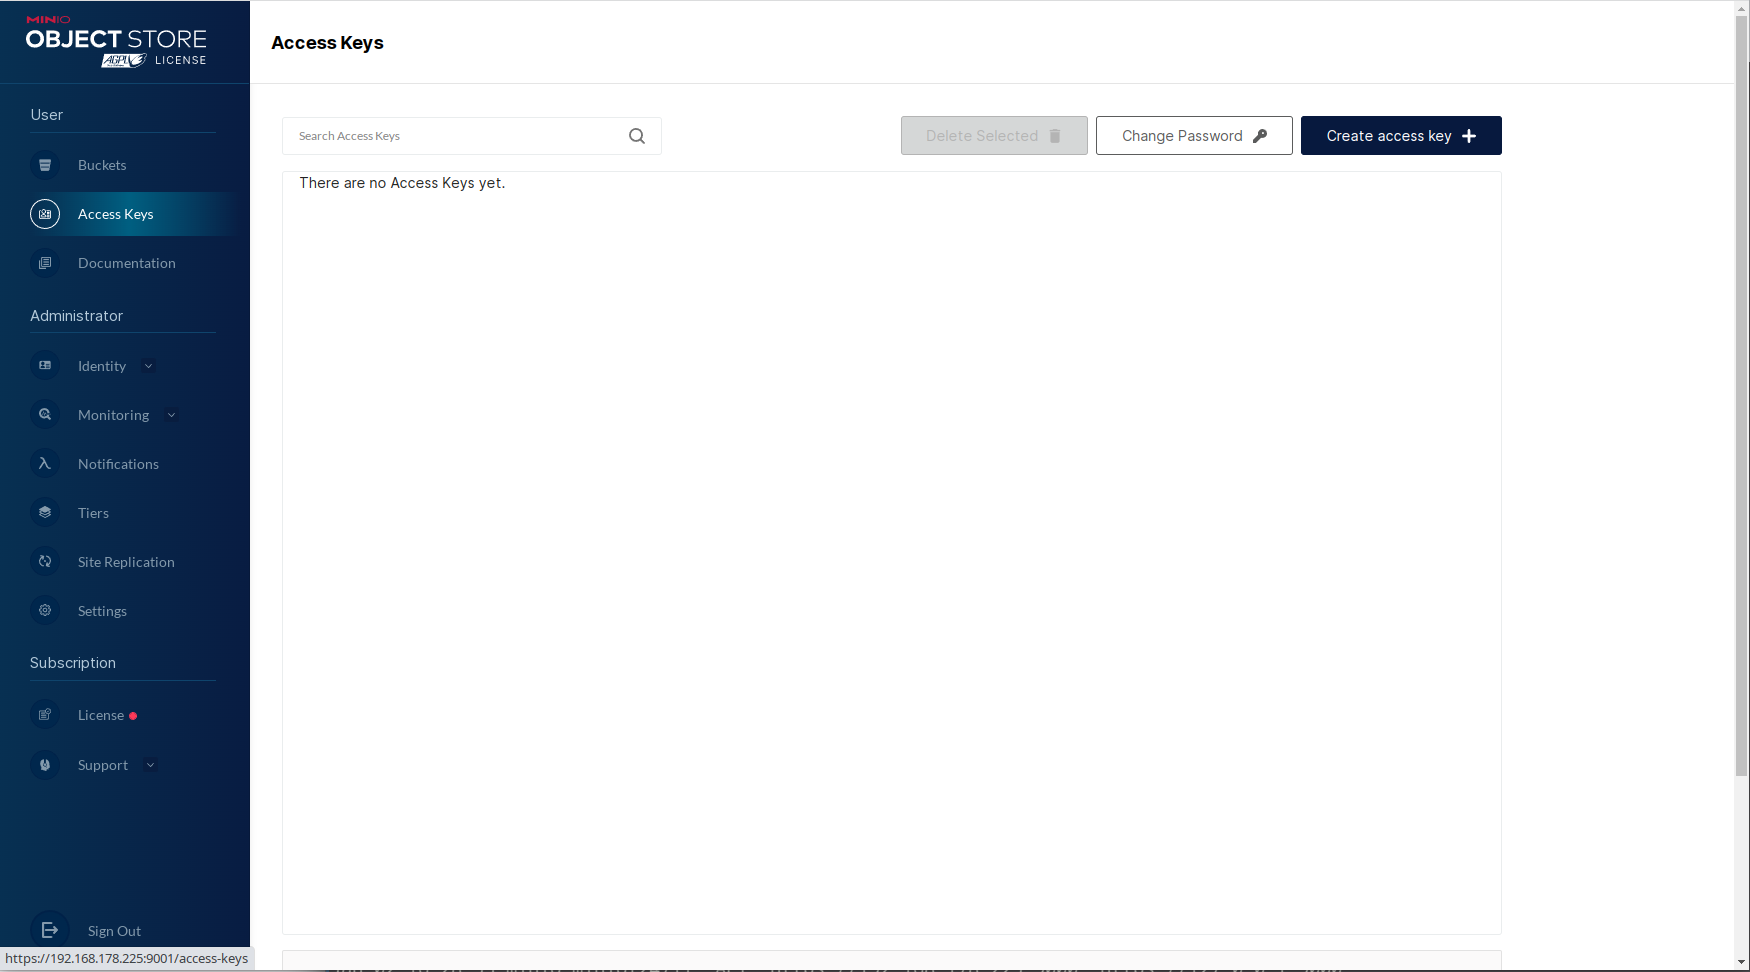
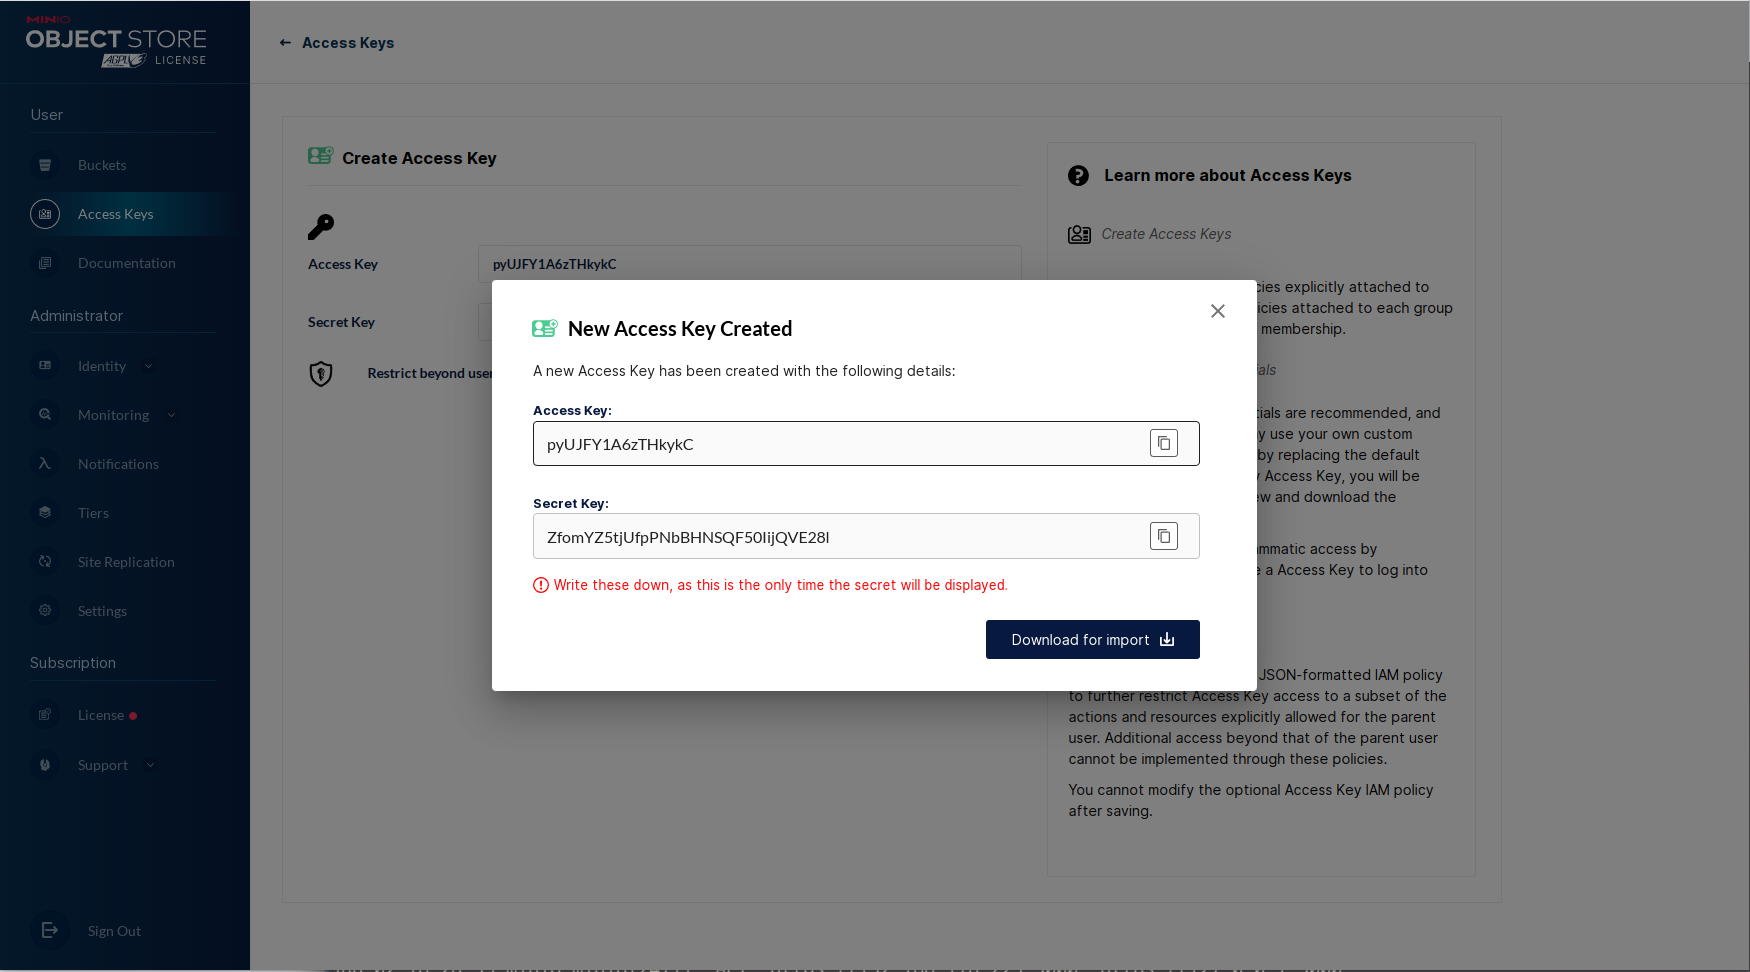
Here we can either just click on “Create” or change the keys.
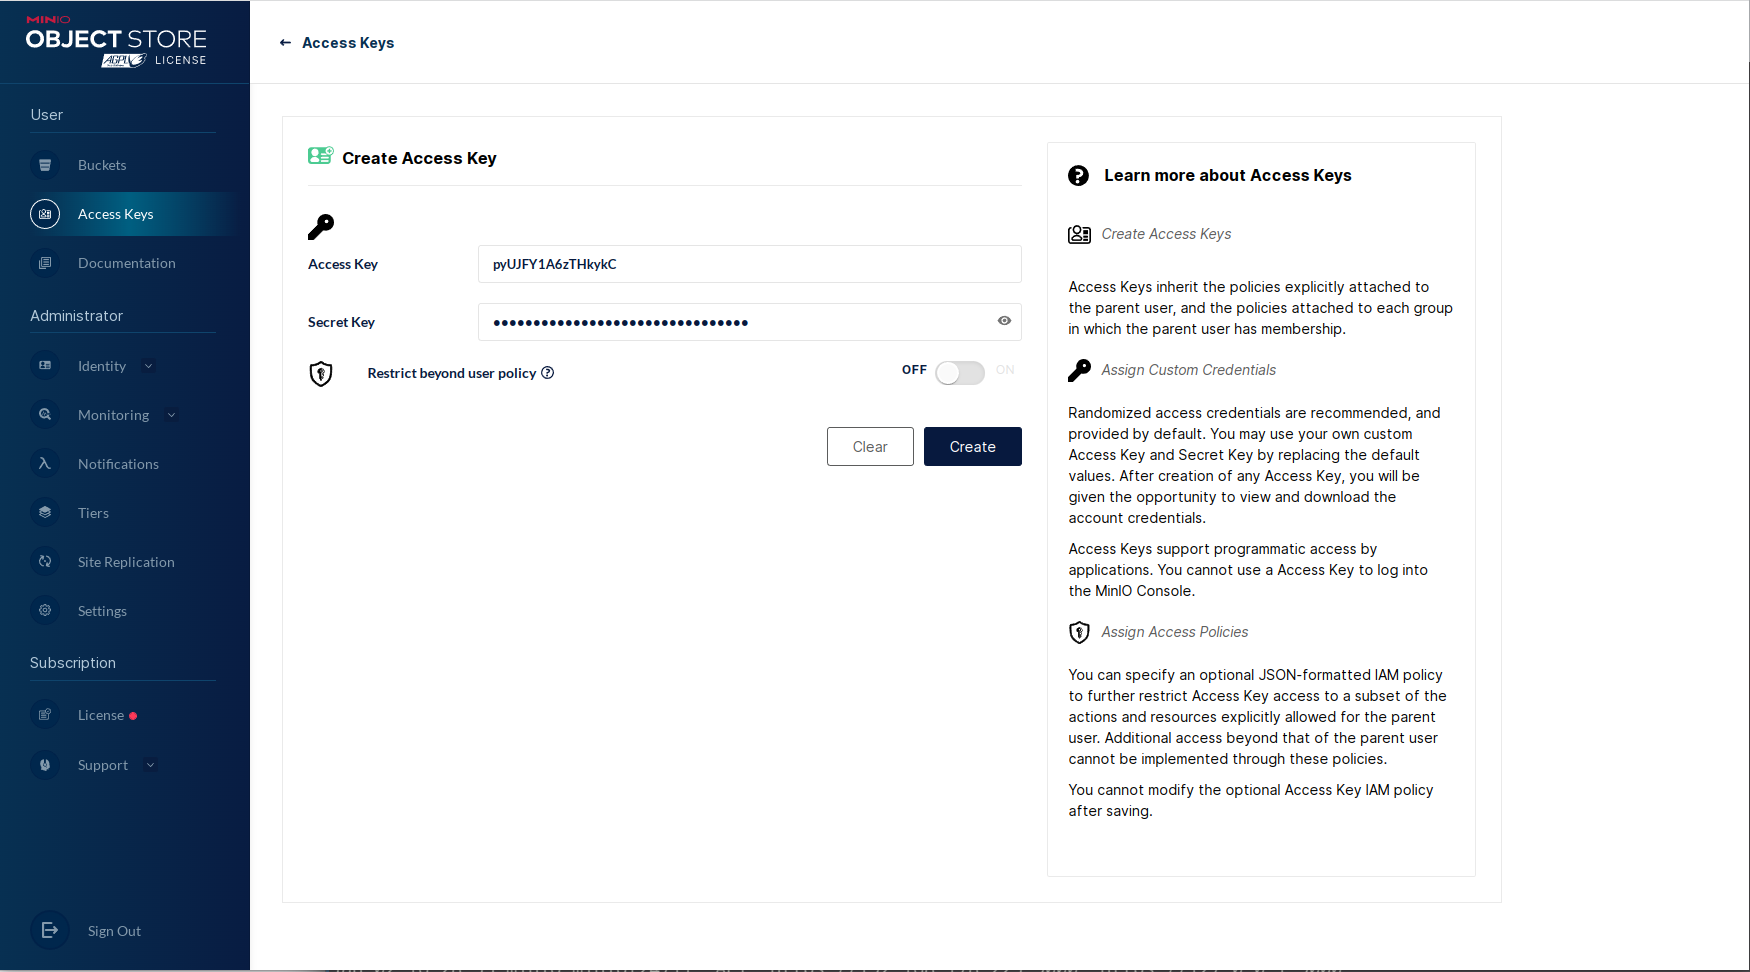
Copy the information for Veeam and close the window.
That’s it for the absolute basics on MinIO (I guess).
Now we switch to Veeam Backup & Replication.
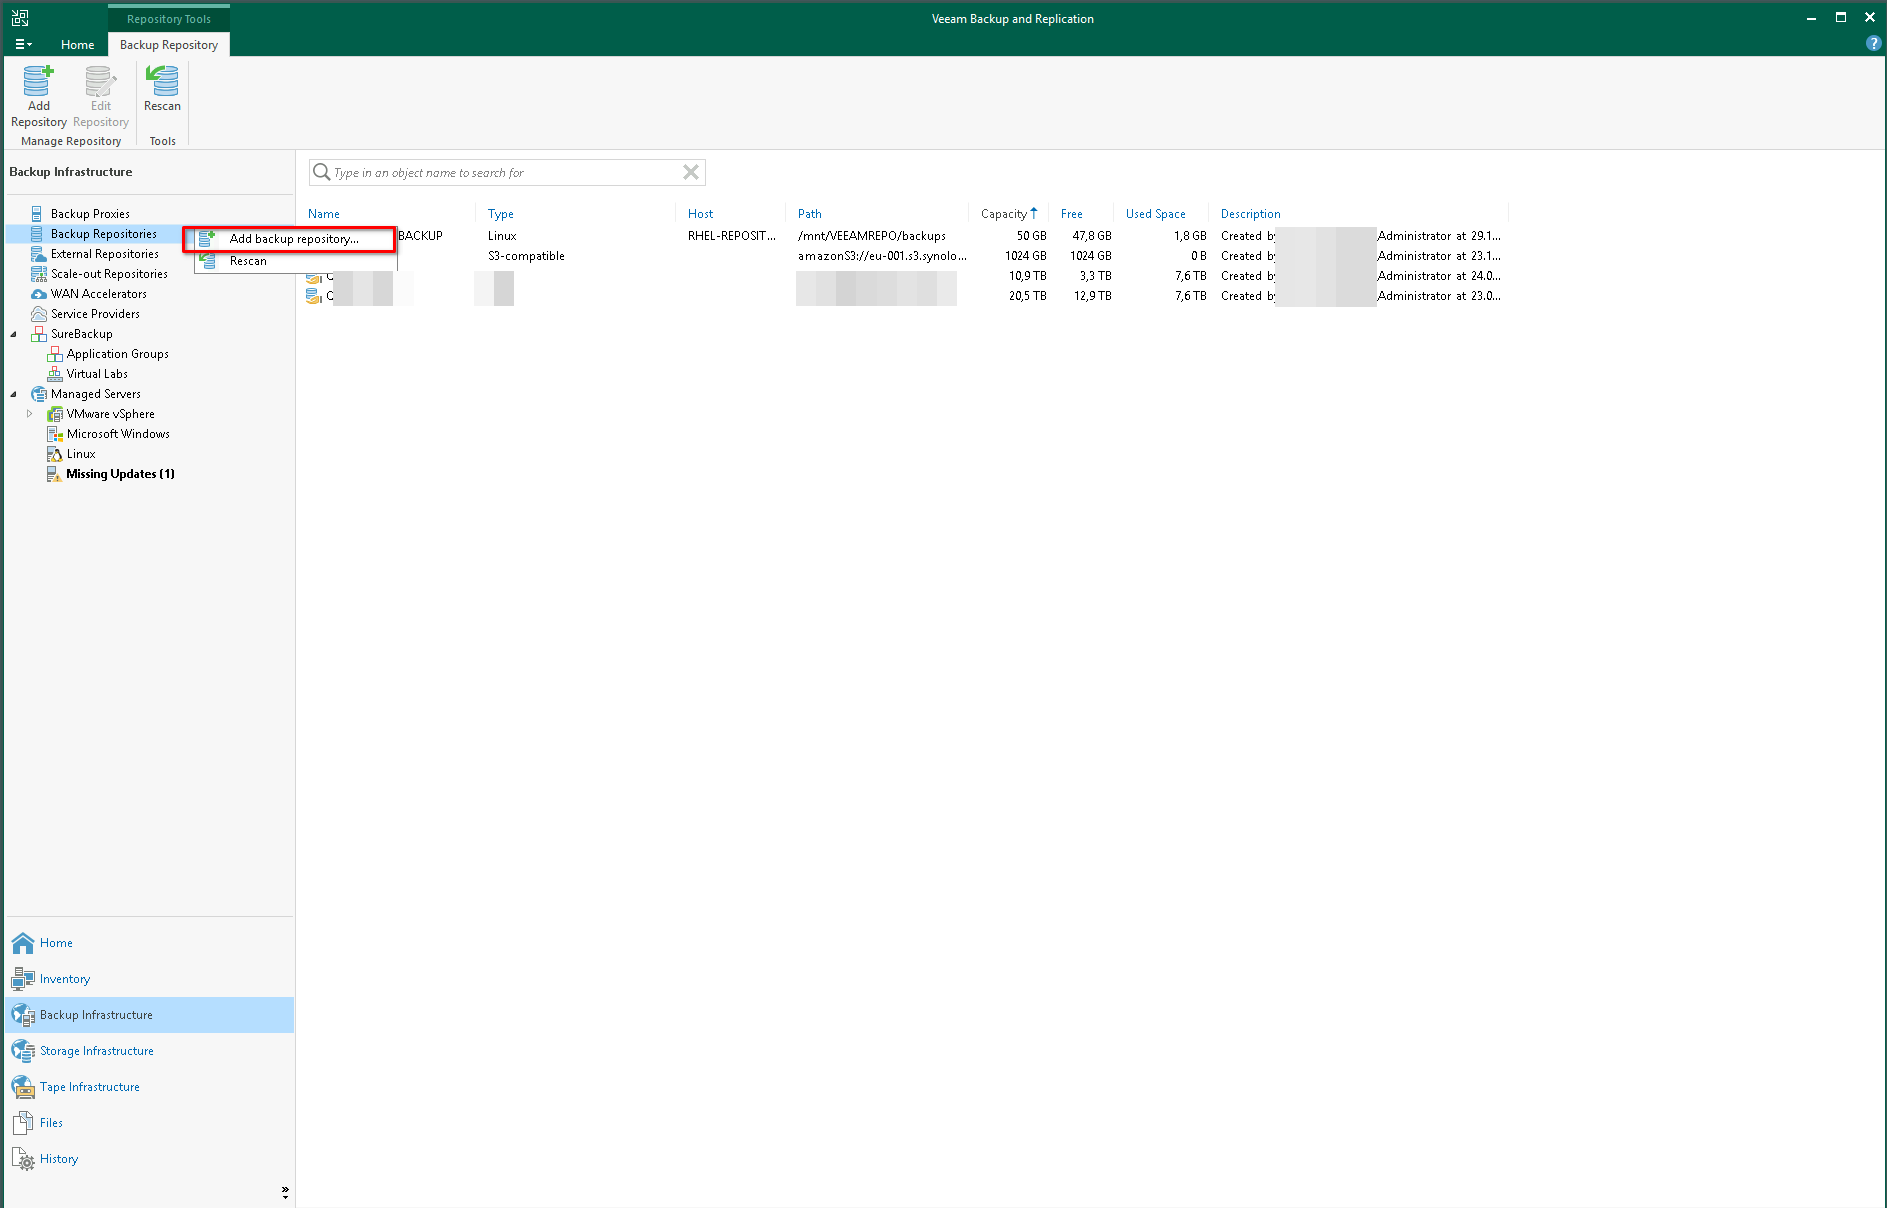
Veeam Backup & Replication – Setup S3 Object Storage
Navigate to “Backup Infrastructure”, right-click on “Backup Repository” and click on “Add backup repository”.
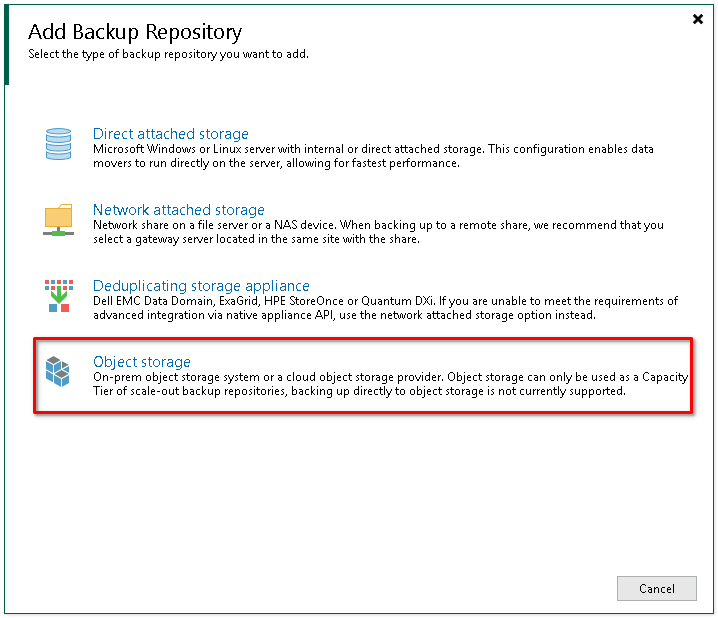
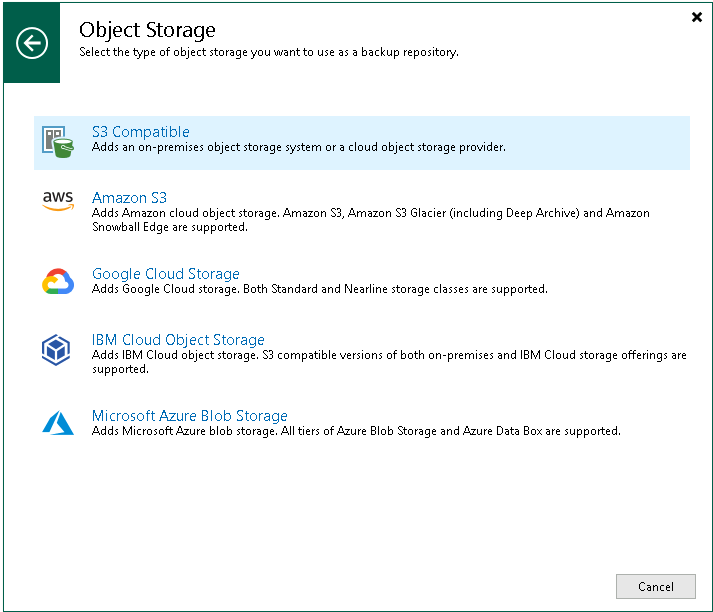
Select “Object Storage”.
“S3 Compatible”.
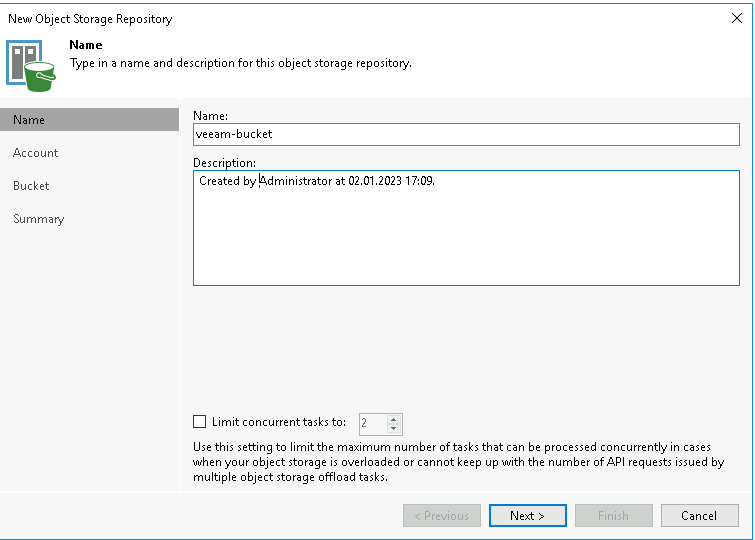
Give it a nice name and click on “Next”.
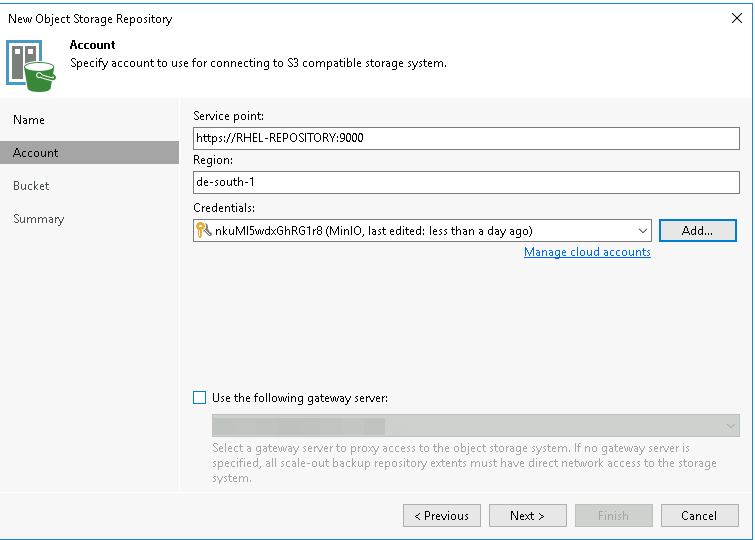
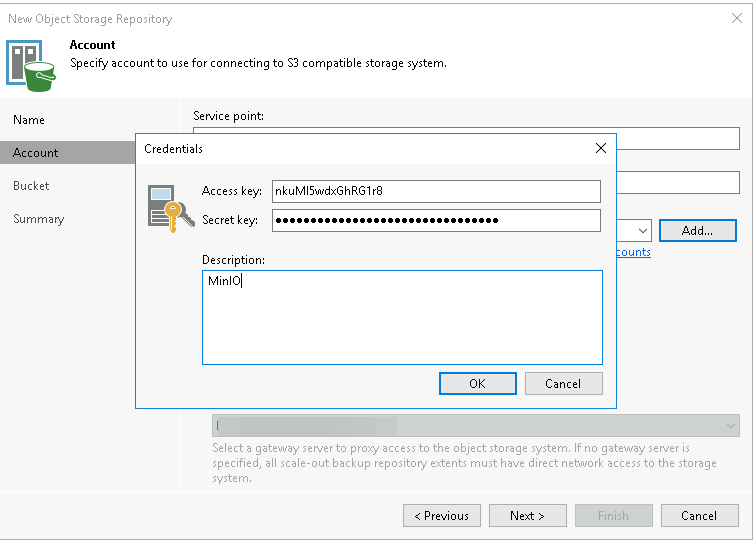
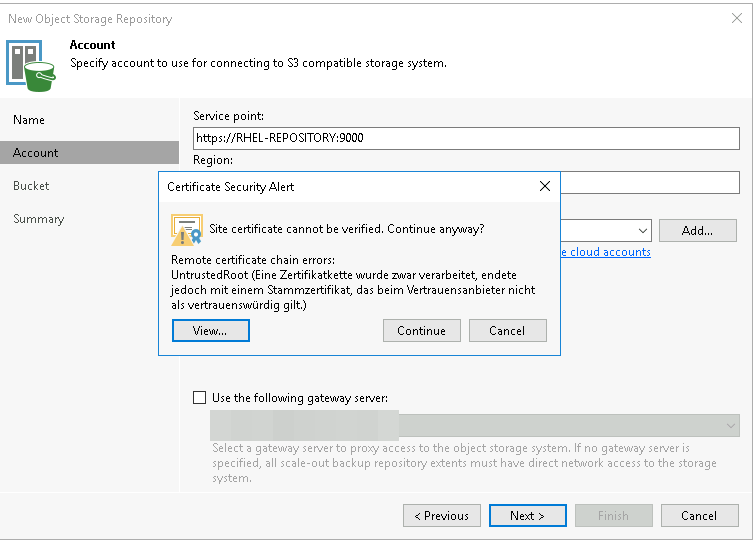
OK. Now, for the “Service point” we input the URL of our MinIO server with port 9000. The Region is not relevant in this case. Under “Credentials”, click on “Add” and paste the access and secret key.
Click on “Next” and accept the certificate.
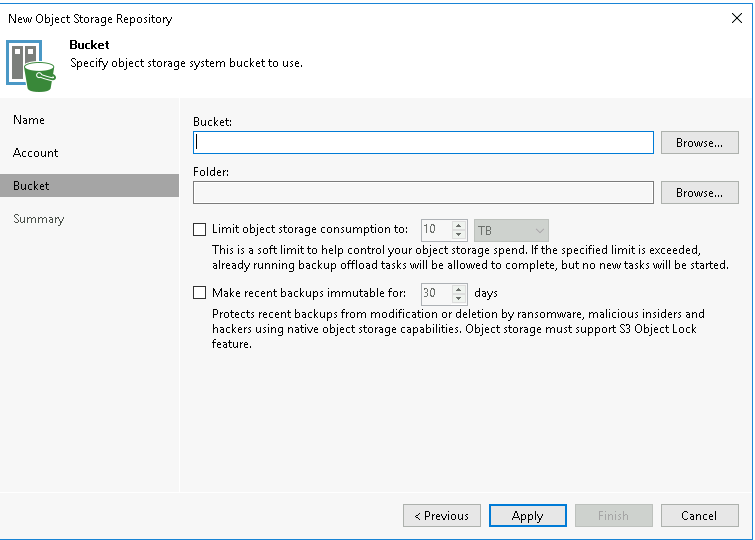
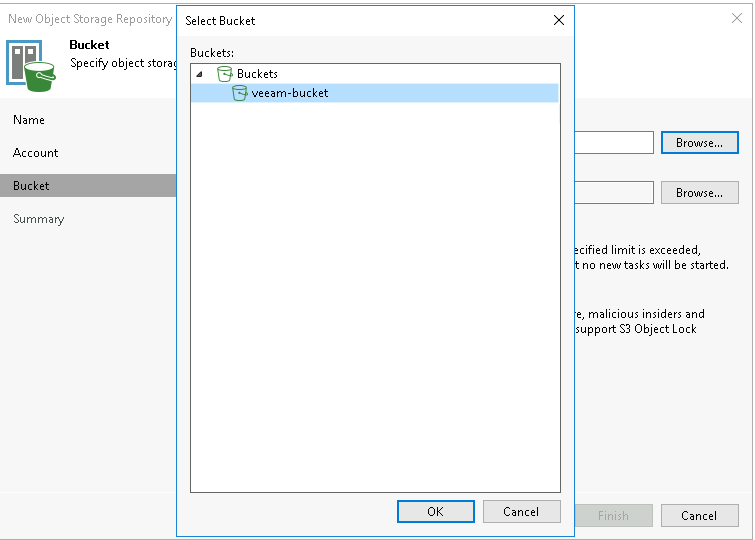
Select “Browse” for the buckets and click on the new bucket we created earlier.
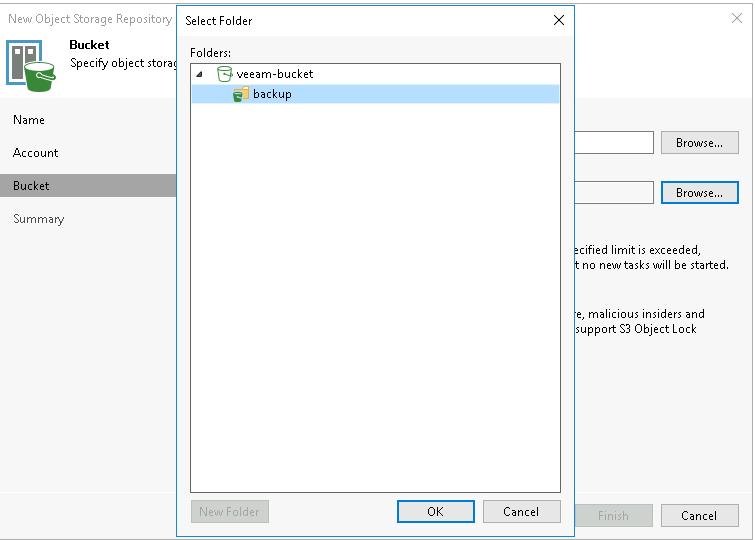
Browse the folder and create a new one. Mine will be called “backup”. I will also select “make recent backup immutable for x days”.
Click on “Apply”.
Veeam Backup & Replication – Create a “Scale-out Repository”
Now, with the newly created repository, we can create a “Scale-out Repository”.
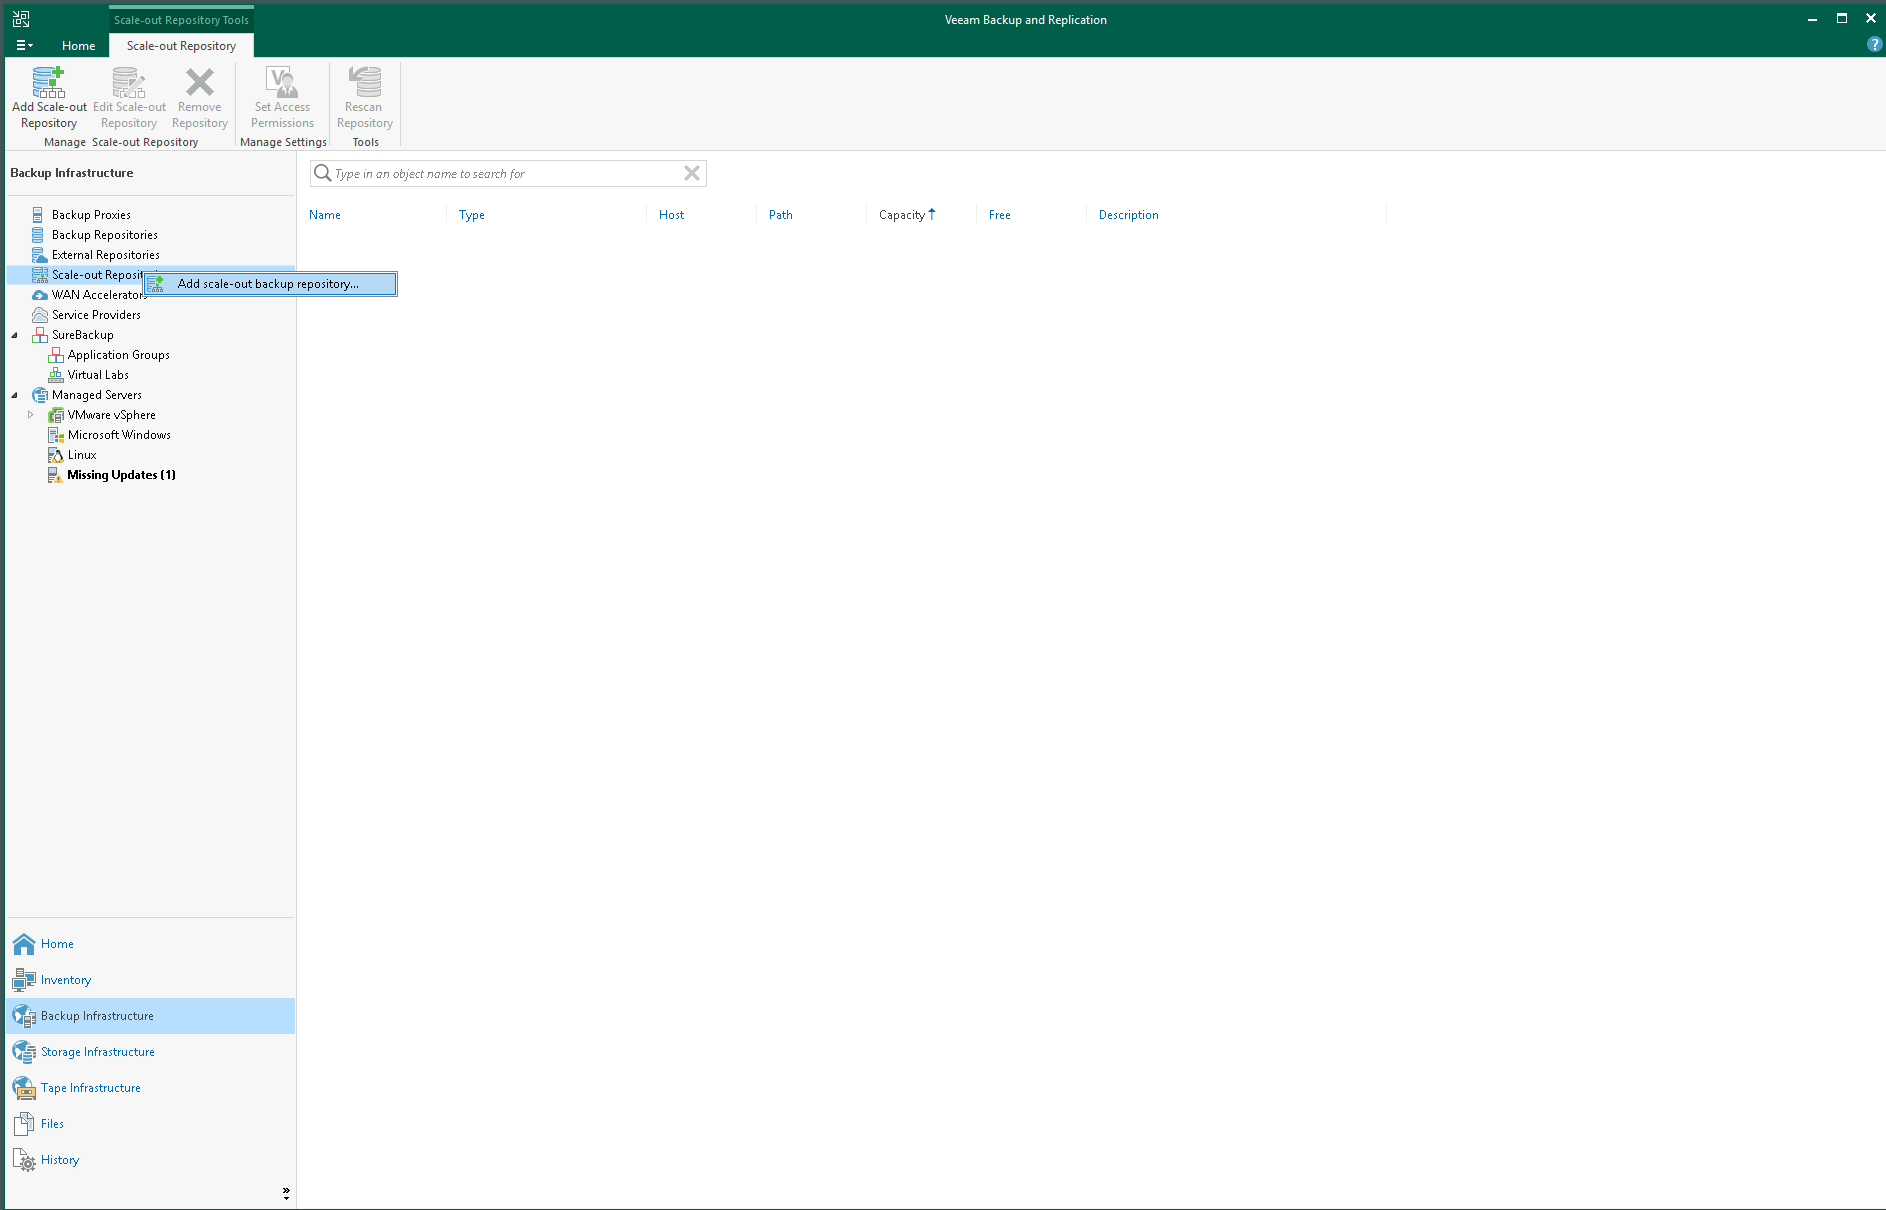
Navigate to “Backup Infrastructure”, right-click on “Scale-out Repositories” and click on “New Scale-out Backup Repository”.
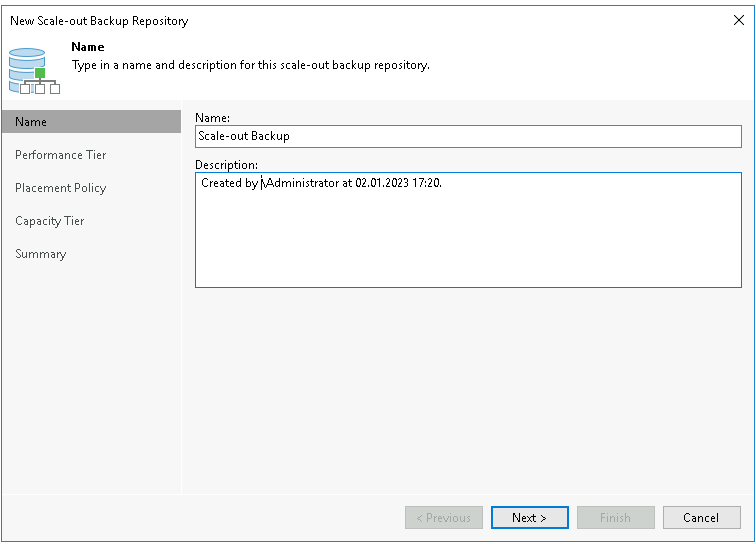
Give it a nice name and click on “Next”.
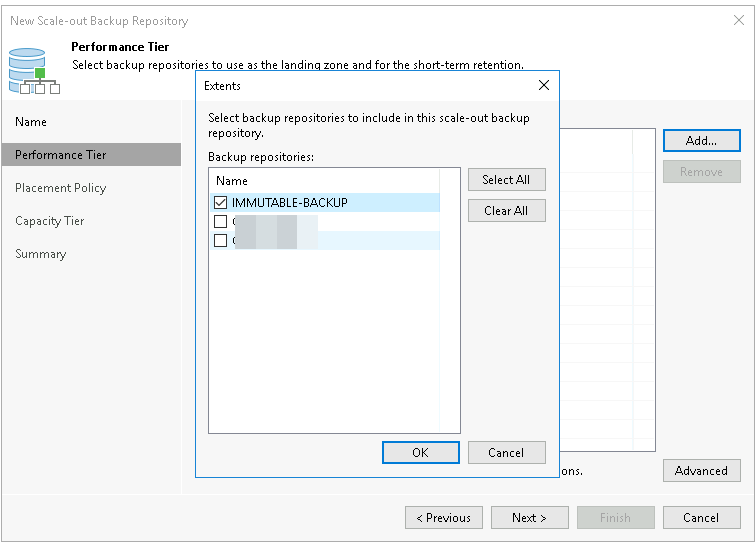
Click on “Add” and select a repository. I will use the previously created “immutable repo” for this. Click on “Next”.
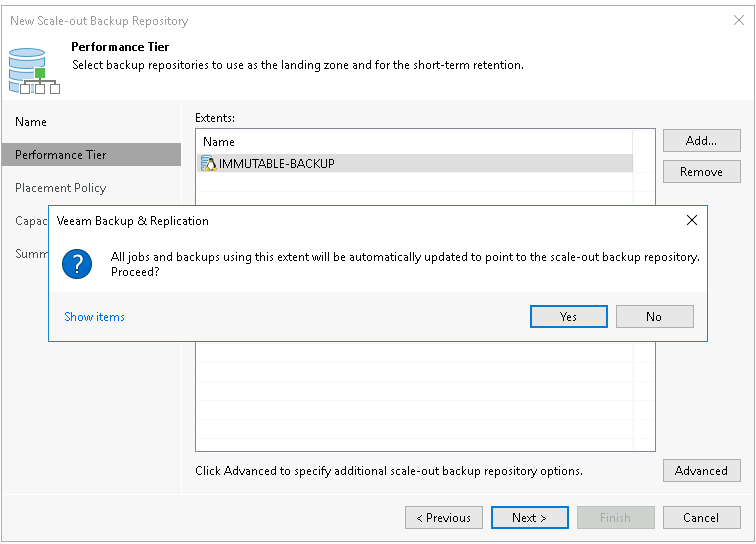
Accept the update.
Choose a placement policy and click on “Next”.

Select “Extend scale-out backup repository…” and choose the options that fit your needs the best. I will leave it as the default for this example.
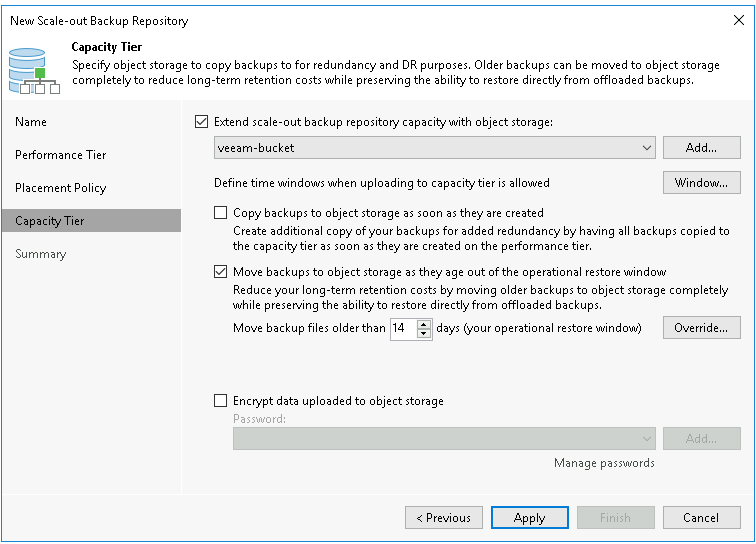
Click on “Finish” and we are done.
I will be testing this setup for a few days, see what can and cannot be done. For example, I didn’t know (until I tried) that I cannot add additional disks to an existing node. Resizing the disks seems to work.
Also, it seems that the “Version Locking” also works with a single node and single drive since release 2022-06-02T02-11-04Z. So adding additional drives wasn’t really necessary (probably).
Anyway. I will have a Part 2 on how to set up Prometheus for the “Metrics” in MinIO, and if I see something interesting, might add that as well.
Till next time.