Hardened Linux Repository
Hello there everyone.
Today, I want to check out the “Hardened Linux Repository” feature that was introduced in V11 (I think) for immutable backups. Immutable backups was already a thing before, but it utilized S3 and other object storage providers.
Don’t know if “minio” would work. Could be another project, I guess.
So, the plan is to deploy a Linux OS, RHEL in my case, and see how to set up the immutable backup.
Linux Installation and Configuration
I will not go through the installation process, did this a few times already. So I assume that the system is already running.
Here is what I deployed.
- OS: RHEL 9 – (Minimal Install)
- Hostname: RHEL-REPOSITORY
- RAM: 8GB
- CPU: 2 cores
- Disk1: sda 30GB – root
- Disk2: sdb 50GB – Backup repository
Alright. Let’s start with the configuration.
First, I will create a user that will be used by veeam for the backups. I will also give it sudo permissions, which will be removed later.
RHEL :: ~ » sudo useradd veeam
RHEL :: ~ » sudo passwd veeam
Changing password for user veeam.
New password:
Retype new password:
passwd: all authentication tokens updated successfully.
RHEL :: ~ » sudo usermod -a -G wheel veeam
Now create the filesystem on the second disk (sdb). Make sure you select the correct one. We can check this, with for instance “lsblk”.
These are the recommended settings for the filesystem. Those should be the default though. So a basic “mkfs.xfs /dev/sdb” should be fine. But, just to make sure, I will type it out.
RHEL :: ~ » sudo mkfs.xfs -b size=4096 -m reflink=1,crc=1 /dev/sdb -f
meta-data=/dev/sdb               isize=512    agcount=4, agsize=3276800 blks
         =                       sectsz=512   attr=2, projid32bit=1
         =                       crc=1        finobt=1, sparse=1, rmapbt=0
         =                       reflink=1    bigtime=1 inobtcount=1
data     =                       bsize=4096   blocks=13107200, imaxpct=25
         =                       sunit=0      swidth=0 blks
naming   =version 2              bsize=4096   ascii-ci=0, ftype=1
log      =internal log           bsize=4096   blocks=6400, version=2
         =                       sectsz=512   sunit=0 blks, lazy-count=1
realtime =none                   extsz=4096   blocks=0, rtextents=0
Next, I will create a folder for the backups.
RHEL :: ~ » sudo mkdir /mnt/VEEAMREPO
We will need to mount our disk to this new location.
RHEL :: ~ » sudo mount /dev/sdb /mnt/VEEAMREPO
Give the correct permissions.
RHEL :: ~ » sudo chown -R veeam.veeam /mnt/VEEAMREPO
RHEL :: ~ » sudo chmod 700 /mnt/VEEAMREPO
Also, make sure to add the mount point to the fstab file. Otherwise, it won’t mount the disk after a reboot.
You can get the “UUID” with the “blkid” command.
RHEL :: ~ » sudo blkid
...
/dev/sdb: UUID="e28cf5ab-8ae5-4ef9-a7fe-5a1ee946a6ca" TYPE="xfs"
...
RHEL :: ~ » sudo vim /etc/fstab
...
UUID="e28cf5ab-8ae5-4ef9-a7fe-5a1ee946a6ca" /mnt/VEEAMREPO xfs defaults 0 0
...
That should be it for the basic setup.
Veeam Backup & Repository Configuration
Adding Linux Server to Veeam Backup & Replication
Let’s add the Linux server to Veeam.
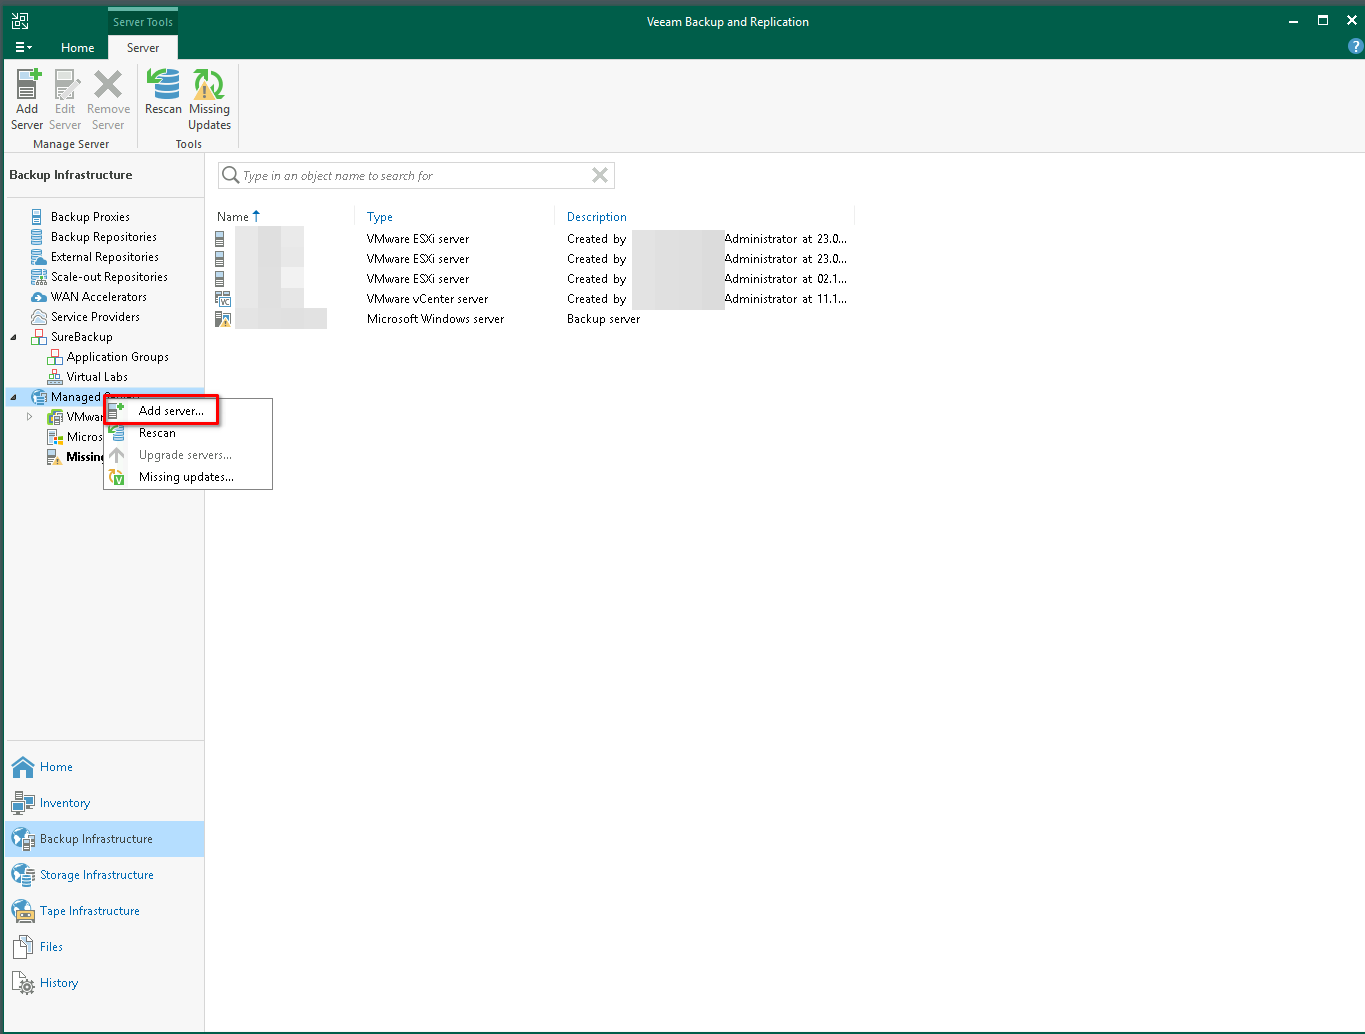
Navigate to “Backup Infrastructure” and select “Managed Servers”. Right-click and select “Add Server”.
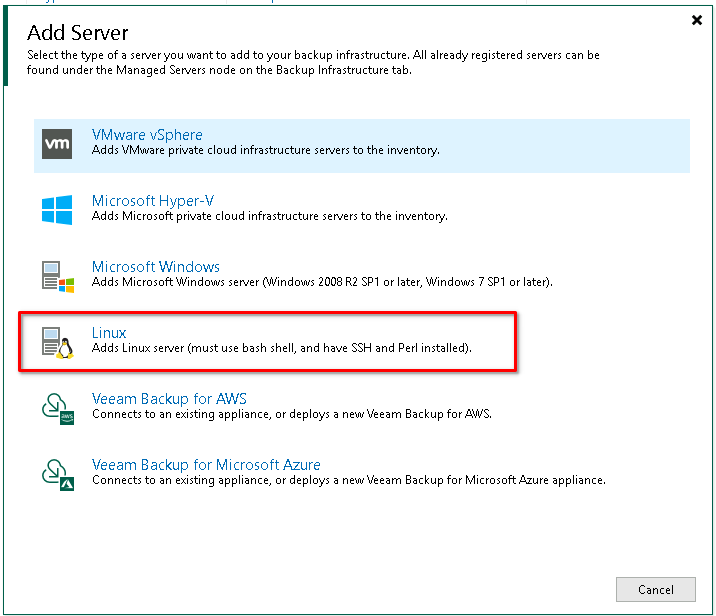
Select “Linux”.
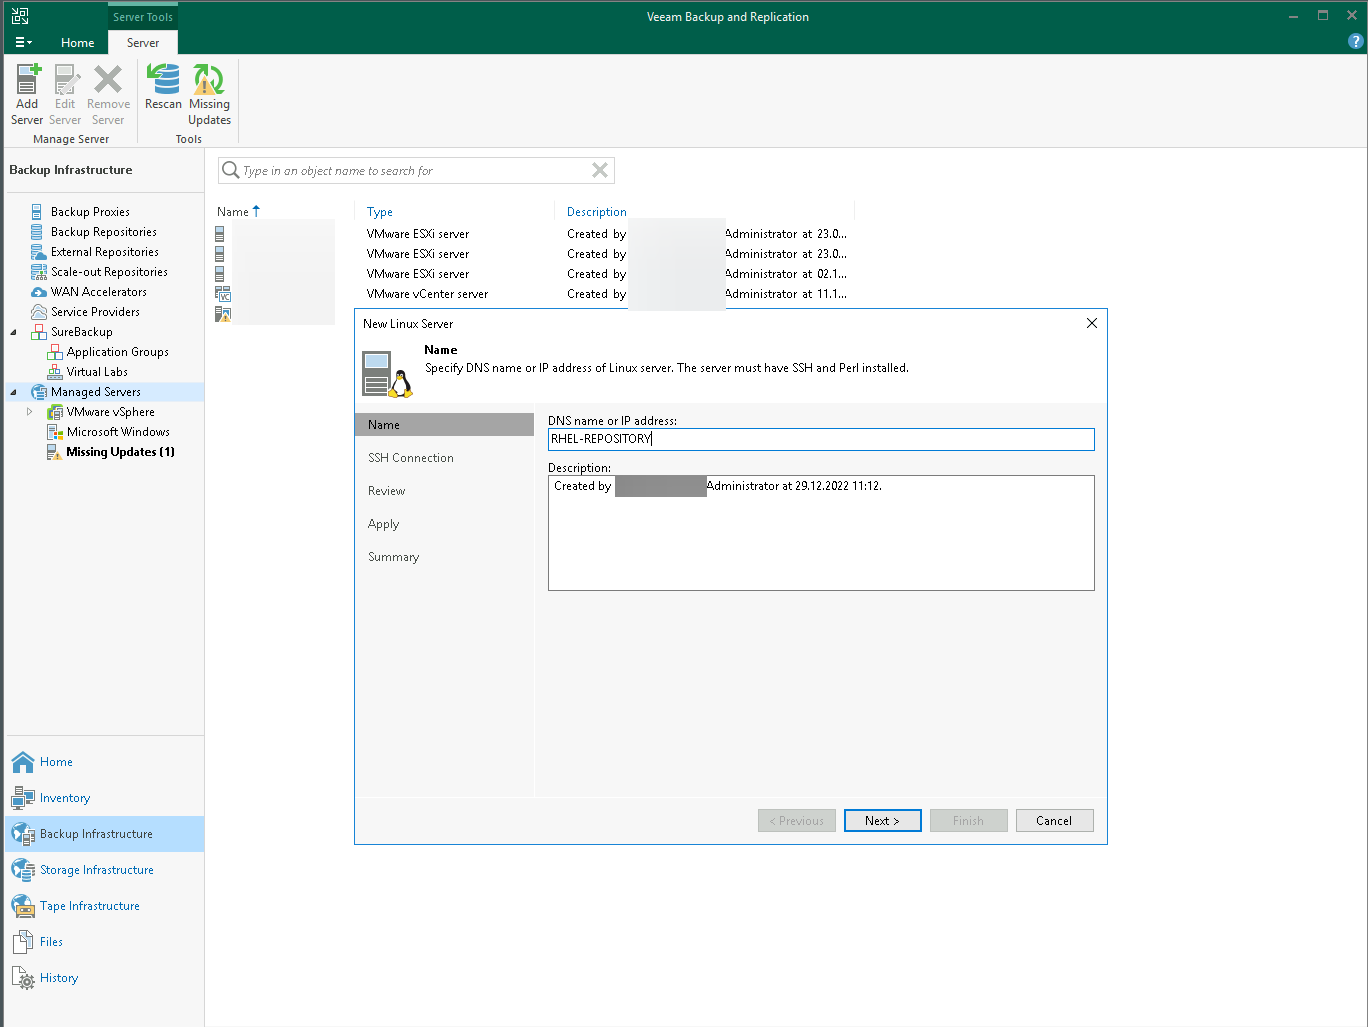
Enter the IP or hostname of the Linux server.
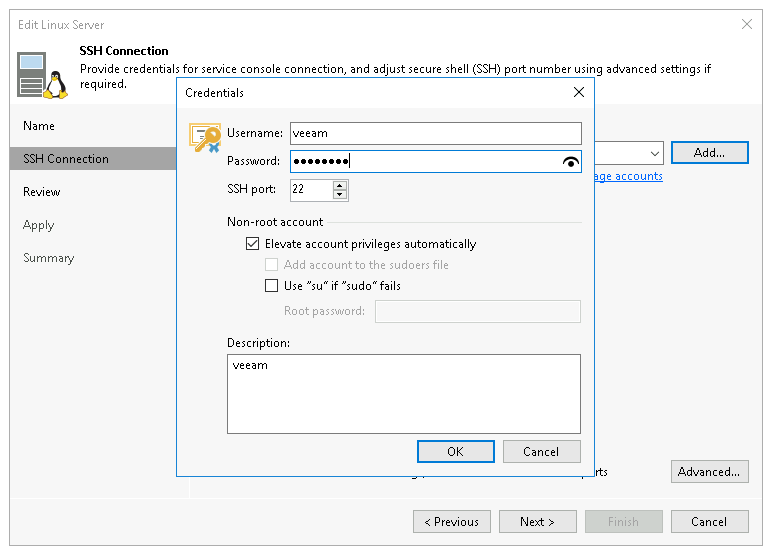
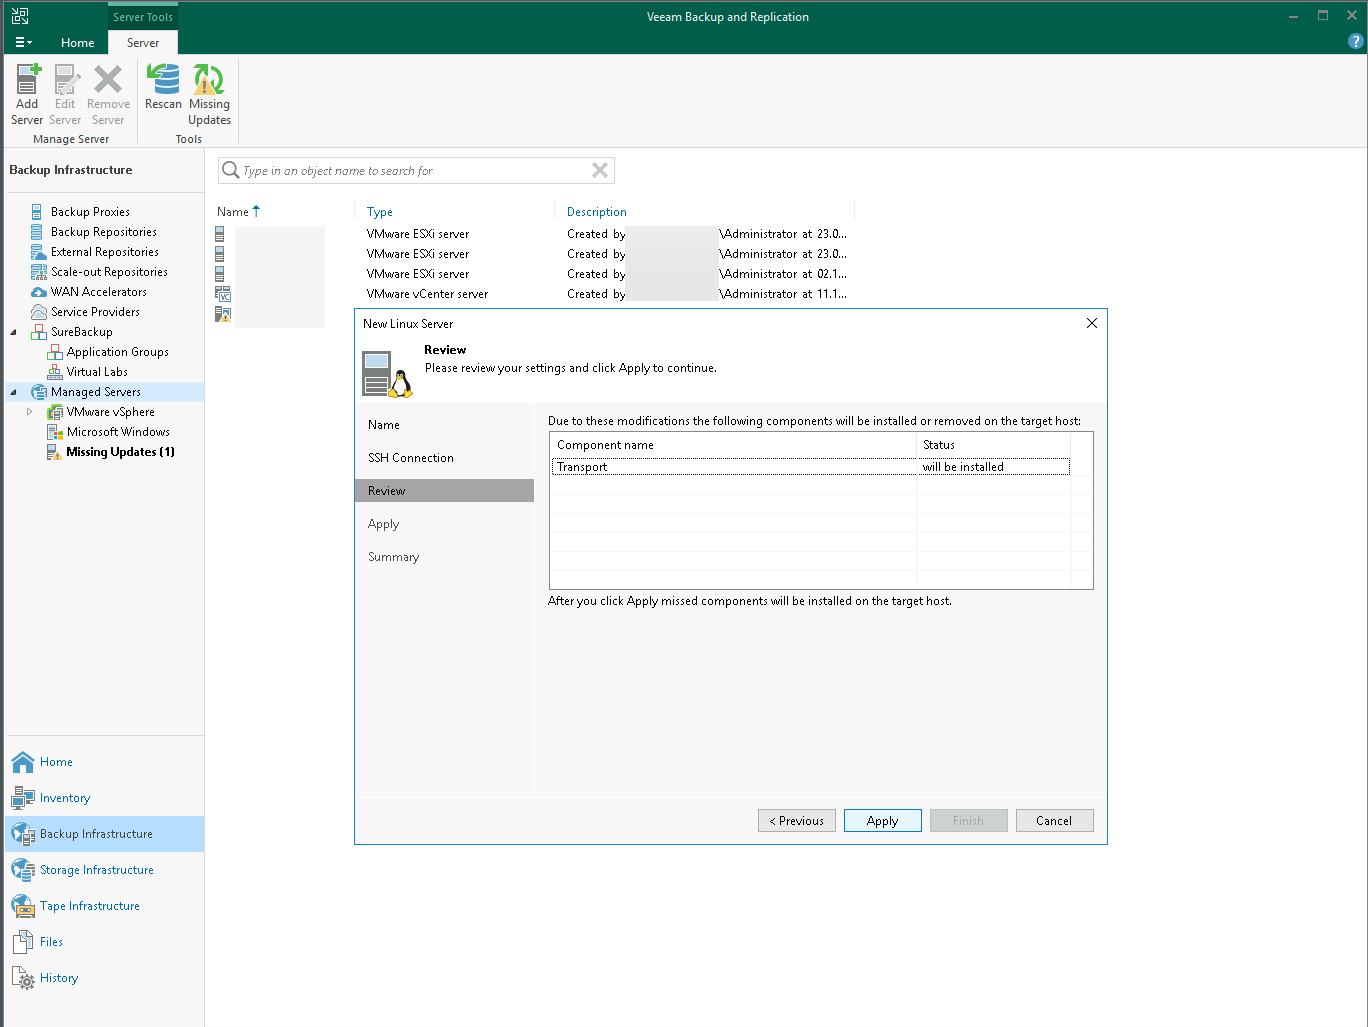
Create a “Single-use credentials for hardened repository” entry by clicking on “Add..”. We need a user with elevated permissions because Veeam needs to install the transport services first.
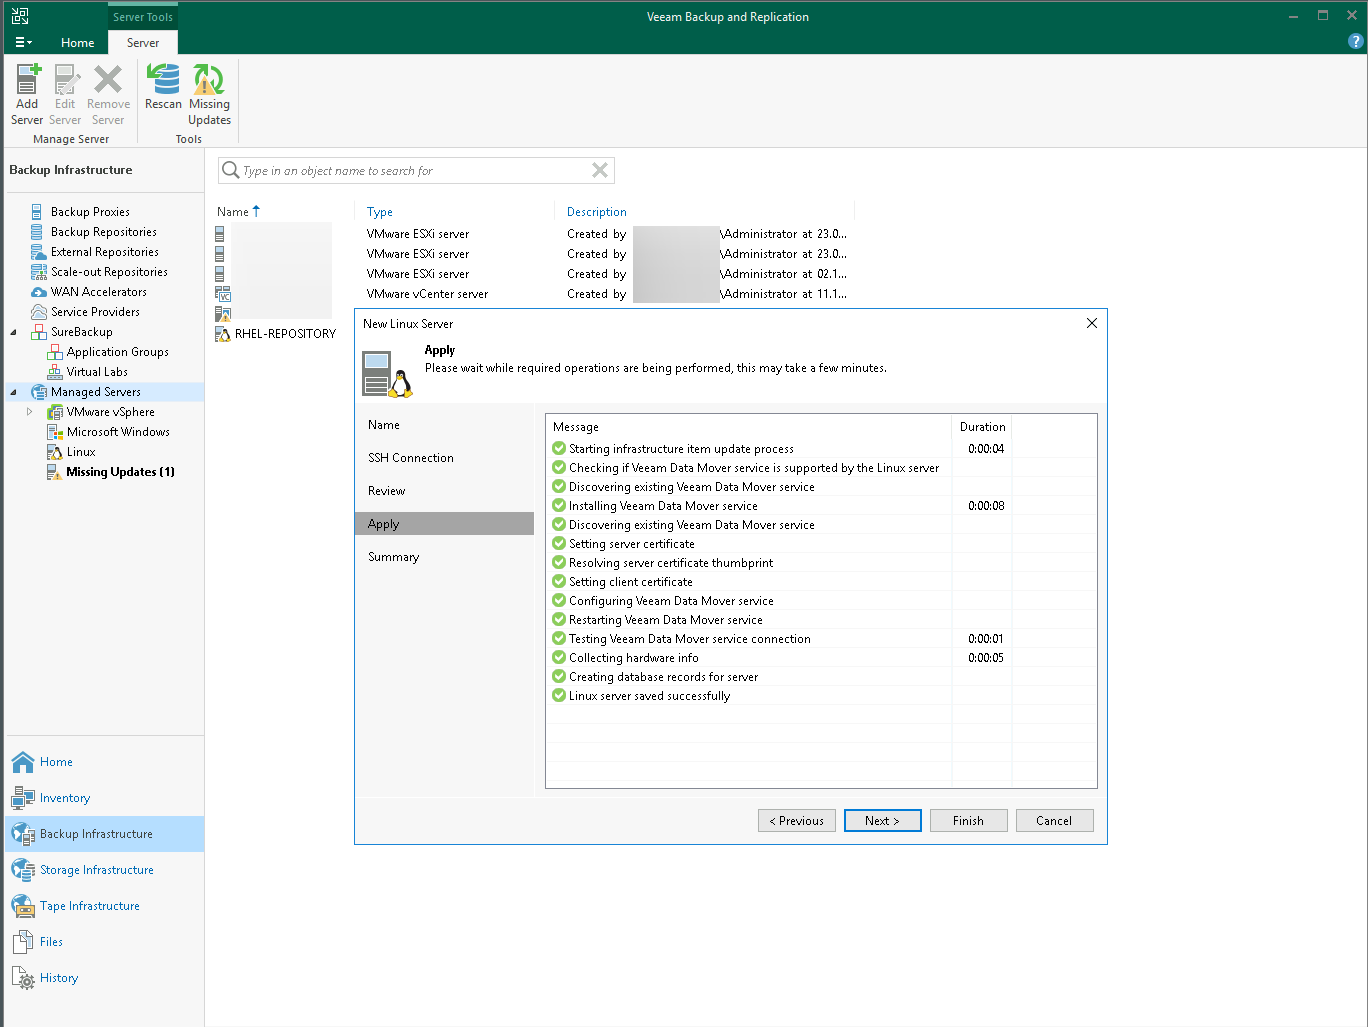
Apply the settings and click on “Finish” once the installation is done.
Add a new Backup Repository
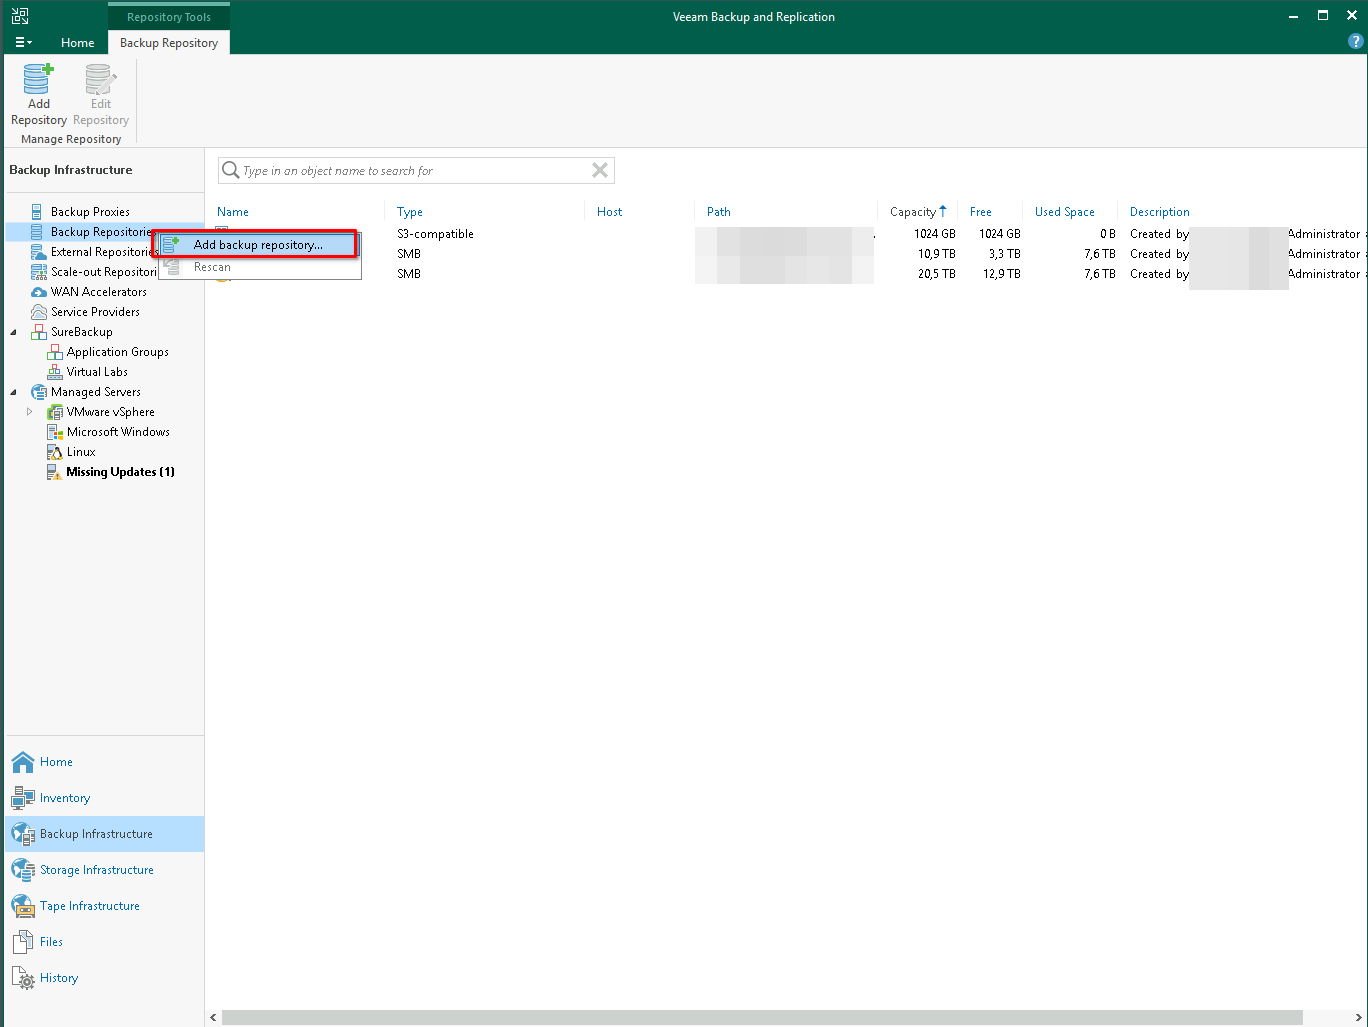
Now we can add the new system as a backup target.
Navigate to “Backup Repositories”, right-click and select “Add backup repository”.
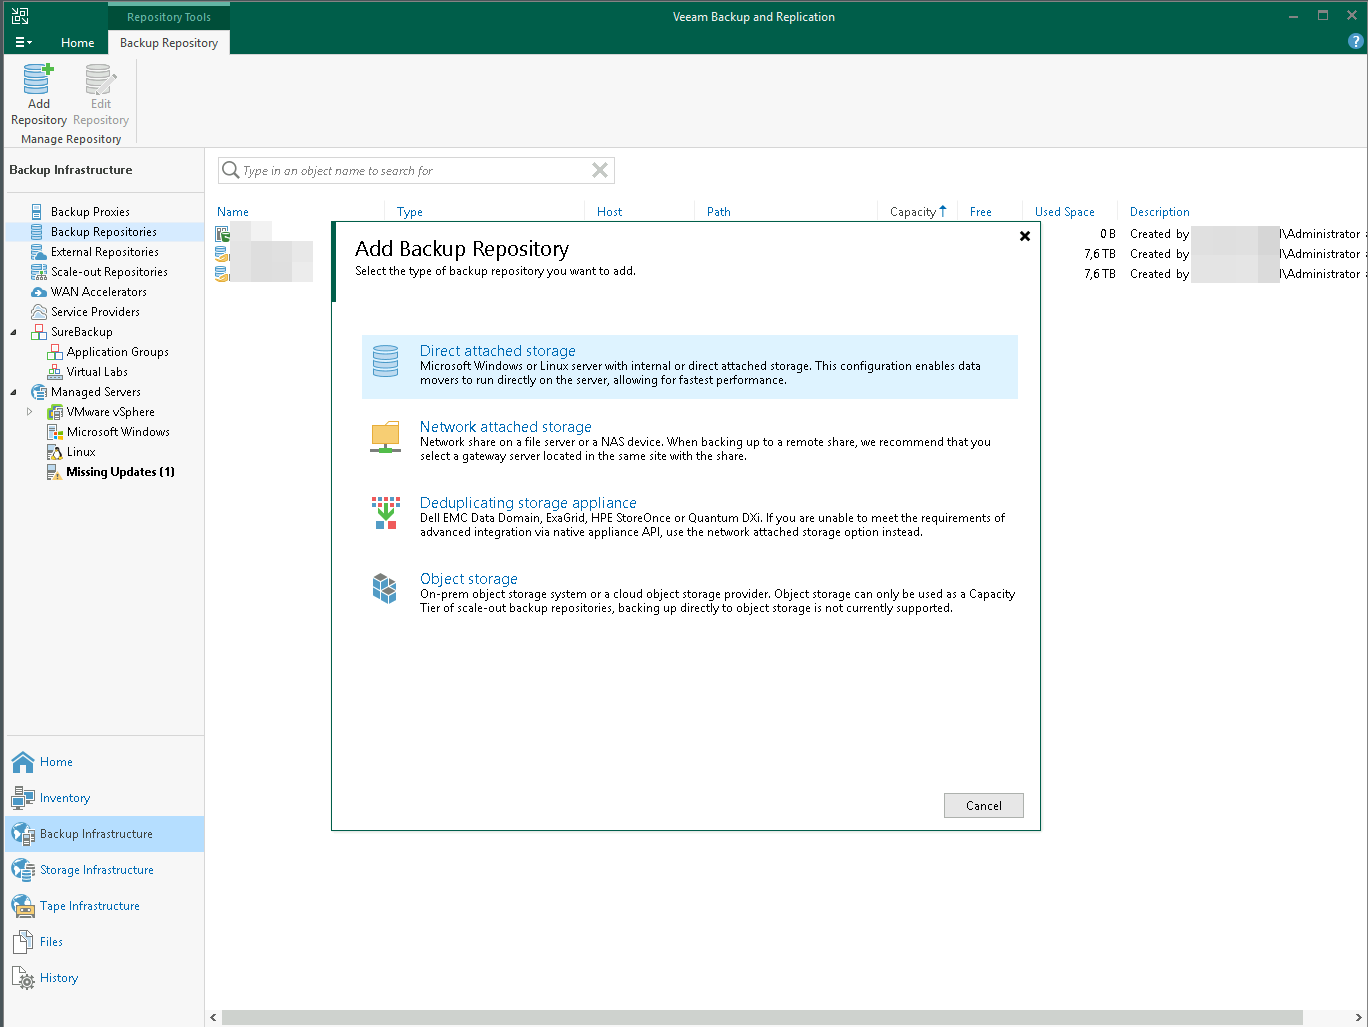
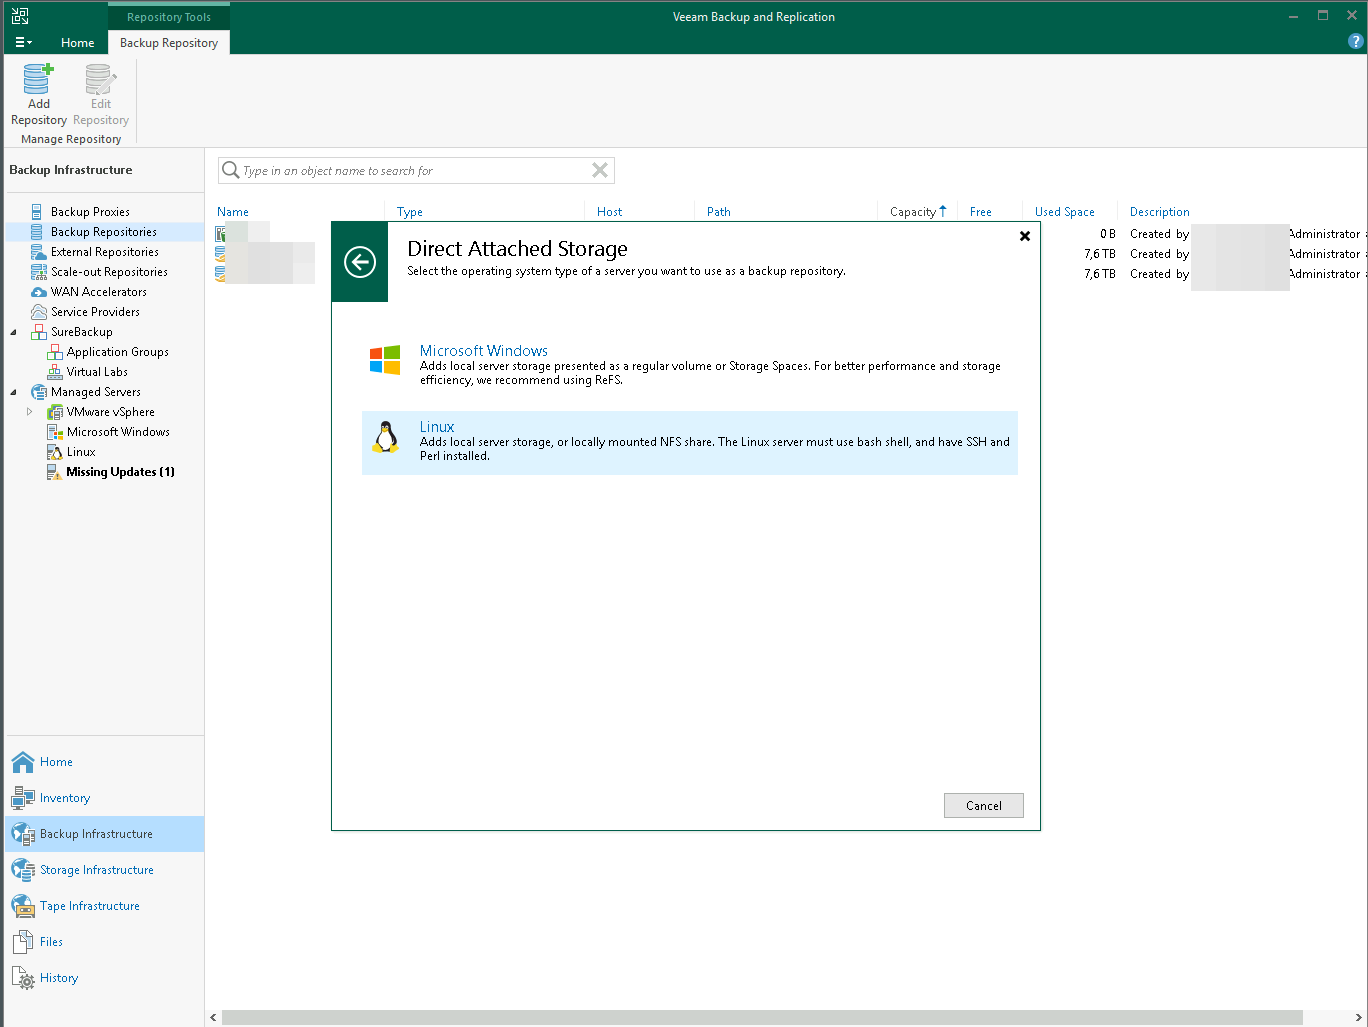
Select “Direct attached storage” -> “Linux”.
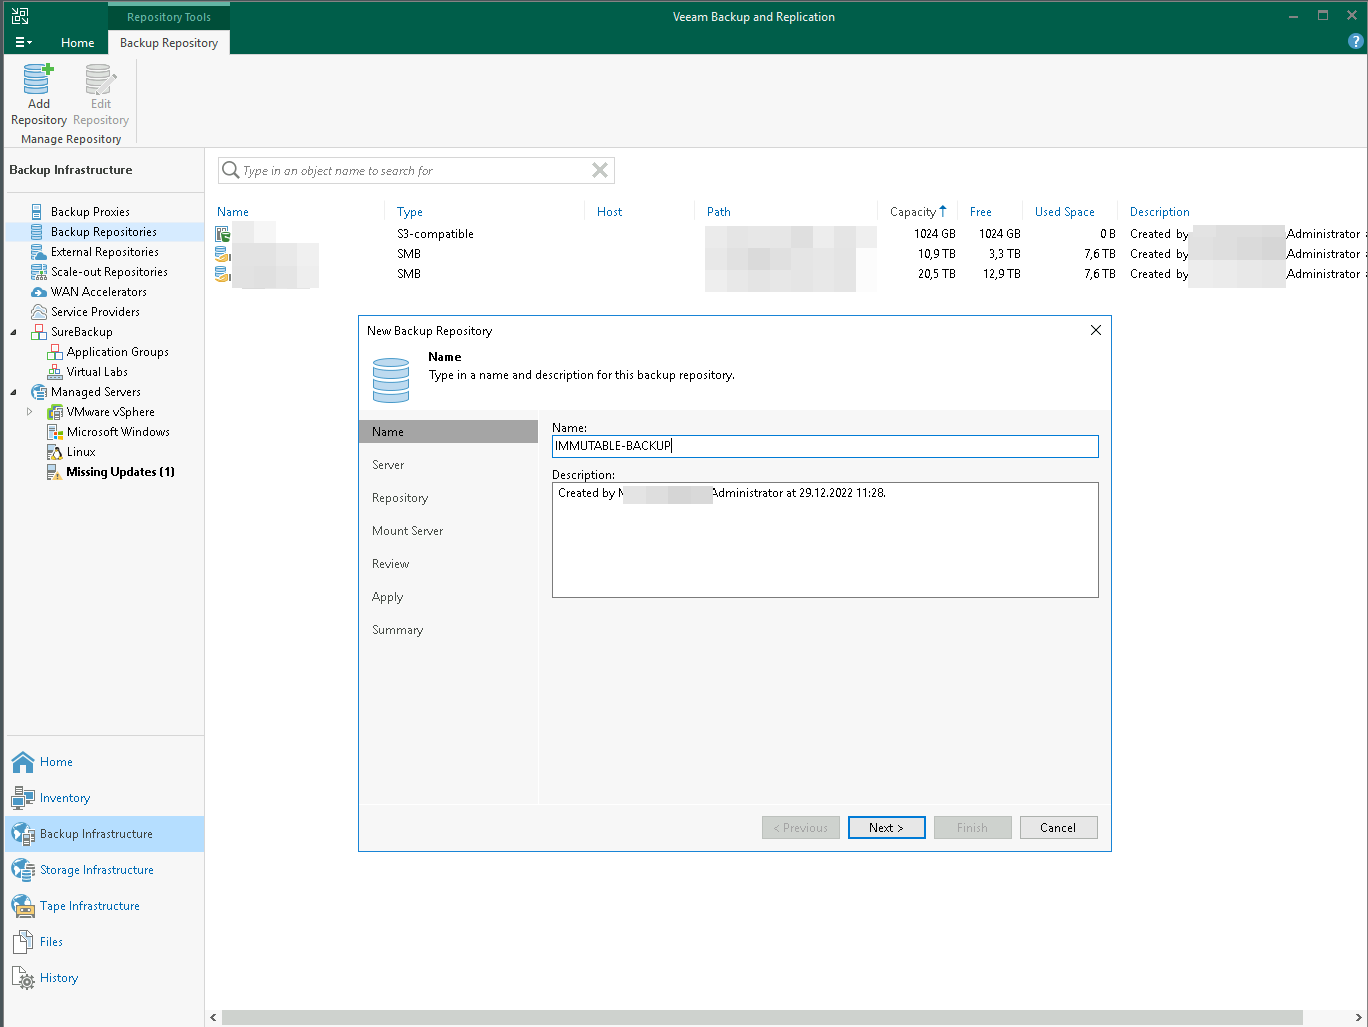
Give it a fitting name.
Select the “Repository server” we just added, there is only one in my case, and click on “Populate”.
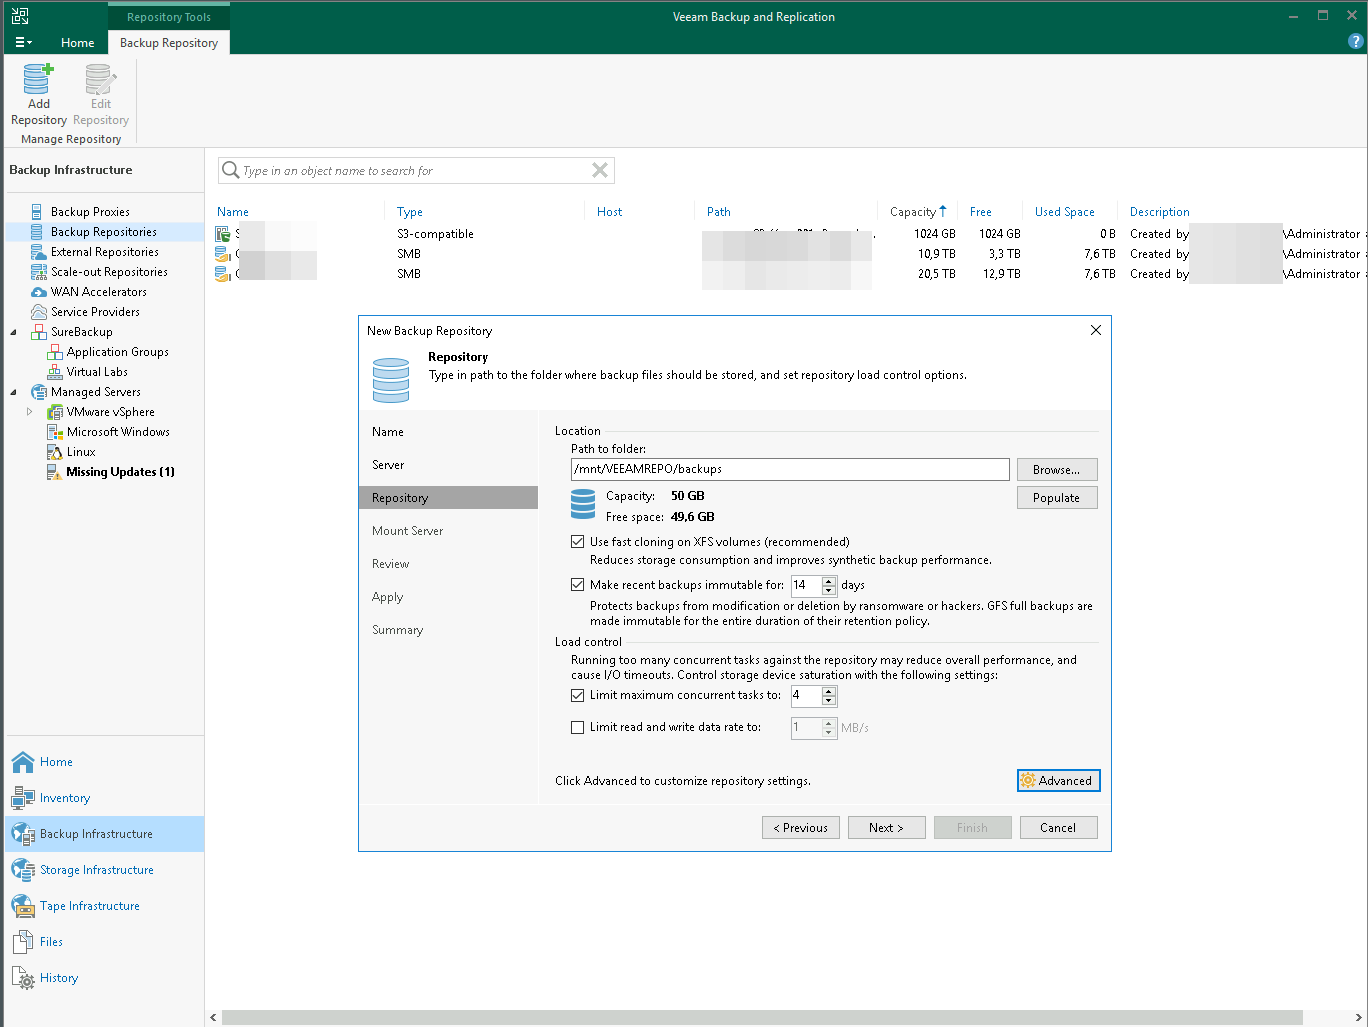
Choose the mount point “/mnt/VEEAMREPO” and click on “Next”.

Select “Use fast cloning on XFS volumes”, “Make recent backups immutable for X days” and click on “Next”.
I will leave mount server for restores at the defaults.

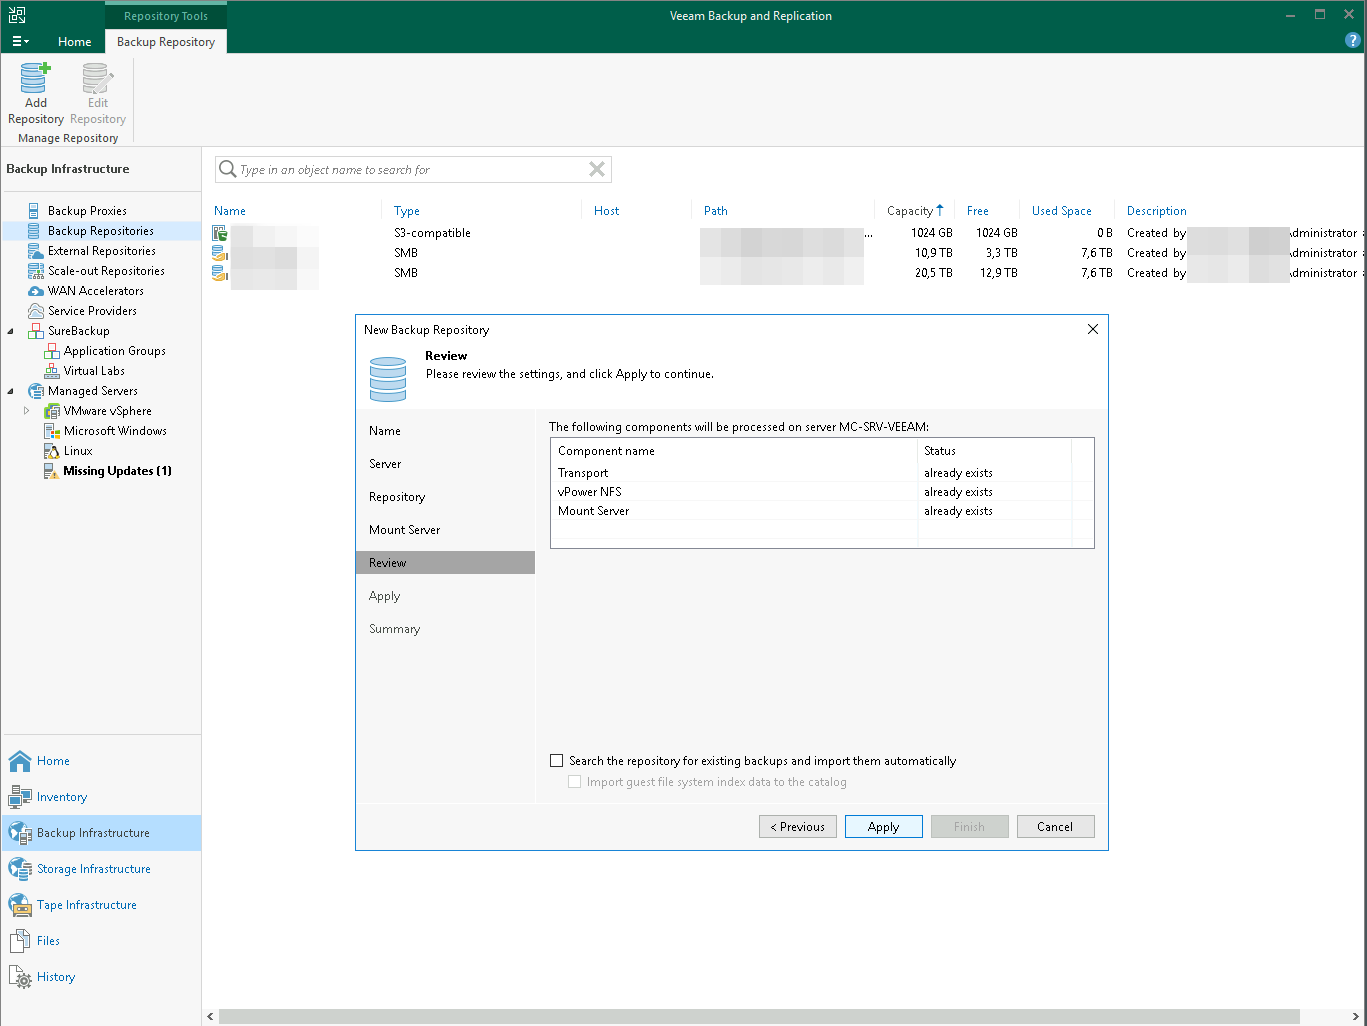
Then “Apply” -> “Next” and “Finish”.

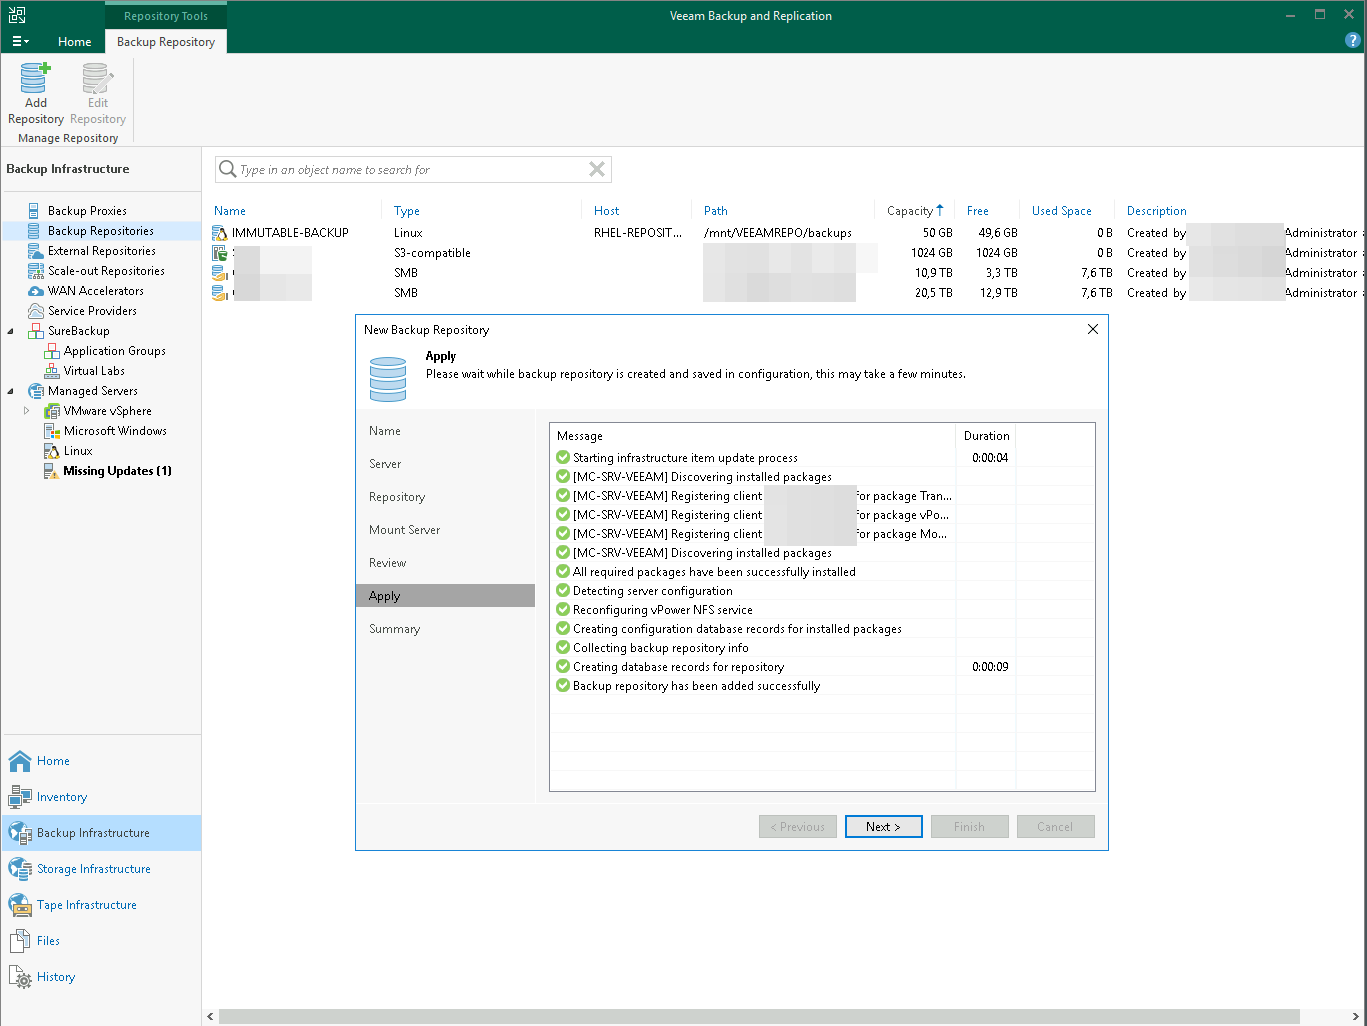
OK. We have our repository now. Let’s test it.
Creating a Backup Job
Let’s remove the sudo permissions for the “veeam” user first.
RHEL :: ~ » sudo gpasswd -d veeam wheel
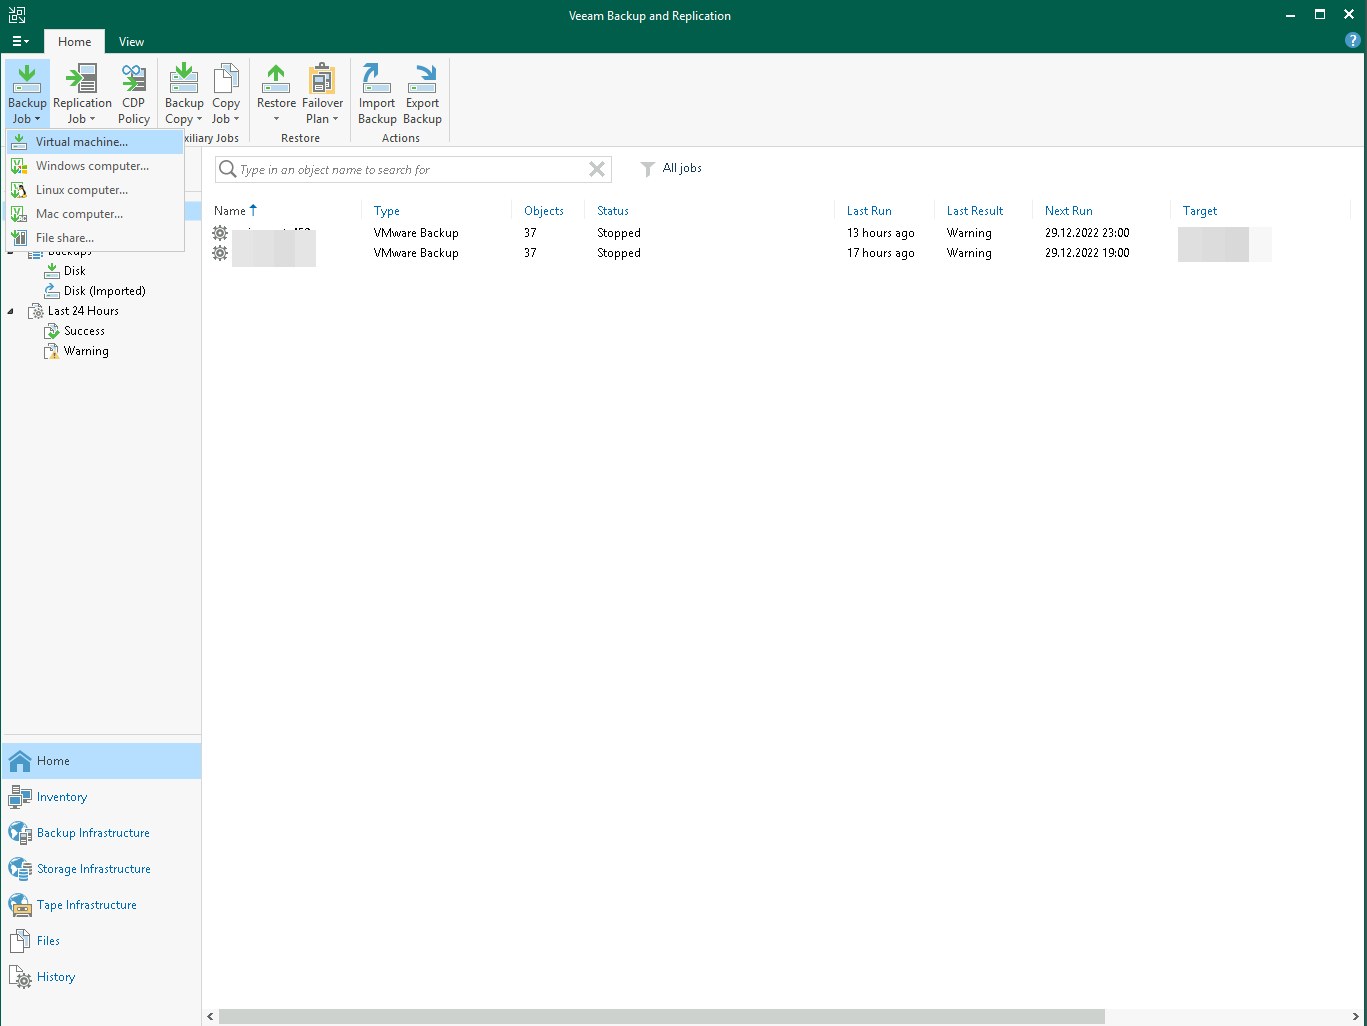
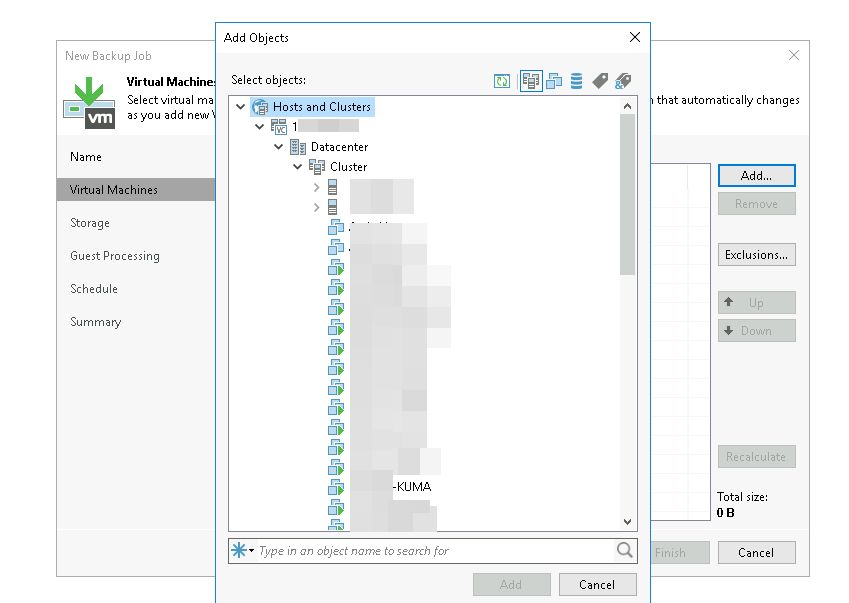
Now, navigate to “Home” and click on “Backup Job” -> “Virtual machine…”.
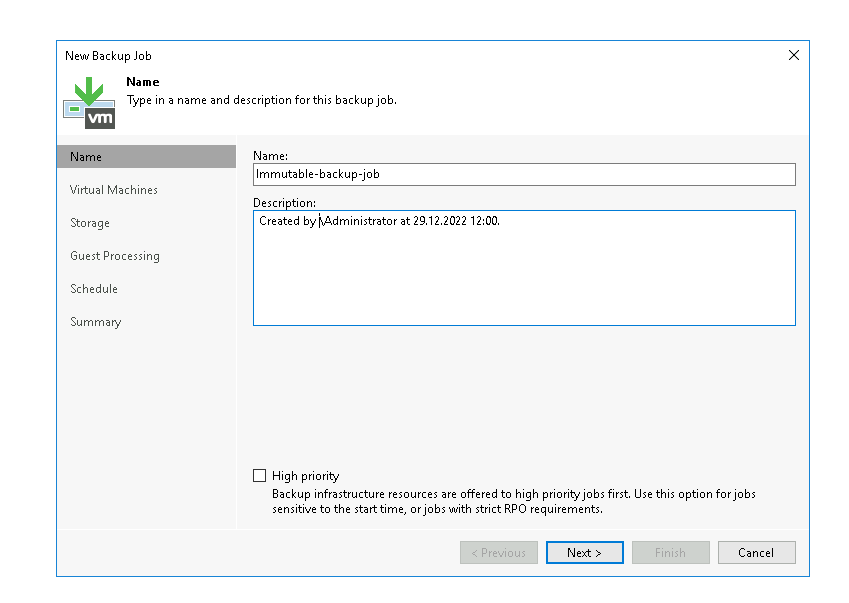
Choose a name.
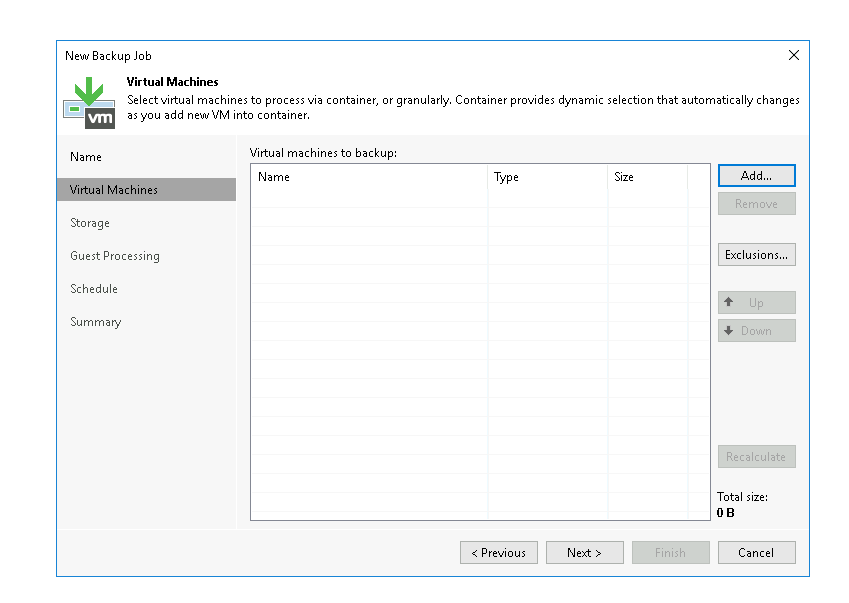
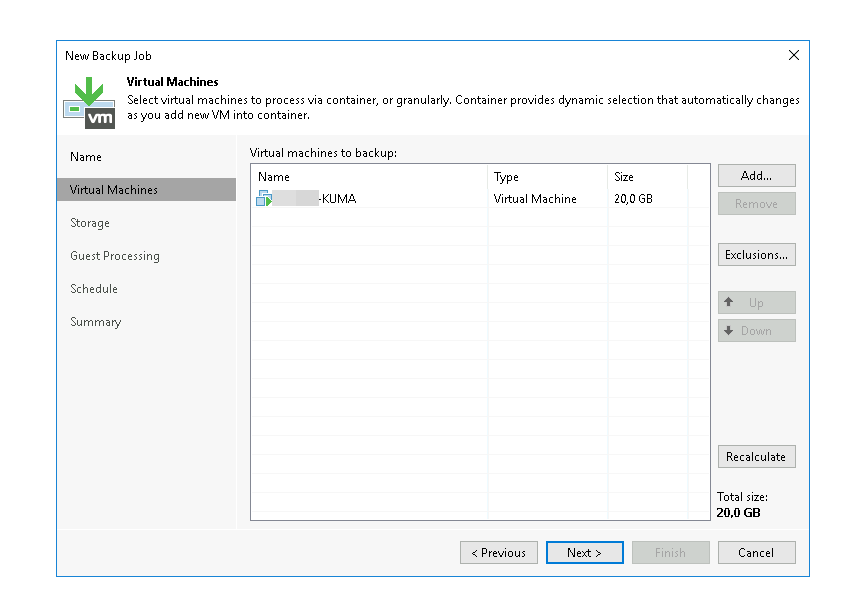
Click on “Add” to select a virtual machine. I will select only one for this demonstration.
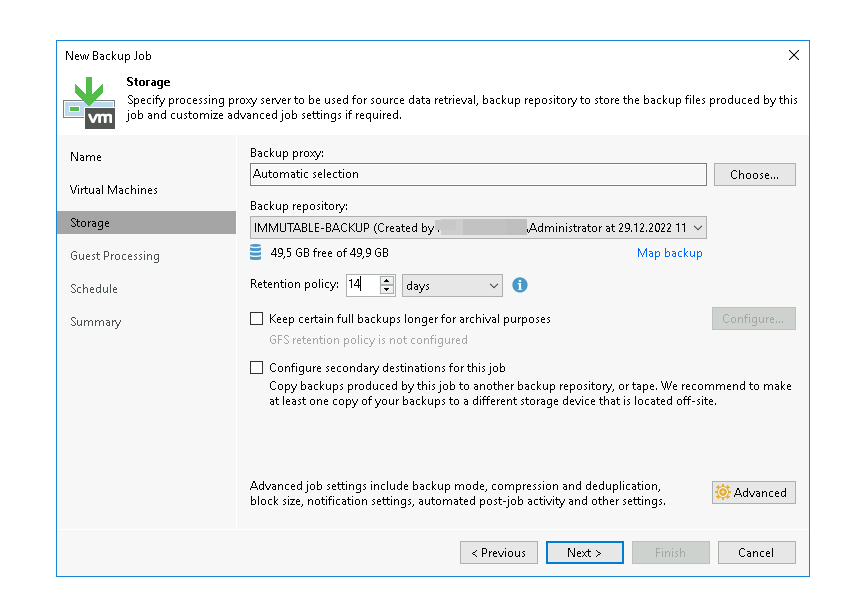
Select your “backup repository” and the “Retention policy”. The retention has to be higher than the immutable period.
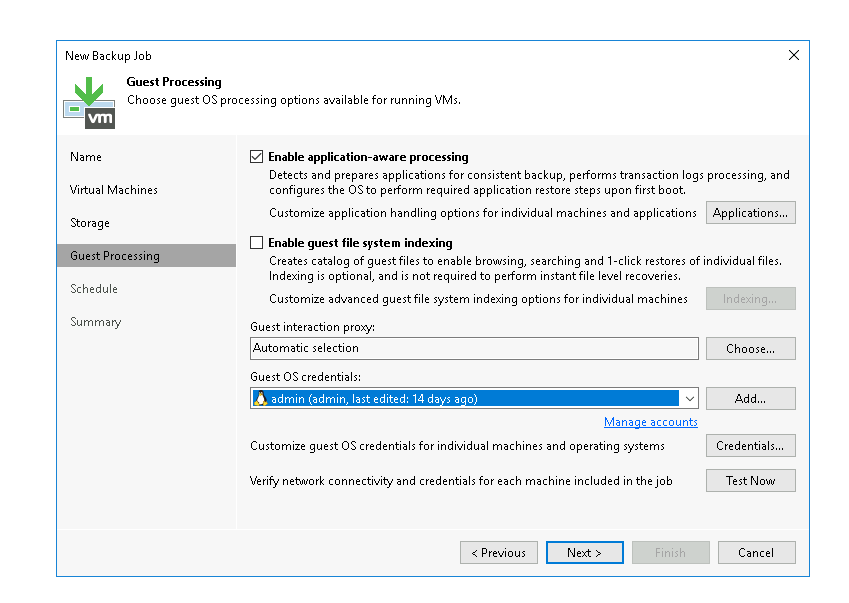
I will enable “application-aware processing”, though in this case, it wouldn’t really be relevant.
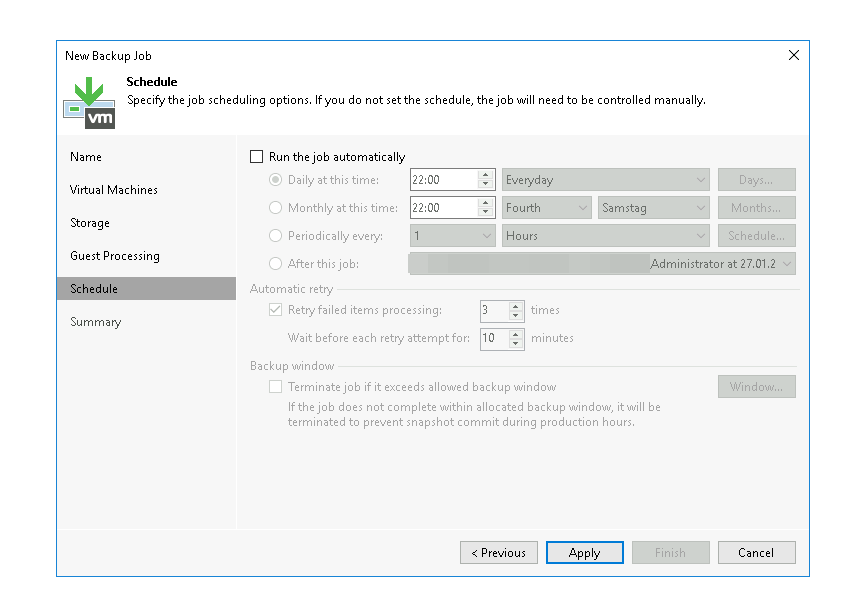
In the last step, we define the schedule and click on “Apply”.
Testing the Backup and Immutability
That’s it. Let’s start the job.
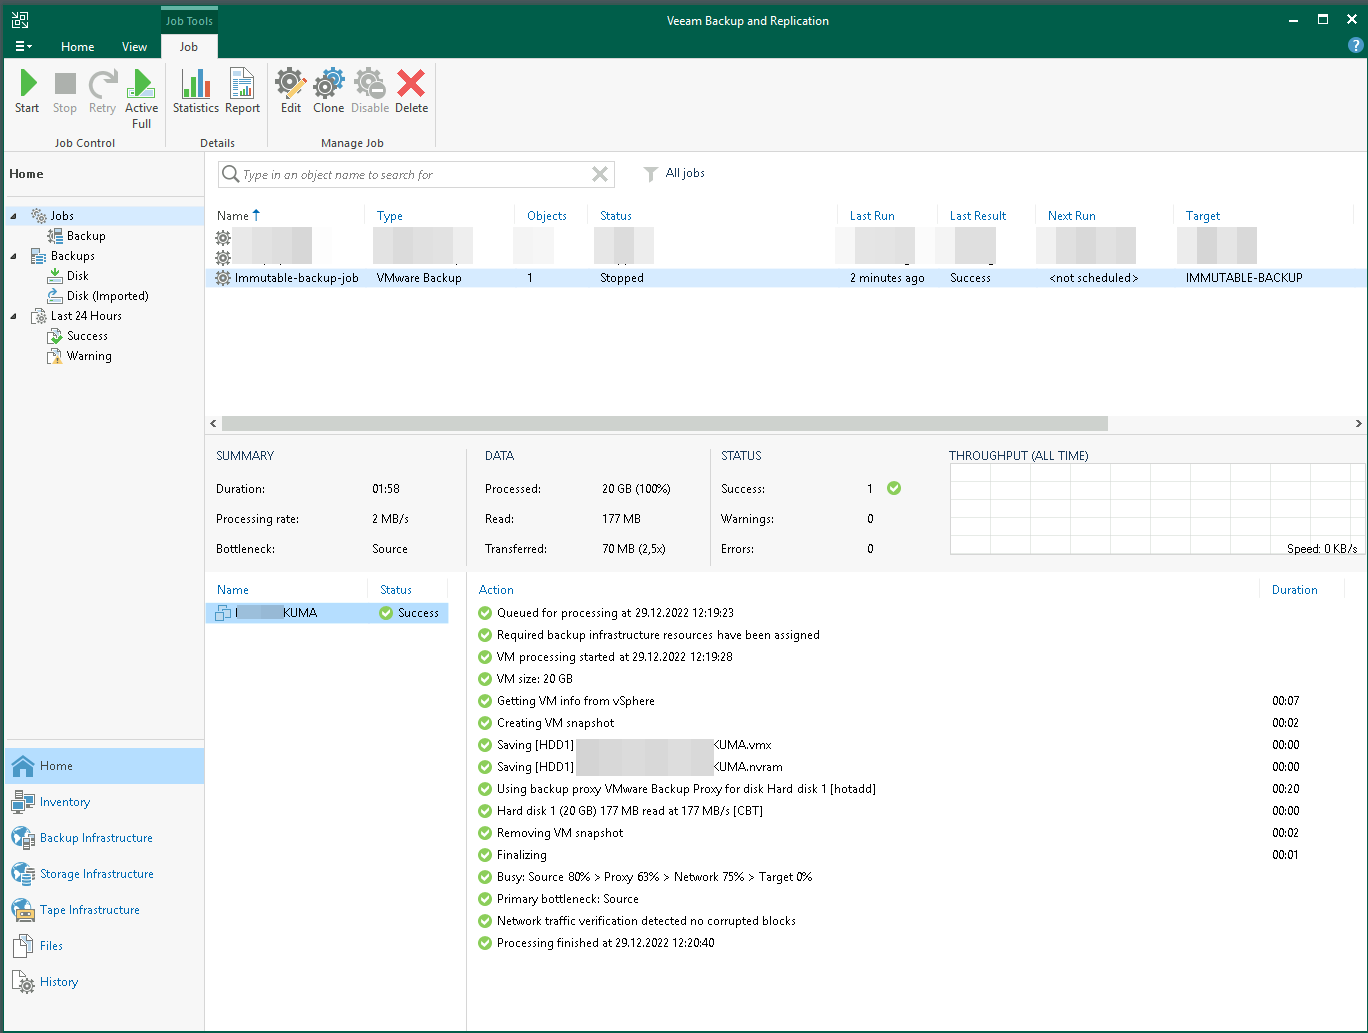
Worked flawlessly. Next, I want to check if the files actually are immutable. First, I want to check on the Linux server itself.
To see if the flag actually is set, we can use the “lsattr” command.
RHEL :: ~ » cd /mnt/VEEAMREPO/backups/Immutable-backup-job
RHEL :: Immutable-backup-job » lsattr
----i----------------- ./Immutable-backup-jobD2022-12-29T121401_A584.vbk
----i----------------- ./Immutable-backup-jobD2022-12-29T121923_CBE9.vib
---------------------- ./Immutable-backup-job.vbm
We can see that the “i” flag is set, but only for the vbk and vib files. Since the vbm changes on every backup, it’s not possible to set the flag on this file. This file is required for performing file-level and volume-level restore operations, but in the worst case, you should be able to import the vbk file and restore the whole VM.
The “i” flag.
Files with this attribute cannot be deleted or modified, and you cannot create a hard link to the file. Symbolic links (soft links) are still possible. This attribute can be set and removed only with root privileges.
Next, testing it in Veeam.
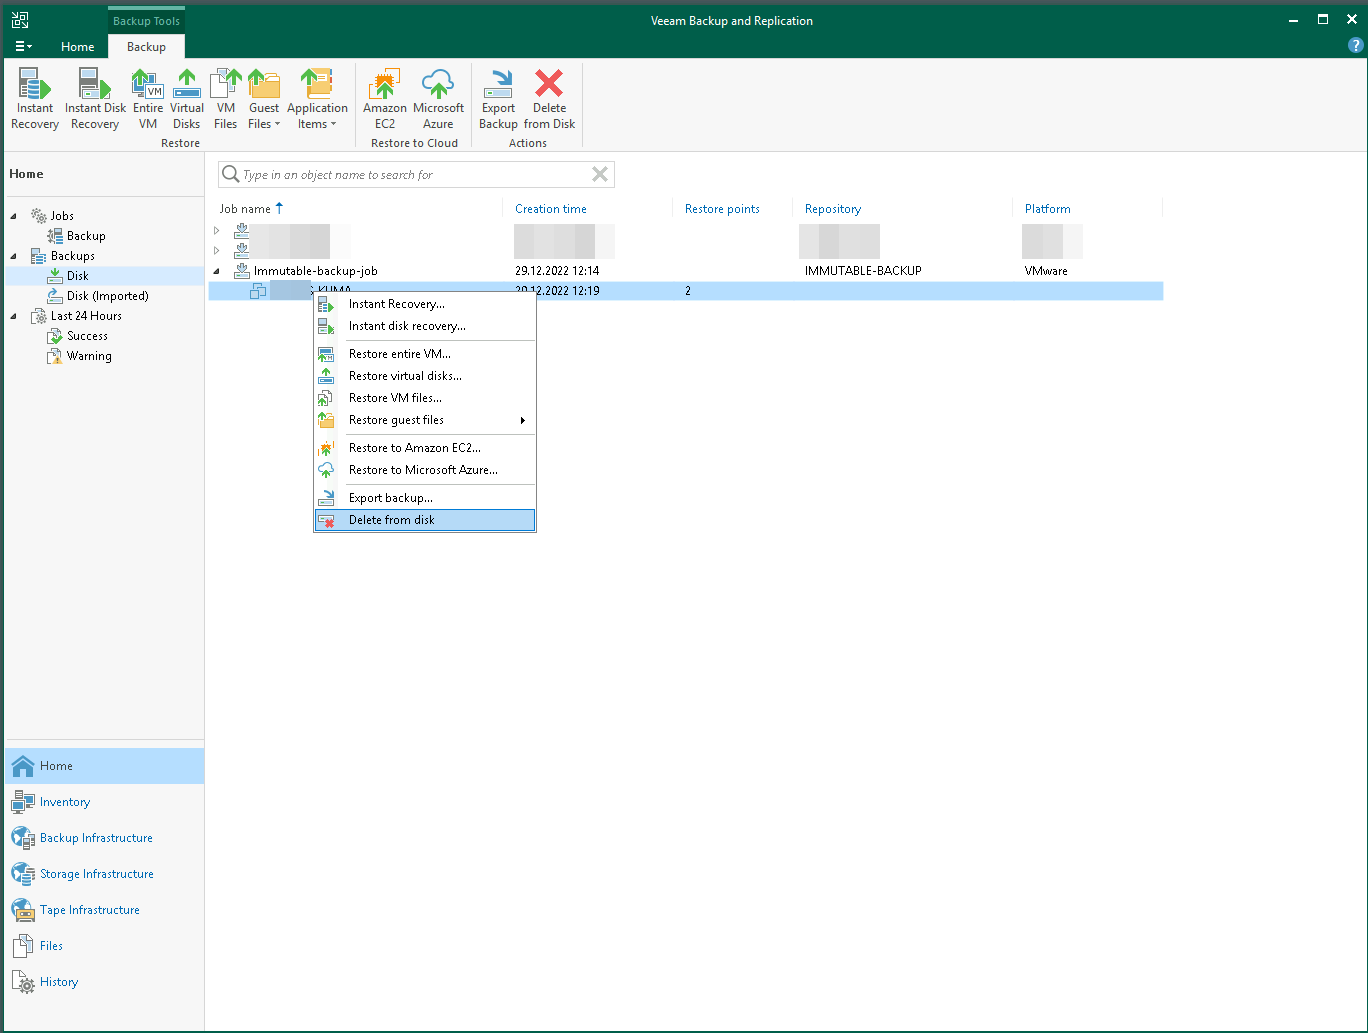
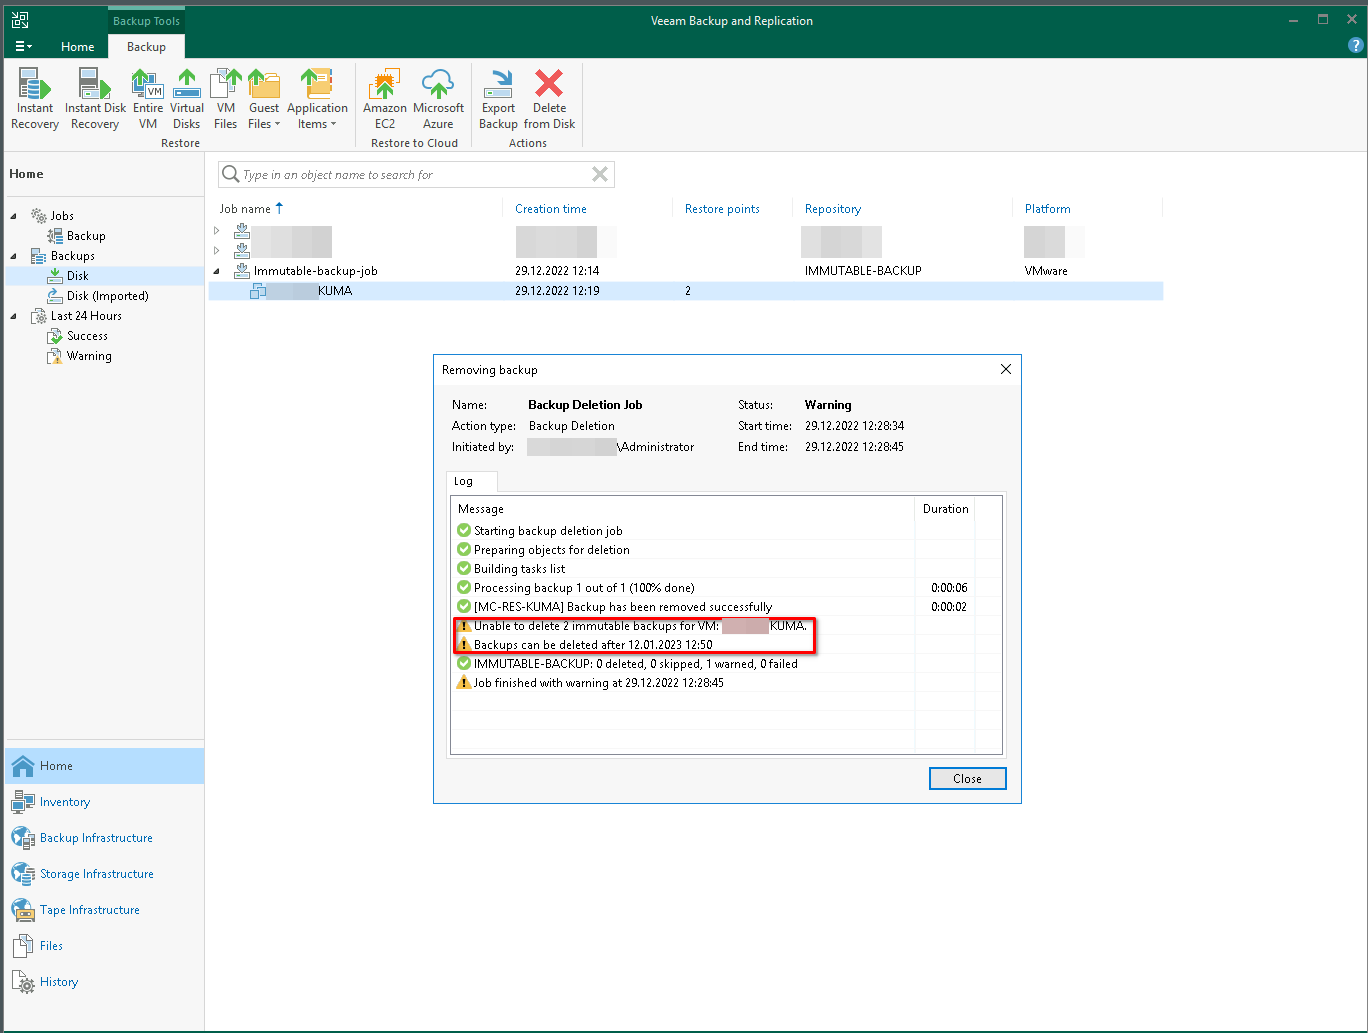
Great. It won’t not allow the deletion, until the set amount of time expires (14 days in my case).
Hardening recommendations
There are a few more recommendations by Veeam for hardening the Linux system.
First, change the file permissions for the authentication certificate. This allows only the “Veeam Data Mover” to read that file.
# Create the folder, if it does not exist already
RHEL :: ~ » sudo mkdir -p /opt/veeam/transport/certs
# Change the owner
RHEL :: ~ » sudo chown veeam.veeam /opt/veeam/transport/certs
# Set the permissions for that folder
RHEL :: ~ » sudo chmod 700 /opt/veeam/transport/certs
Disable SSH on the repository server. Since it’s only required for deployment and upgrade of the Veeam Data Mover.
You probably should only do this, if you have physical access.
# Prevent start on boot
RHEL :: ~ » sudo systemctl disable sshd
# Stops the service
RHEL :: ~ » sudo systemctl stop sshd
Alright. That’s it for the immutable backup repository. Hope this helps.
Till next time.