Hi there,
This will be a simple guide on how to deploy CheckMK, a Monitoring System.
Nothing to fancy, since I don’t have too much experience myself. I just want to test the application and write down my experience with it. I will be using Rocky Linux 8.8 for this.
First Steps
Let’s begin with what we need. I will be using the docker image, but there are several different ways to deploy CheckMK. Check the homepage for the options.
Docker
Docker installation
First let’s install “docker” with the “docker compose” plugin.
# Add the repository for docker first
checkmk :: ~ » sudo dnf config-manager --add-repo https://download.docker.com/linux/centos/docker-ce.repo
# Install docker and the docker compose plugin
checkmk :: ~ » sudo dnf -y install docker-ce docker-ce-cli containerd.io docker-compose-plugin
Now we can enable and start the docker service.
# Enable the autostart for the docker service
checkmk :: ~ » sudo systemctl enable docker.service
# Start the service
checkmk :: ~ » sudo systemctl start docker.service
# Check the service status
checkmk :: ~ » sudo systemctl status docker.service
● docker.service - Docker Application Container Engine
   Loaded: loaded (/usr/lib/systemd/system/docker.service; disabled; vendor preset: disabled)
   Active: active (running) since Mon 2023-11-20 09:06:17 CET; 24h ago
     Docs: https://docs.docker.com
 Main PID: 88259 (dockerd)
    Tasks: 162
   Memory: 2.4G
   CGroup: /system.slice/docker.service
           ├─ 88259 /usr/bin/dockerd -H fd:// --containerd=/run/containerd/containerd.sock
If you want to allow your non-root user to use docker, execute the following command. This will add the user “admin” to the “docker” group.
# Check the groups the user "admin" is currently assigned to.
checkmk :: ~ » id
uid=1000(admin) gid=1000(admin) groups=1000(admin),10(wheel),context=unconfined_u:unconfined_r:unconfined_t:s0-s0:c0.c1023

# Add the user "admin" to the "docker" group.
checkmk :: ~ » sudo usermod -a -G docker admin

# Log out and in again, and check the groups again.
checkmk :: ~ » id
uid=1000(admin) gid=1000(admin) groups=1000(admin),10(wheel),988(docker) context=unconfined_u:unconfined_r:unconfined_t:s0-s0:c0.c1023
Ok. Docker is prepared.
Now we could just copy and paste the docker command from the CheckMK documentation, but I like to use docker compose, since it makes it easier to change configurations. At least for me.
Docker compose
Let’s create the docker compose yaml file. Keep in mind that I created the configuration for docker-compose myself. I don’t know if it’s optimal, but it works in my case.
# create a folder for the docker-compose.yml file, and navigate into it.
checkmk :: ~ » mkdir checkmk ; cd checkmk
# Create the docker-compose.yml file. Use your favorite text editor.
checkmk :: checkmk » vim docker-compose.yml
version: "3.8"
services:
  checkmk:
    image: checkmk/check-mk-raw:2.2.0-latest
    container_name: checkmk
    restart: unless-stopped
    tmpfs:
     - /opt/omd/sites/cmk/tmp:uid=1000,gid=1000
    ports:
     - '8080:5000'
     - '8000:8000'
    volumes:
     - 'checkmk_monitoring:/omd/sites'
     - '/etc/localtime:/etc/localtime:ro'
volumes:
  checkmk_monitoring: {}
Save the configuration and start the container with docker compose. In the logs you can find the login credentials, which I highlighted in red.
checkmk :: checkmk » docker compose up
Attaching to checkmk
checkmk  | ### CREATING SITE 'cmk'
checkmk  | Generating configuration for core (type nagios)...
checkmk  | Precompiling host checks...OK
checkmk  | Adding /opt/omd/sites/cmk/tmp to /etc/fstab.
checkmk  | Going to set TMPFS to off.
checkmk  | Temporary filesystem already mounted
checkmk  | Updating core configuration...
checkmk  | Executing post-create script "01_create-sample-config.py"...OK
checkmk  | Adding /opt/omd/sites/cmk/tmp to /etc/fstab.
checkmk  | Going to set TMPFS to off.
checkmk  | Created new site cmk with version 2.2.0p14.cre.
checkmk  |
checkmk  |   The site can be started with omd start cmk.
checkmk  |   The default web UI is available at http://74fb6812b3fb/cmk/
checkmk  |
checkmk  |   The admin user for the web applications is cmkadmin with password: 09oScWRN
checkmk  |   For command line administration of the site, log in with 'omd su cmk'.
checkmk  |   After logging in, you can change the password for cmkadmin with 'cmk-passwd cmkadmin'.
checkmk  |
checkmk  | WARNING: You have to execute 'omd update-apache-config cmk' as root to update and apply the configuration of the system apache.
checkmk  | WARNING: You have to execute 'omd update-apache-config cmk' as root to update and apply the configuration of the system apache.
checkmk  | ### STARTING XINETD
checkmk  |  * Starting internet superserver xinetd
checkmk  |    ...done.
checkmk  | ### STARTING SITE
checkmk  | Starting agent-receiver...OK
checkmk  | Starting mkeventd...OK
checkmk  | Starting rrdcached...OK
checkmk  | Starting npcd...OK
checkmk  | Starting nagios...OK
checkmk  | Starting apache...OK
checkmk  | Starting redis...OK
checkmk  | Initializing Crontab...OK
checkmk  | Temporary filesystem already mounted
checkmk  | ### STARTING CRON
checkmk  | ### CONTAINER STARTED
Once you have the credentials, stop the container with “STRG + C” and start it again in the background with the “-d” flag.
checkmk :: checkmk » docker compose up -d
Configure the firewall to allow access to the port 8080/TCP.
checkmk :: checkmk » sudo firewall-cmd --add-port 8080/tcp --permanent
checkmk :: checkmk » sudo firewall-cmd --add-port 8080/tcp

# This is for later. HTTP and HTTPs
checkmk :: checkmk » sudo firewall-cmd --add-service http --add-service https --permanent
checkmk :: checkmk » sudo firewall-cmd --add-service http --add-service https
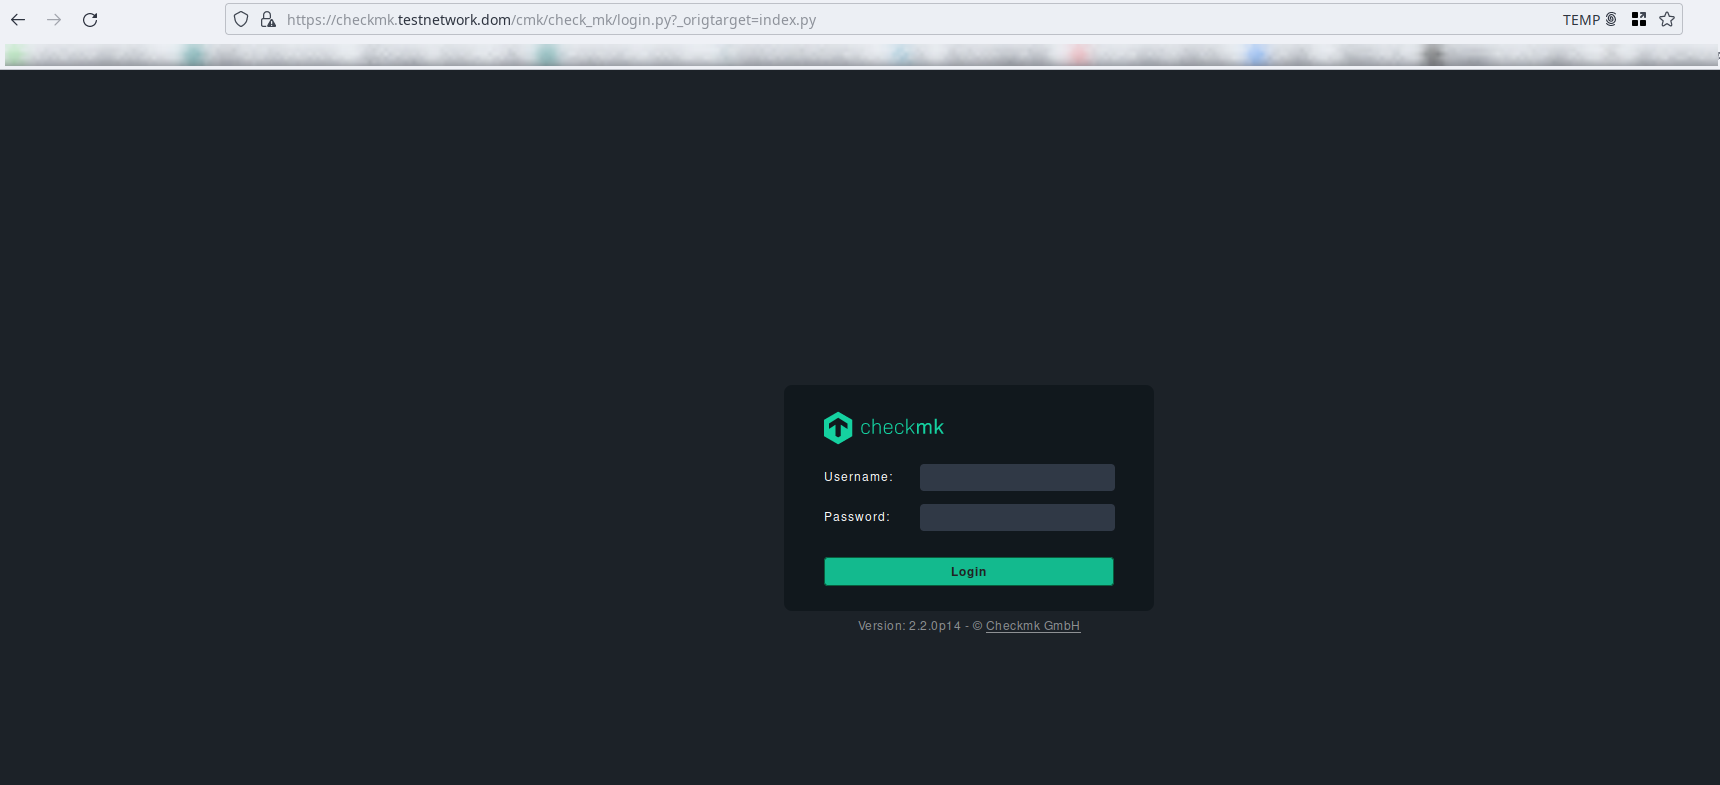
At this point, we should be able to access the webui. Currently, it’s still only http, keep that in mind.
Open your favorite browser and type in the URL. I already set up my DNS, but you could also just use the IP address.
http://checkmk.testnetwork.com:8080
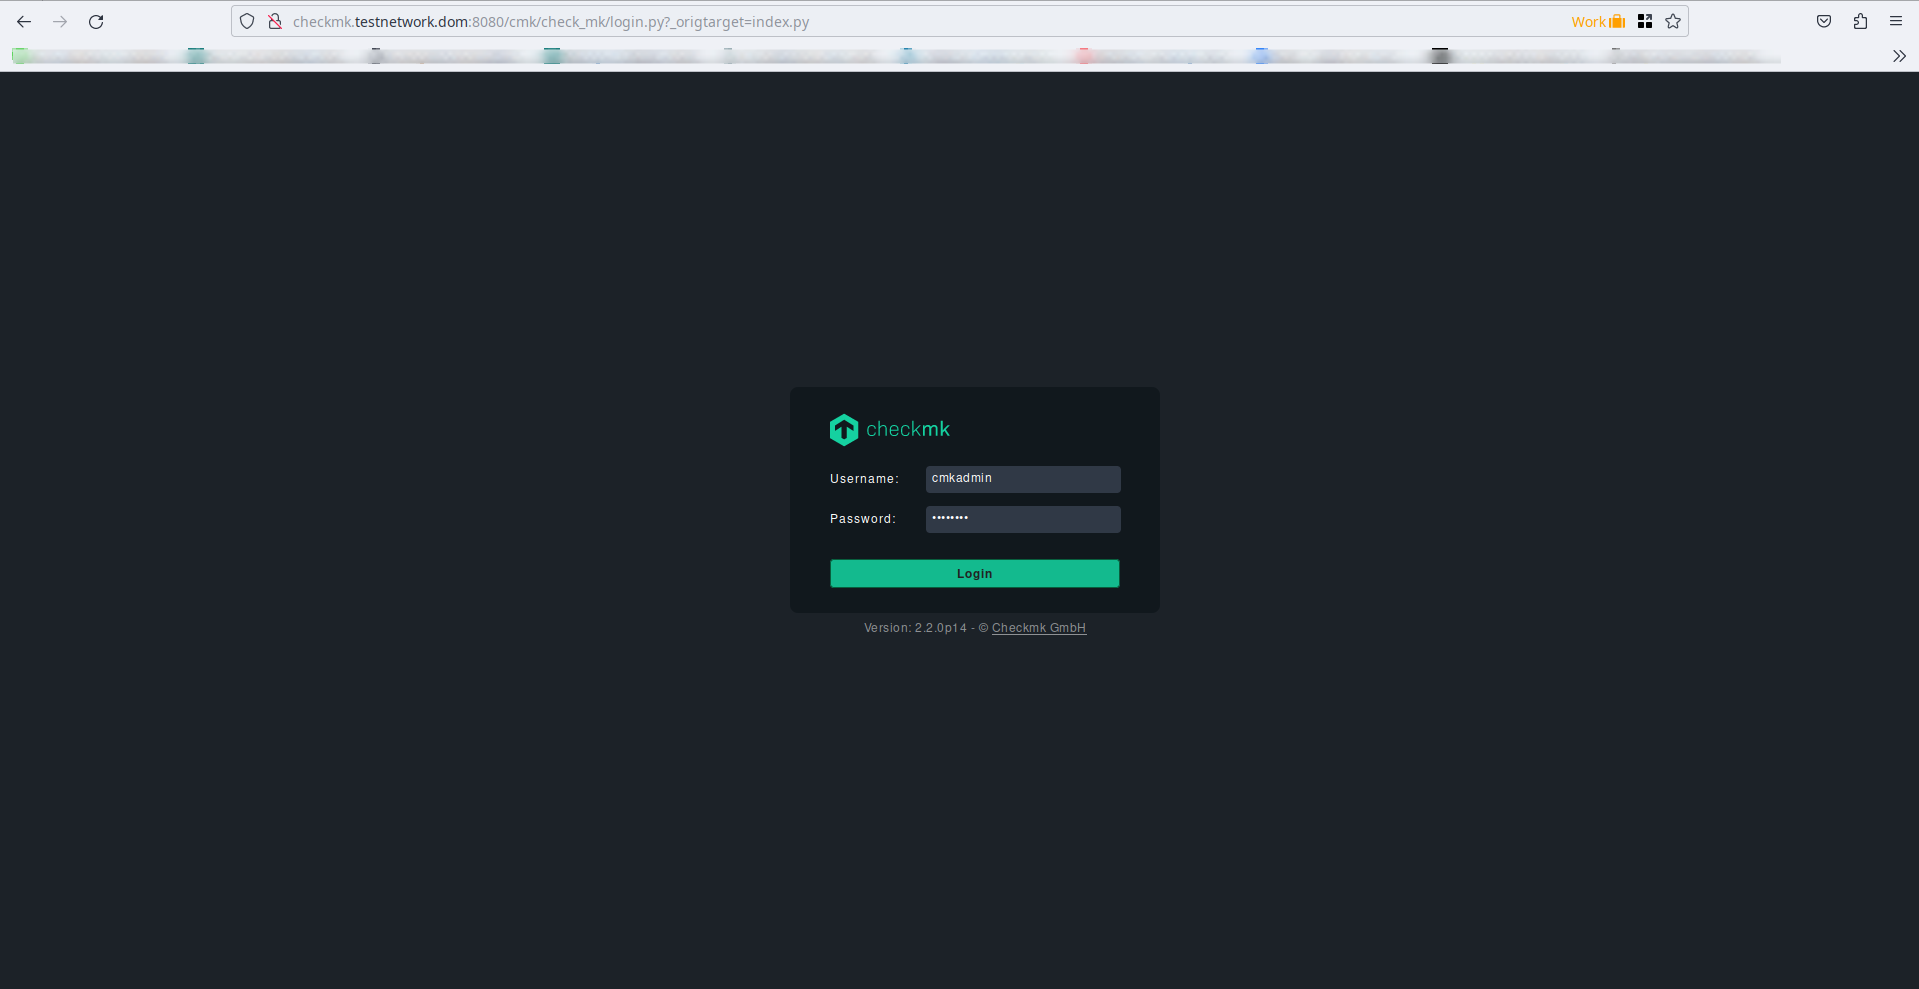
Once logged in, we will land on the main dashboard. Very empty still. Let’s change that.
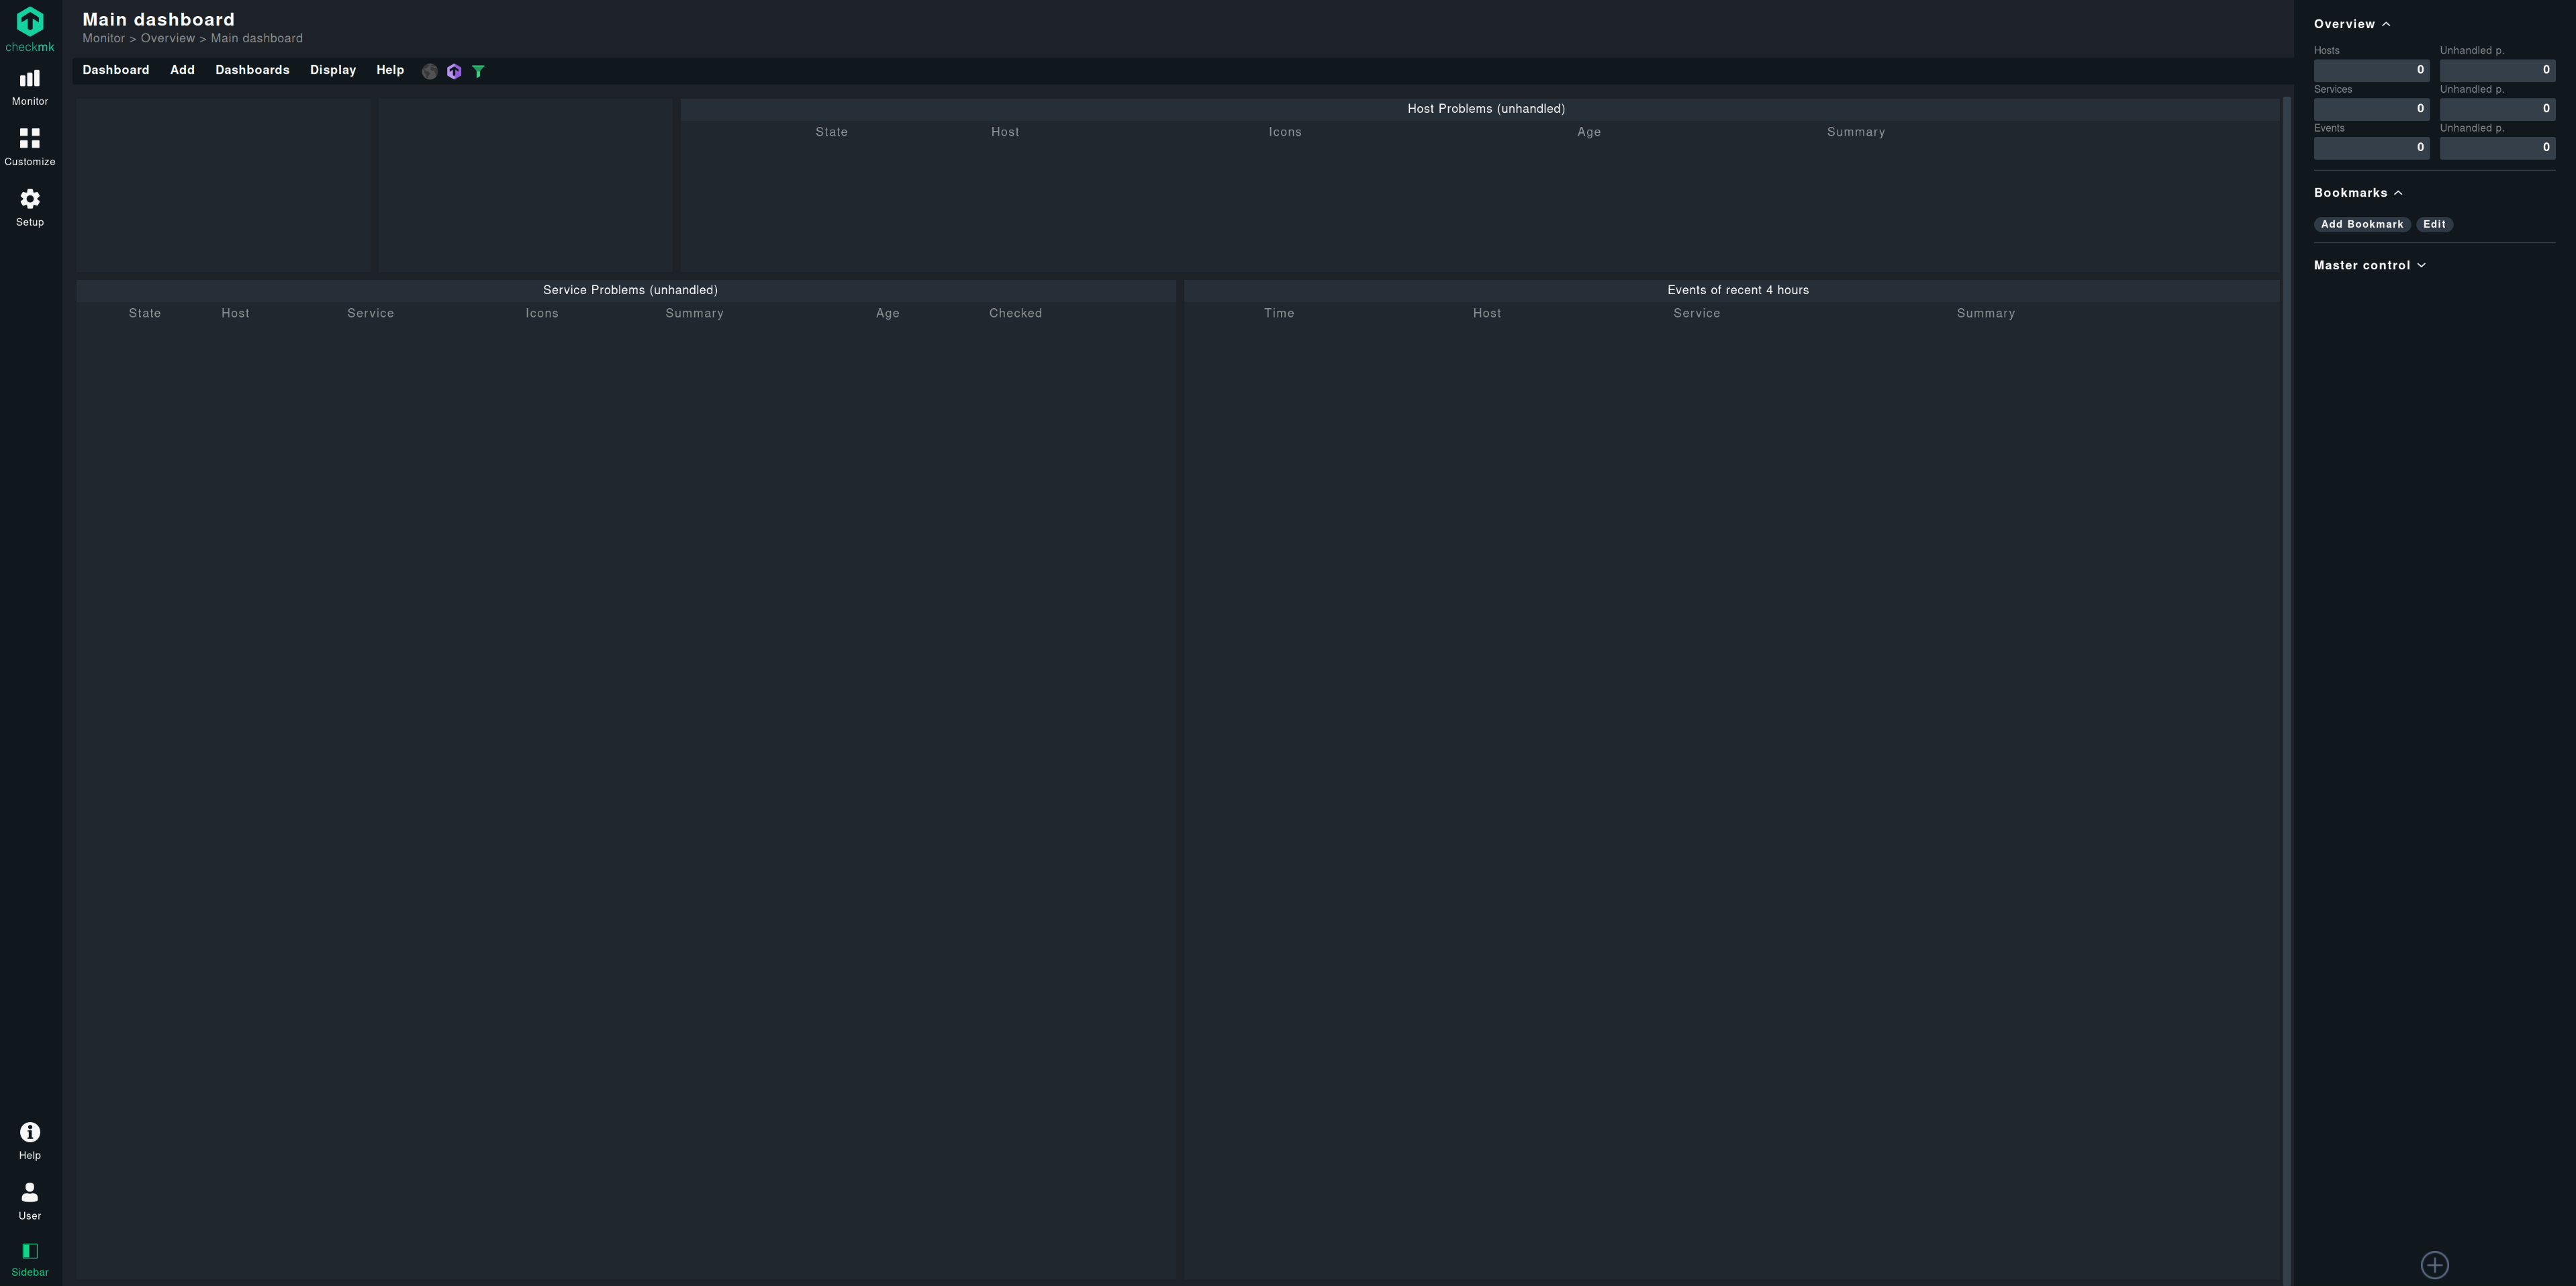
From this point onward, I have no idea if what I am doing, is the correct way. But let’s get through it together.
CheckMK
Install Agent
Alright, next we are going to add a host. For this I prepared a Debian 12 server.
First let’s install the checkmk agent.
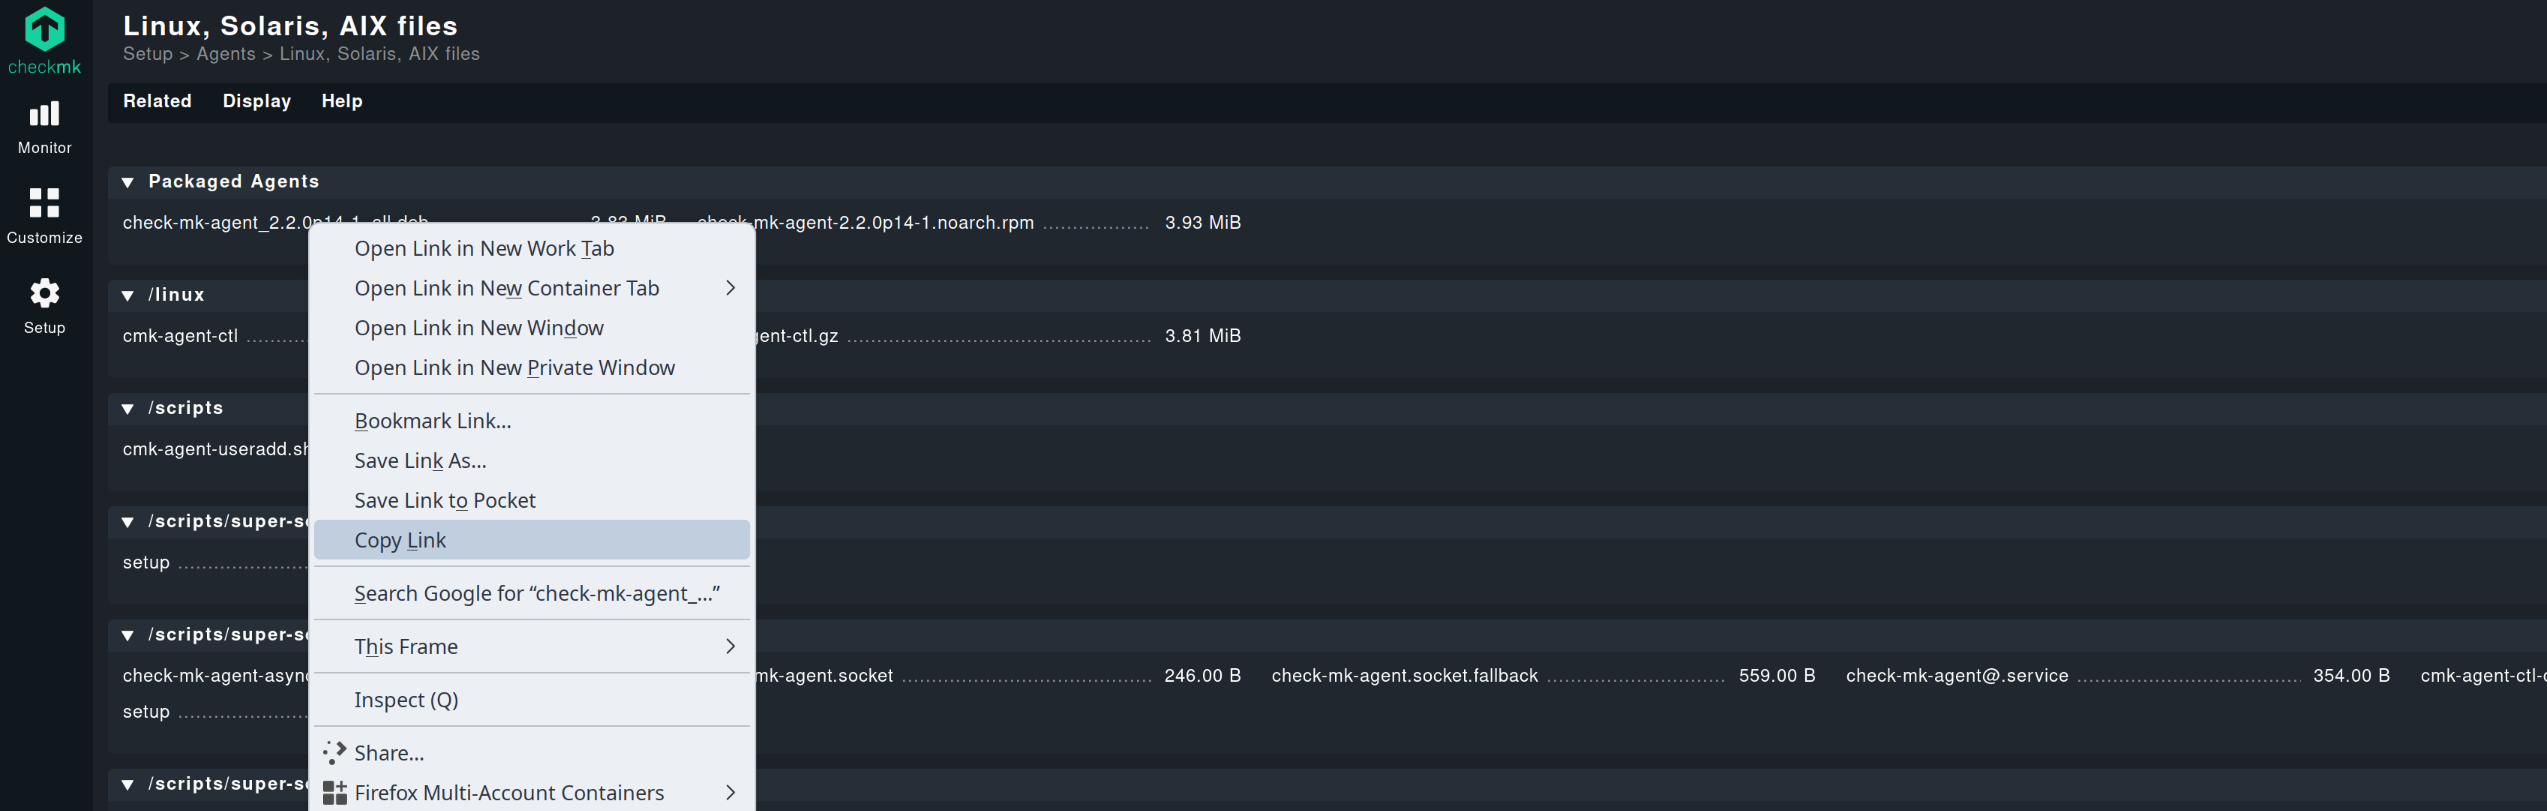
Navigate to the “Agents” section under “Setup”, and select Linux.
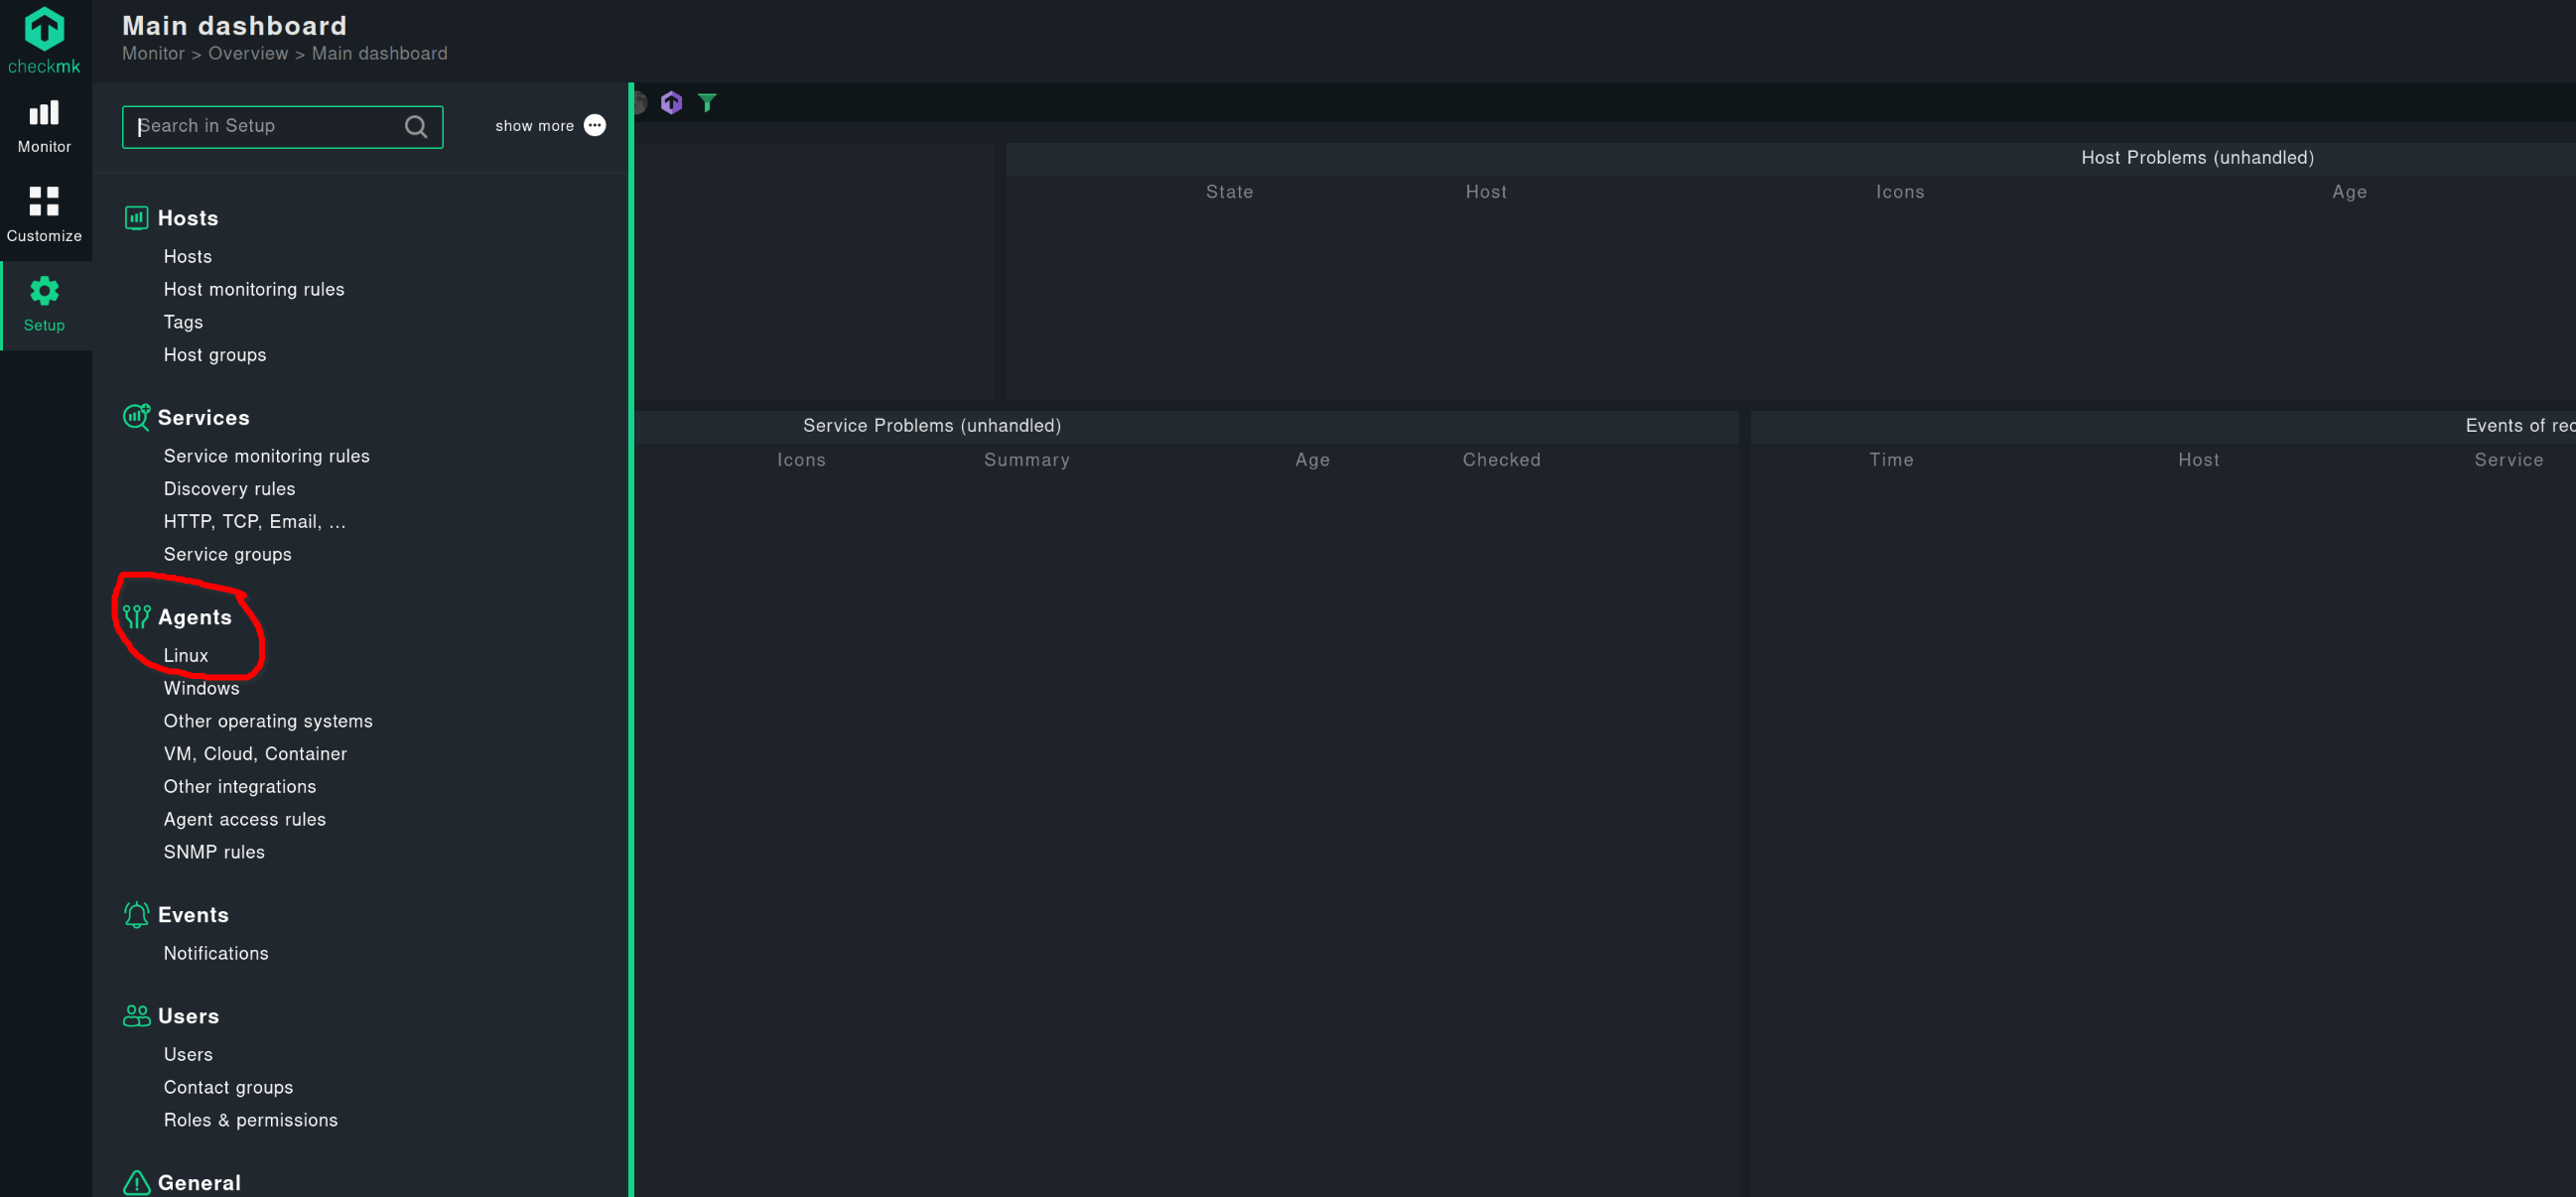
Here we have all the agents and scripts. For now, we need the check-mk-agent.deb file.
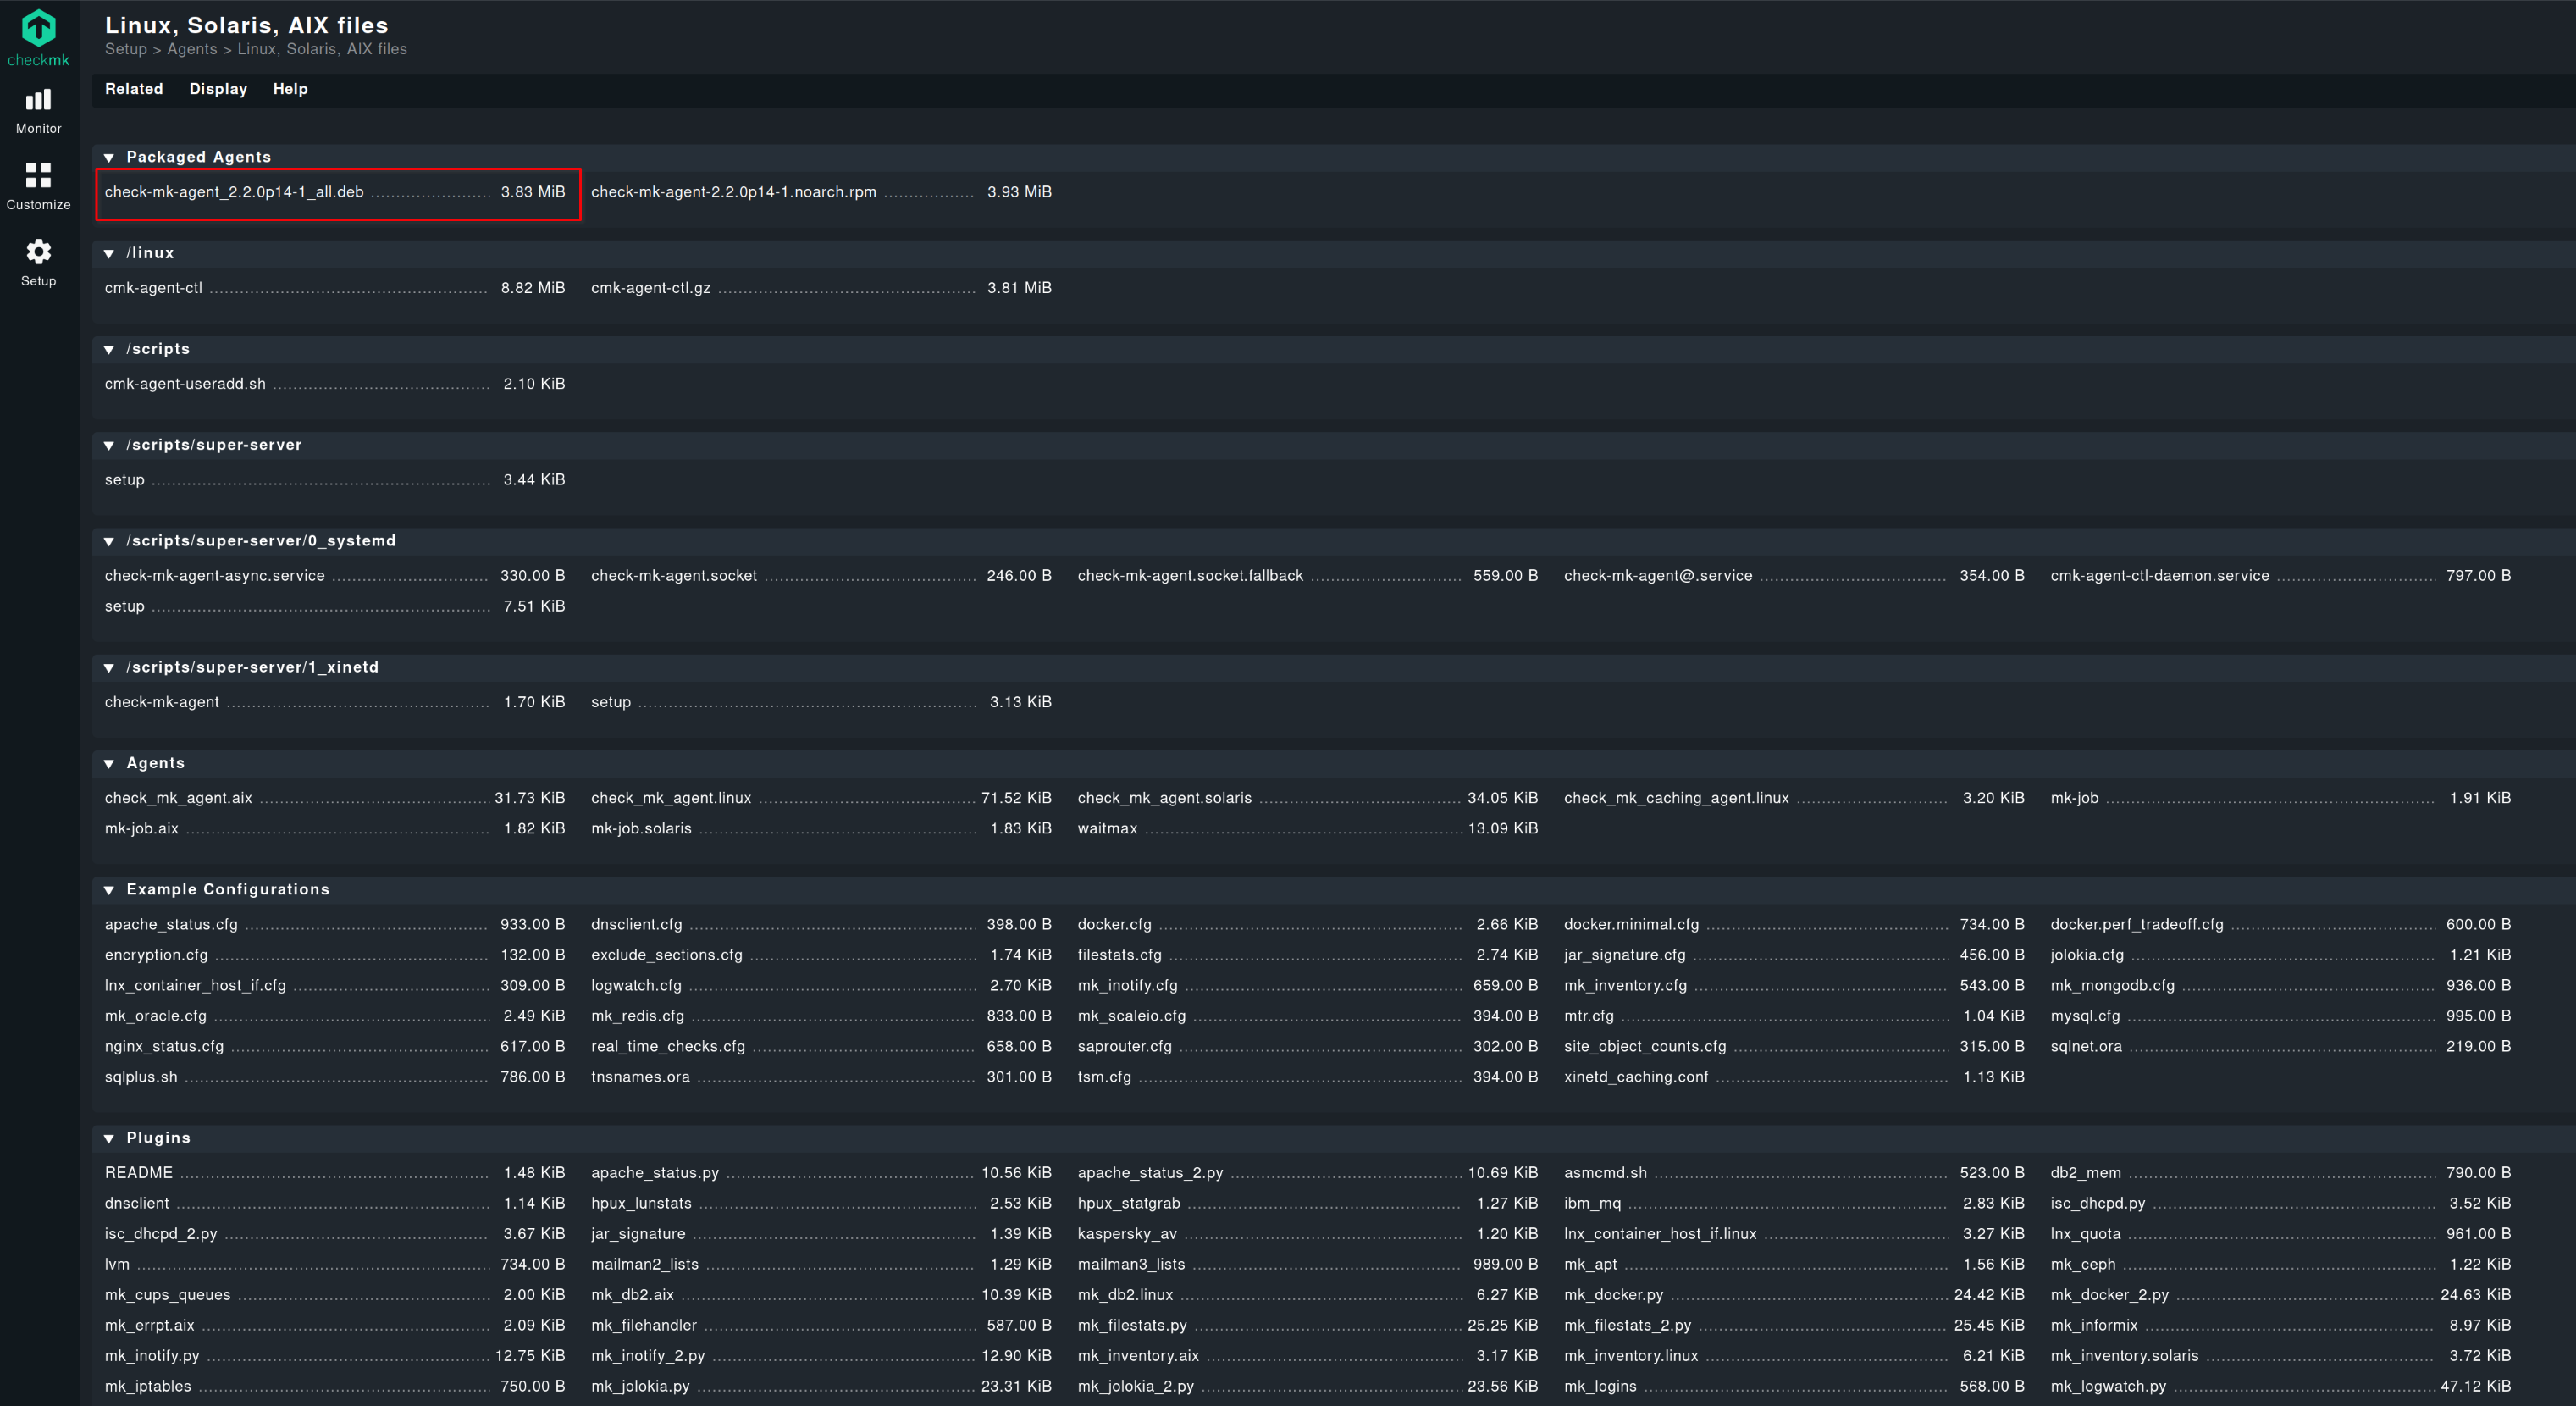
Right-click on the link and copy it.
Now, download the file on the Debian server and install it.
# Download the deb file with "wget".
debian :: ~ » wget http://checkmk.testnetwork.dom:8080/cmk/check_mk/agents/check-mk-agent_2.2.0p14-1_all.deb
# install.
debian :: ~ » sudo apt install ./check-mk-agent_2.2.0p14-1_all.deb
dpkg: warning: 'diff' not found in PATH or not executable
dpkg: error: 1 expected program not found in PATH or not executable
Note: root's PATH should usually contain /usr/local/sbin, /usr/sbin and /sbin
2)
I am getting a diff error message. I don’t know how problematic this is, but I don’t want to see error messages. Sooo, let’s solve this.
# Create a symbolic link from diff3 to diff
debian :: ~ » sudo ln -s /usr/bin/diff3 /usr/bin/diff
Now check if the agent is running.
debian :: ~ » sudo systemctl status check-mk-agent.socket
Add Host to CheckMK
Ok. The service should be running, now we can add the host to CheckMK.
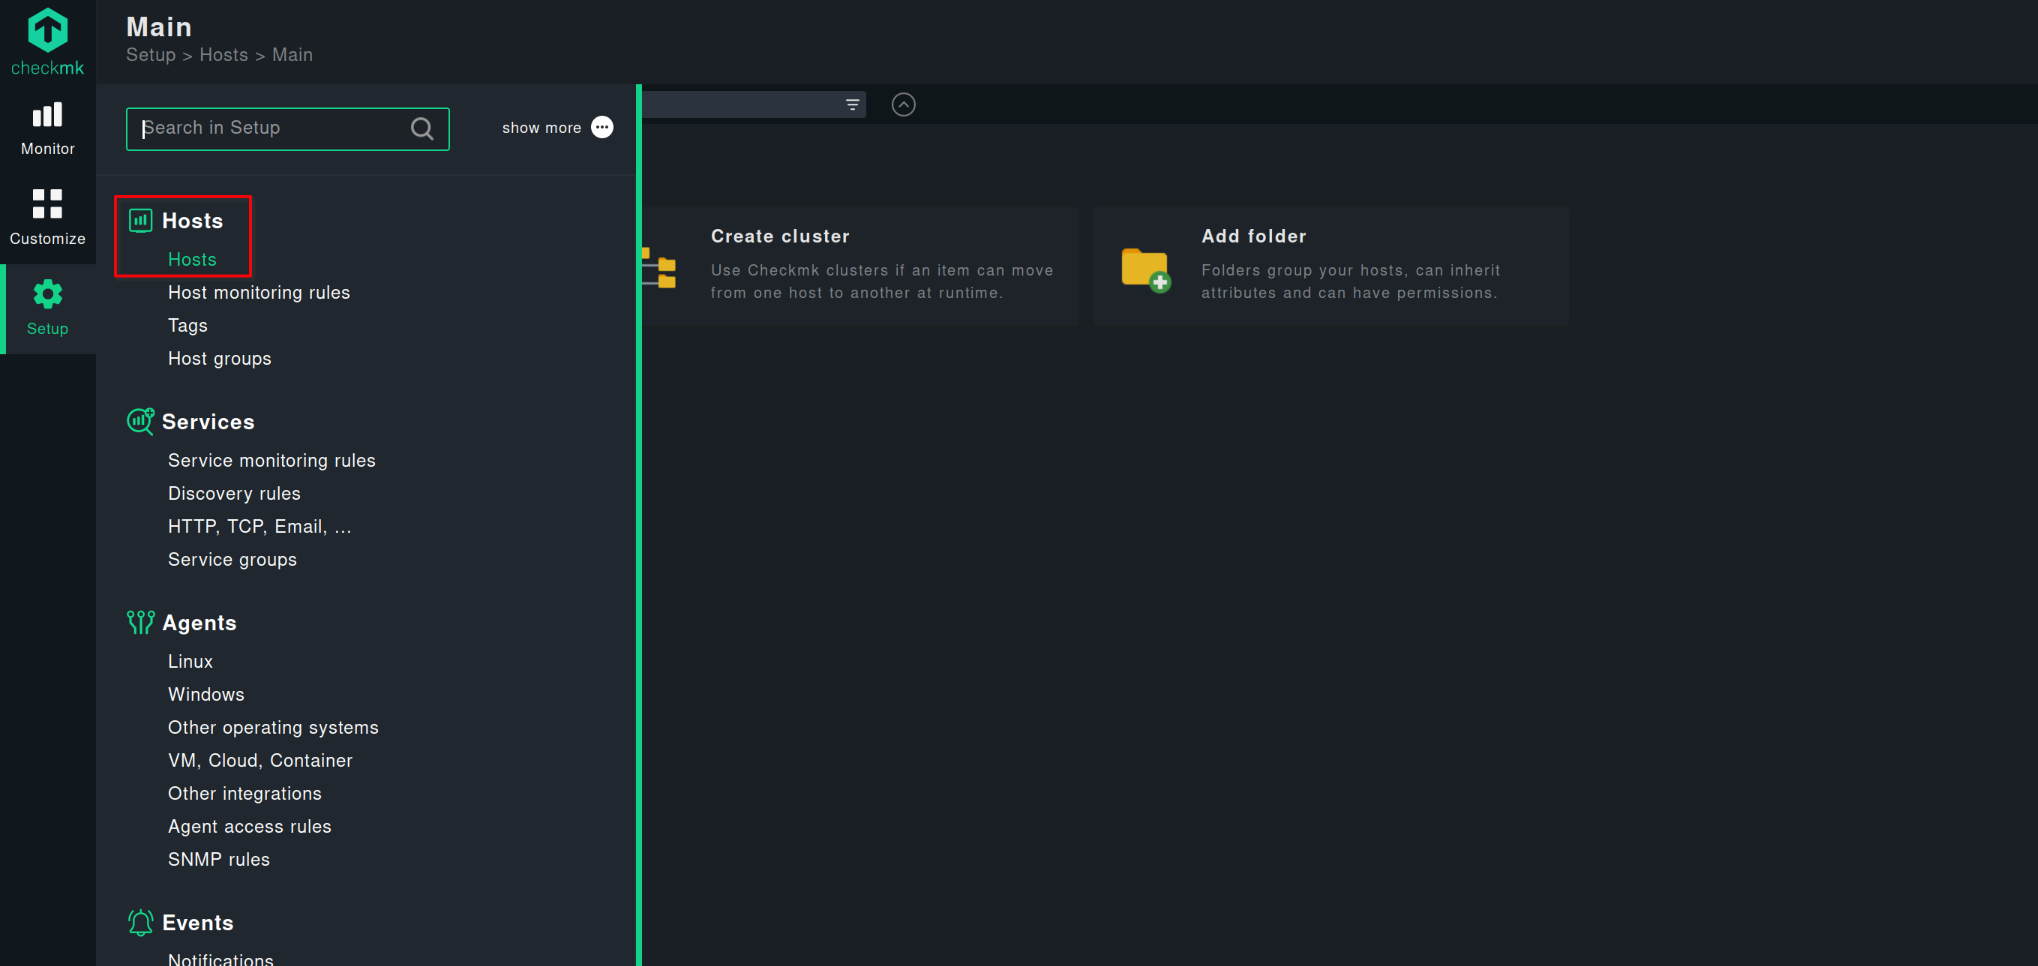
Navigate to “Setup” -> “Hosts” -> “Hosts”.
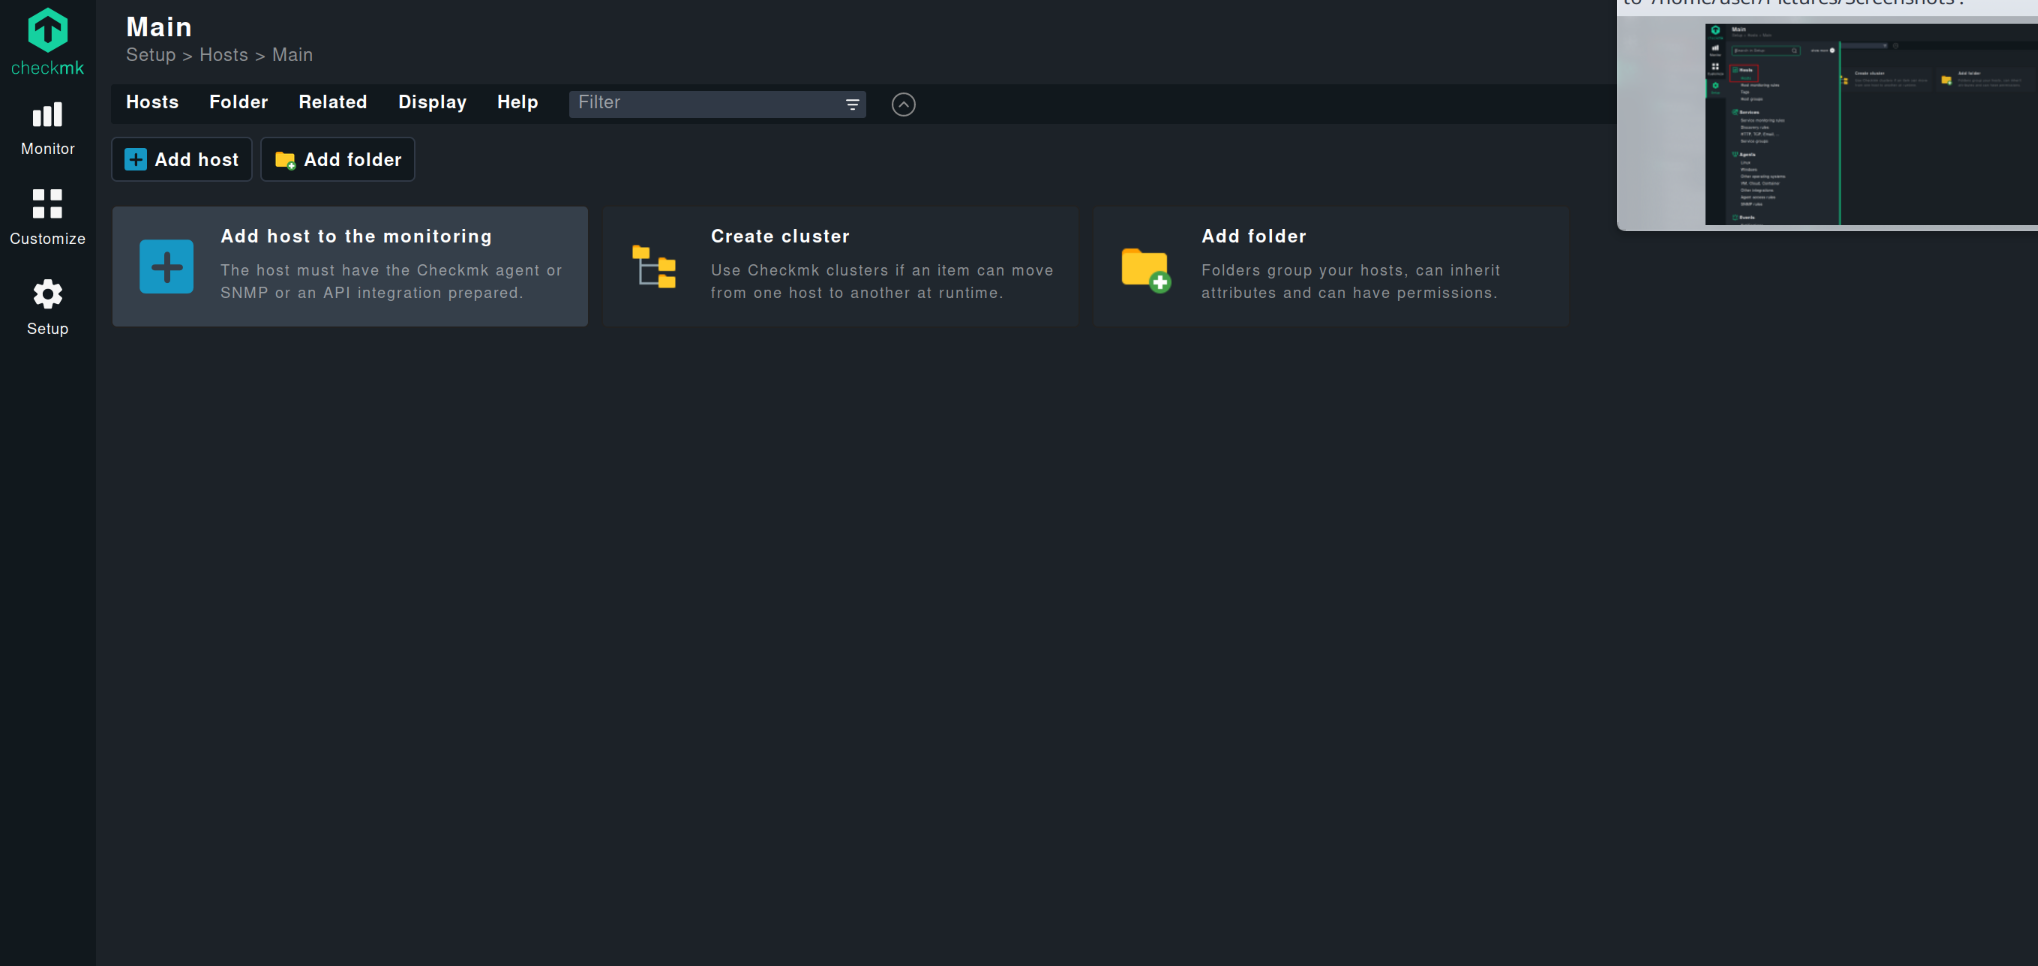
Click on “Add host to the monitoring”.
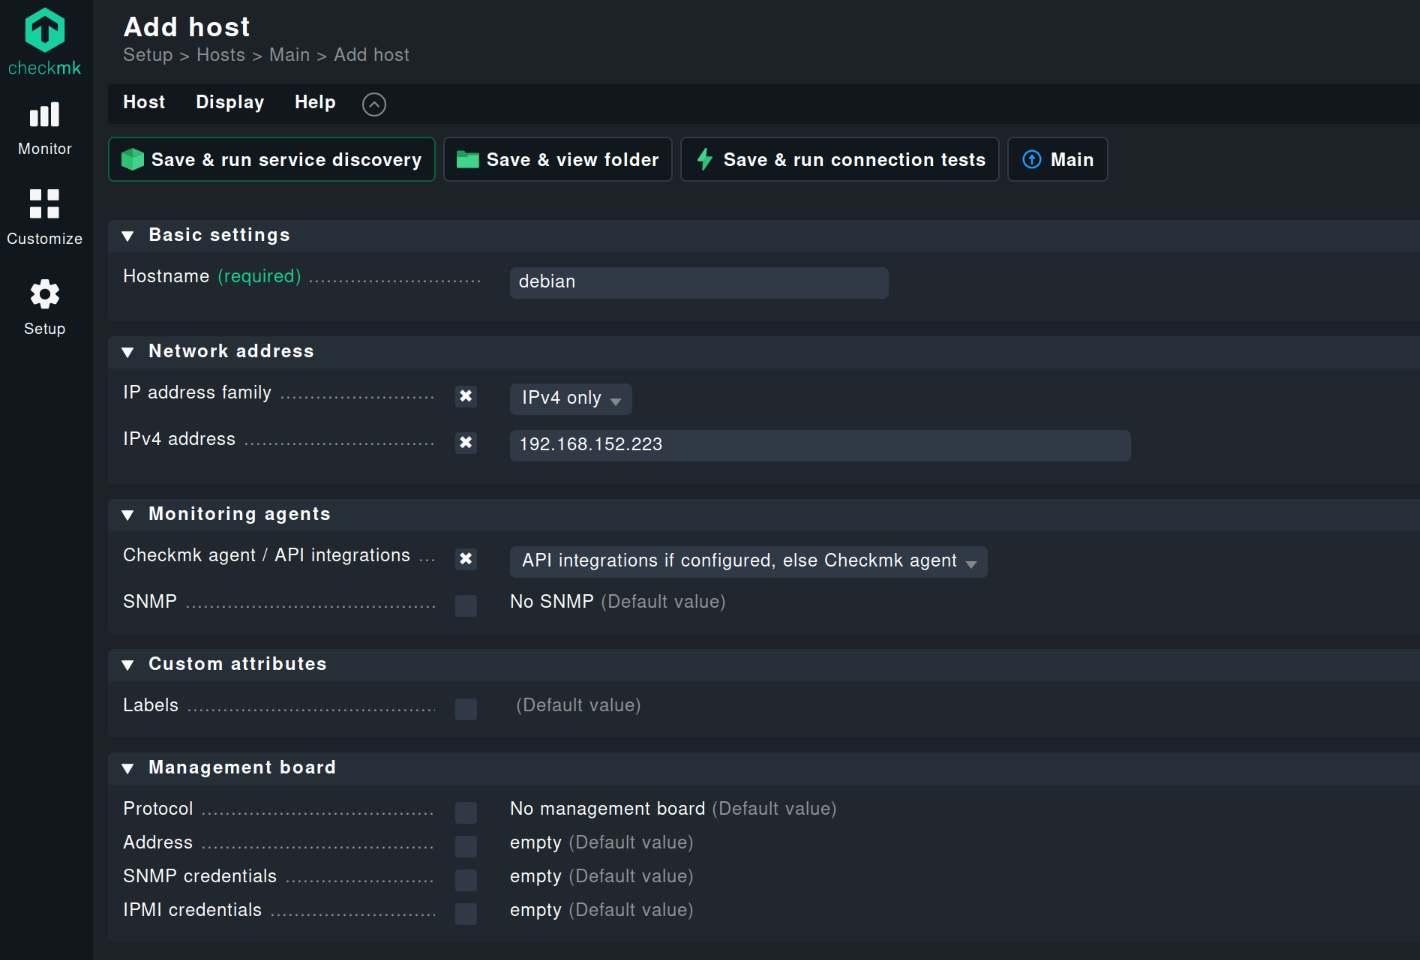
Enter the required data. If you have a working DNS, you probably don’t need to enter the IP address.
Select “Save & run service discovery”.
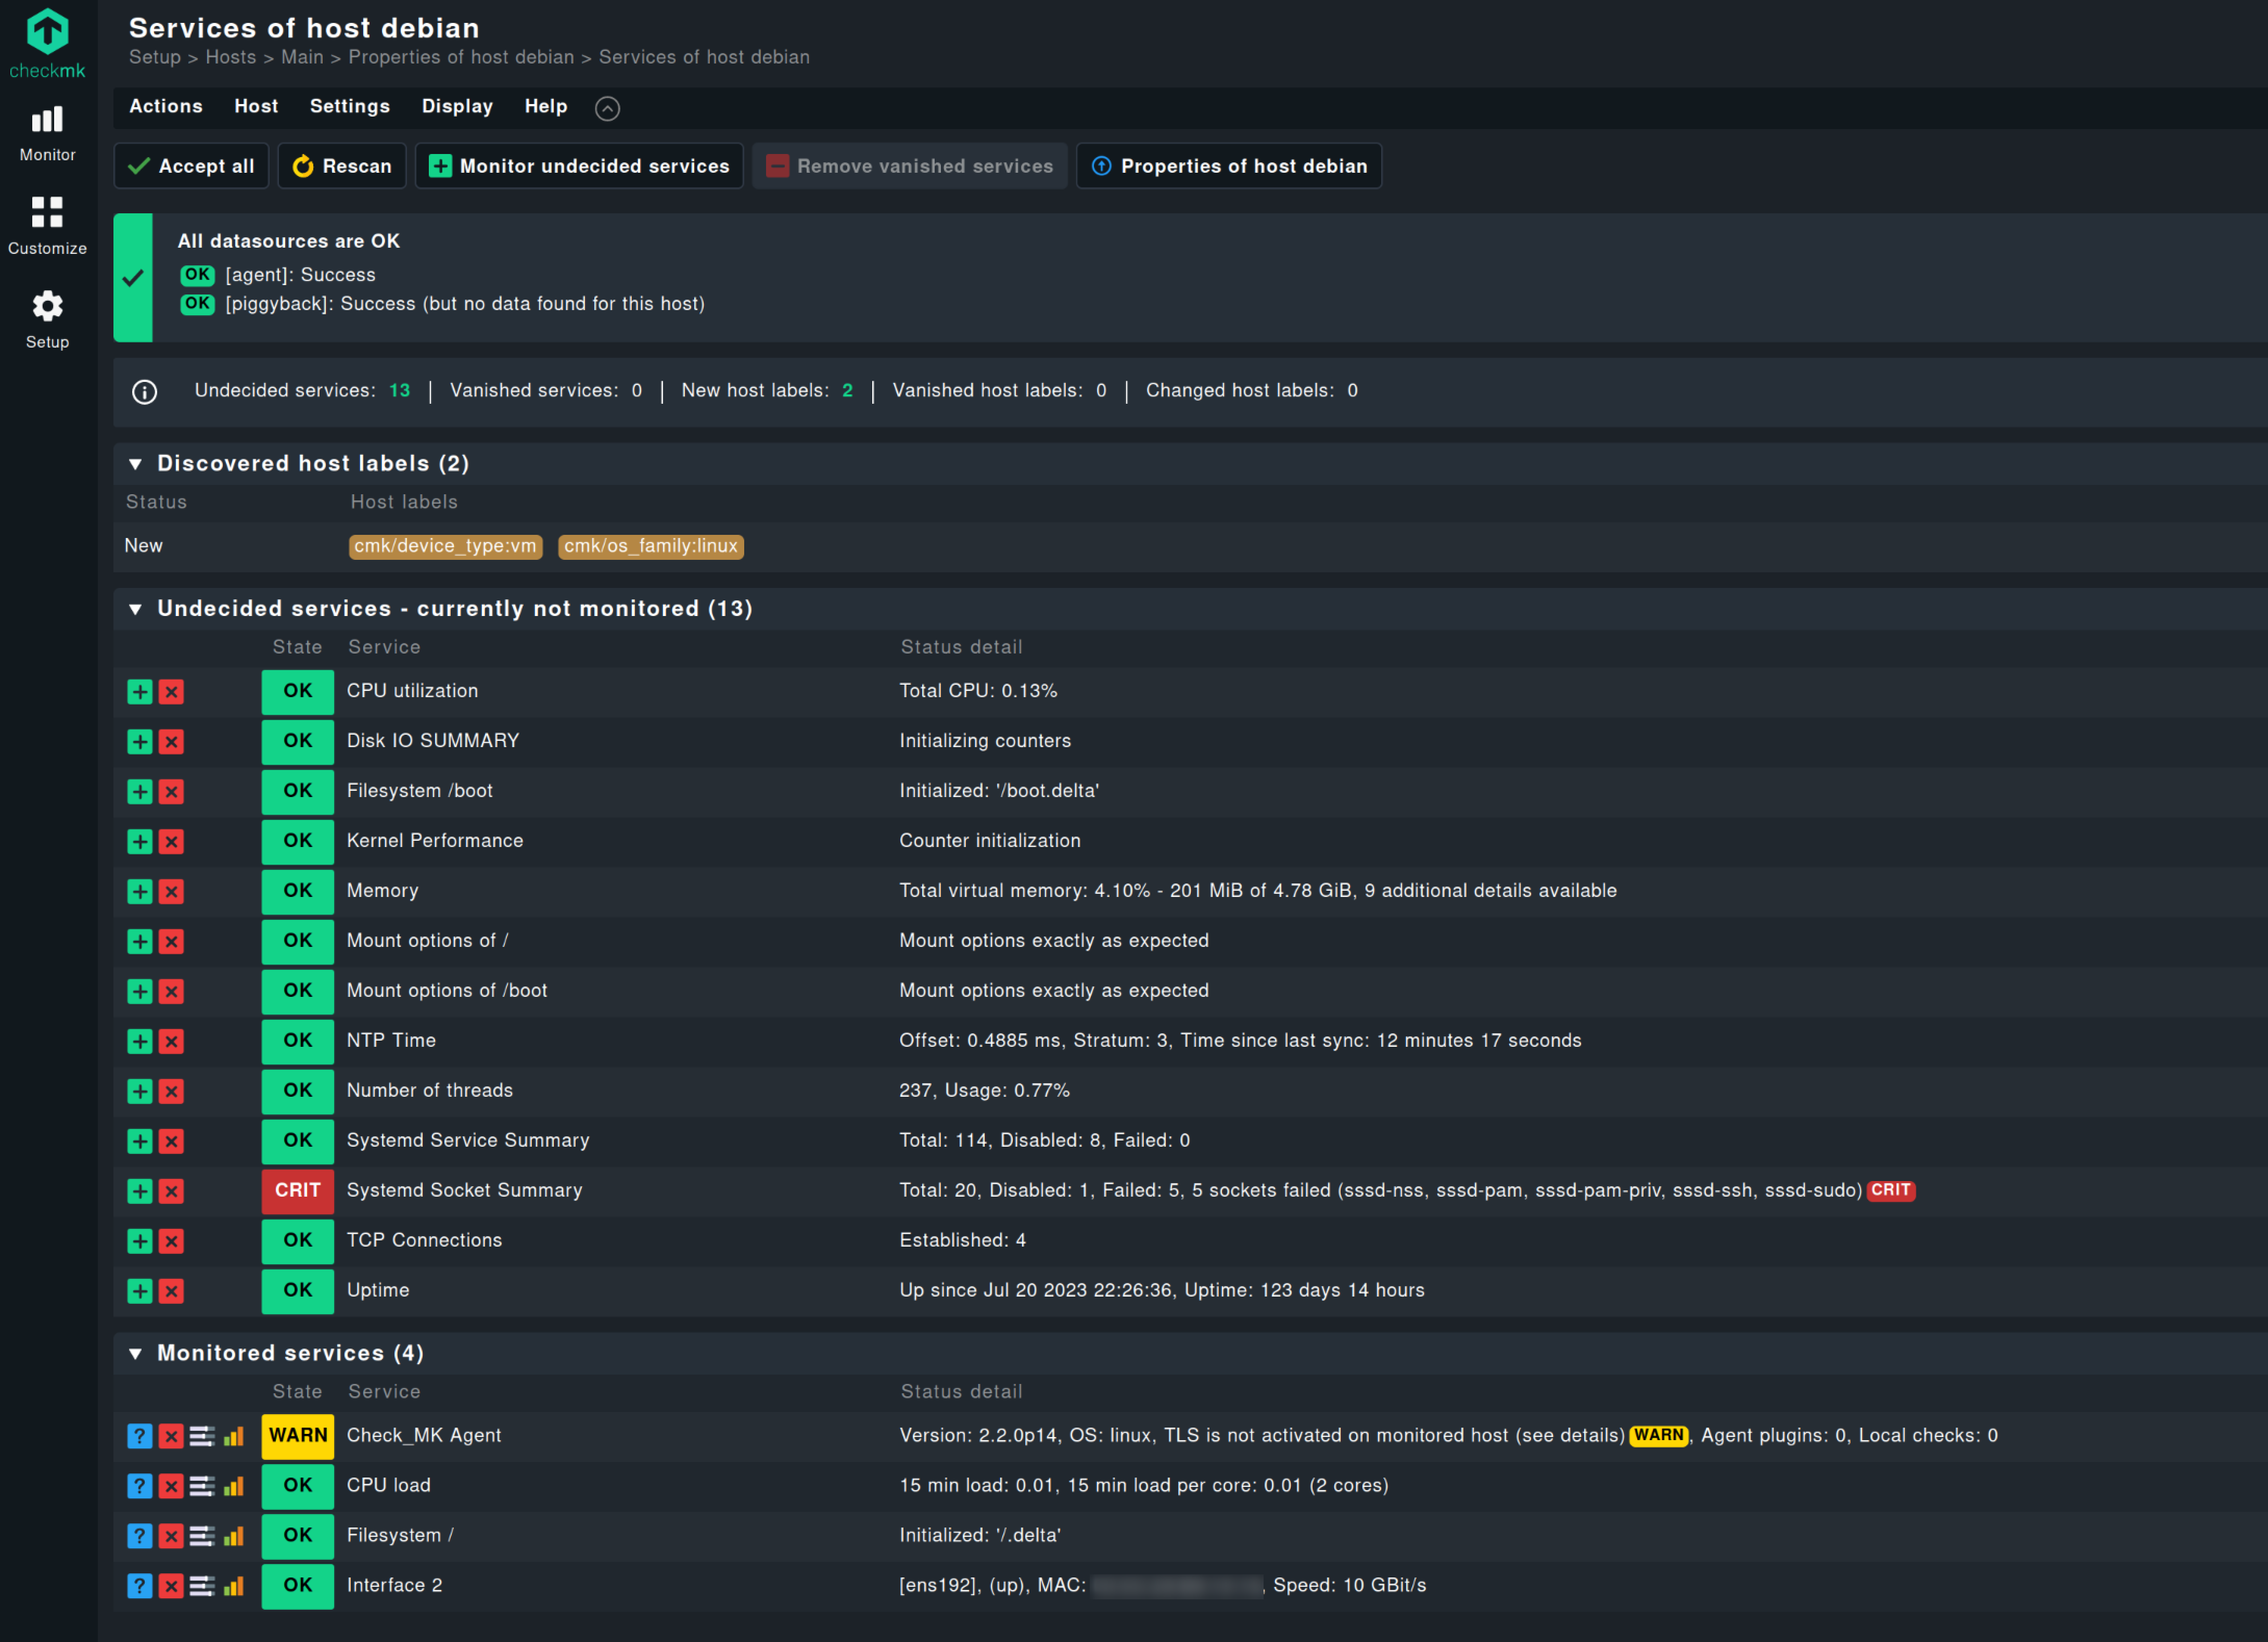
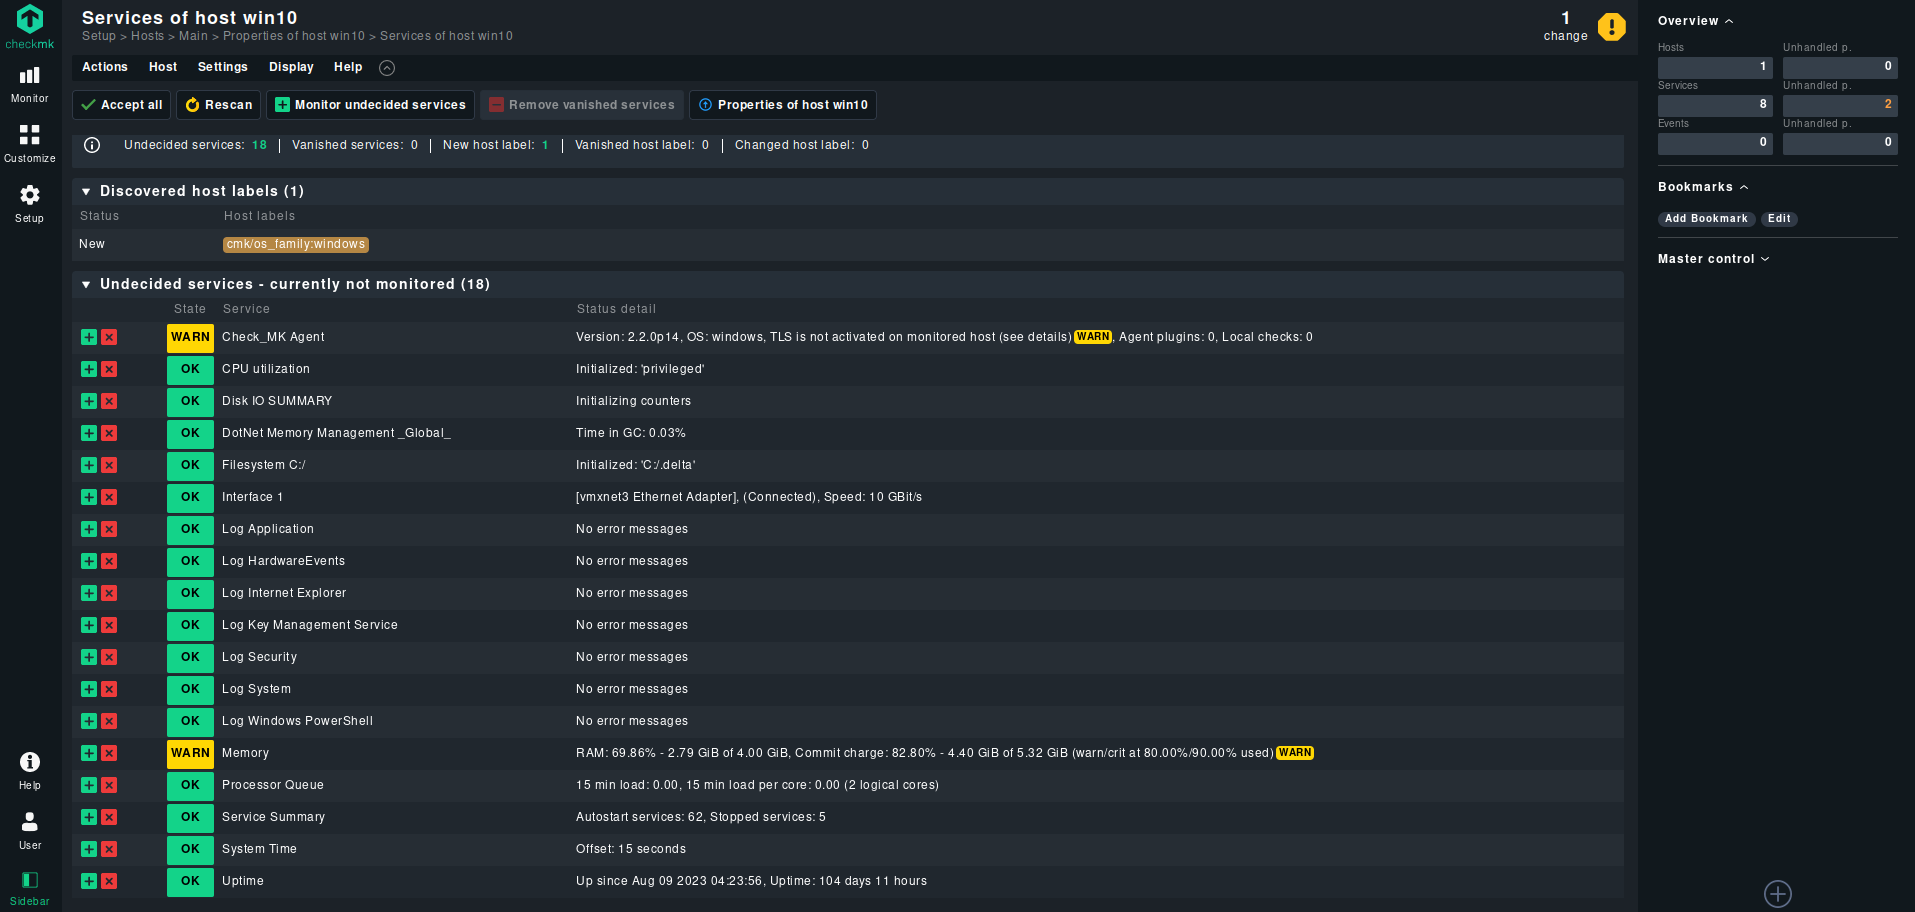
After this, you should get a list of the services that can be monitored (with the default setup).
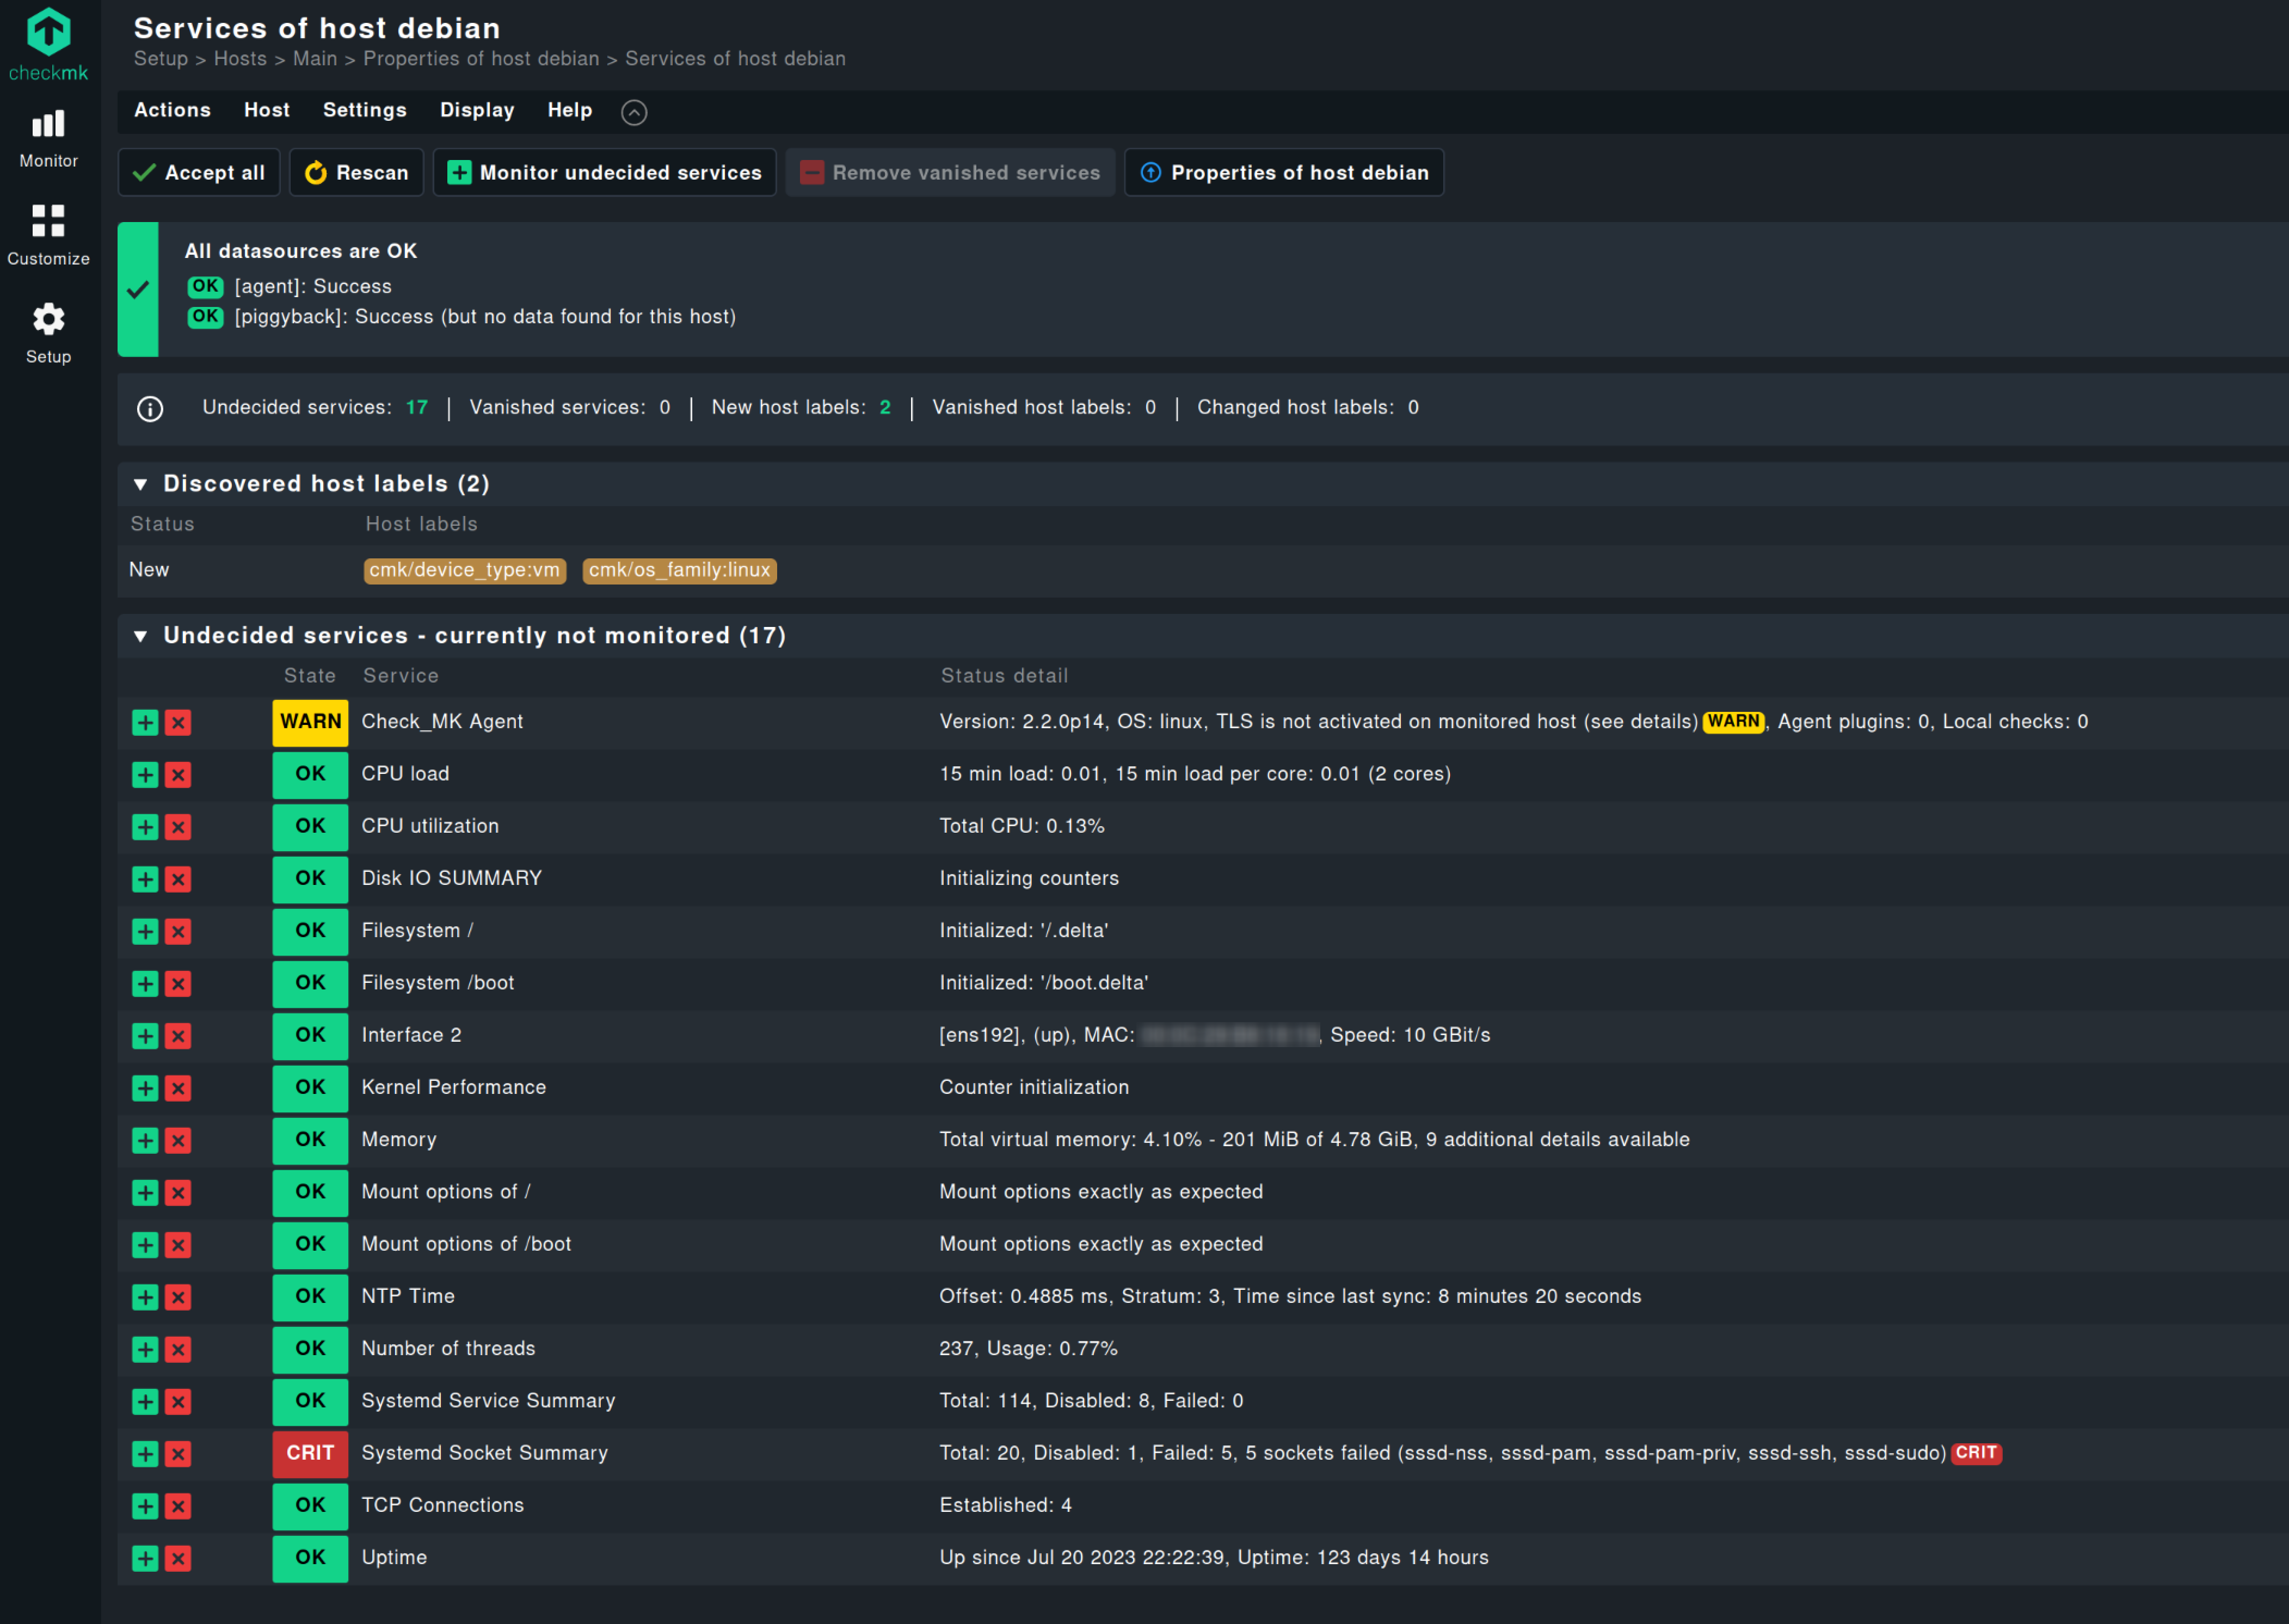
To add the services to the monitoring, click on the small + symbol on the left.
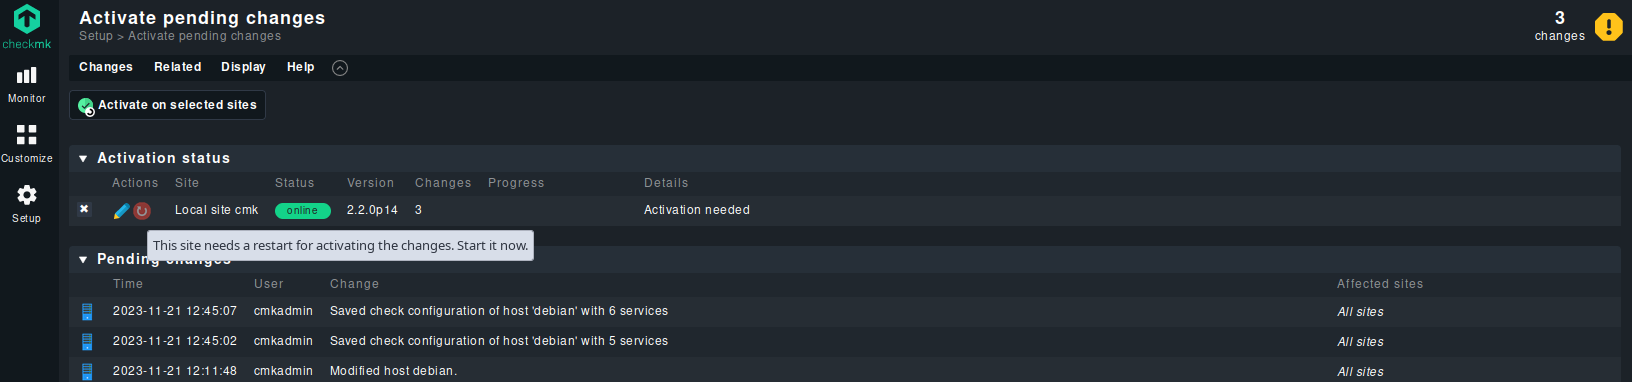
To save the configuration, select the “changes” in the top right corner.

Here you will find the “Activation status”. This allows you to restart the site to activate the changes. Click on the small red symbol to activate.


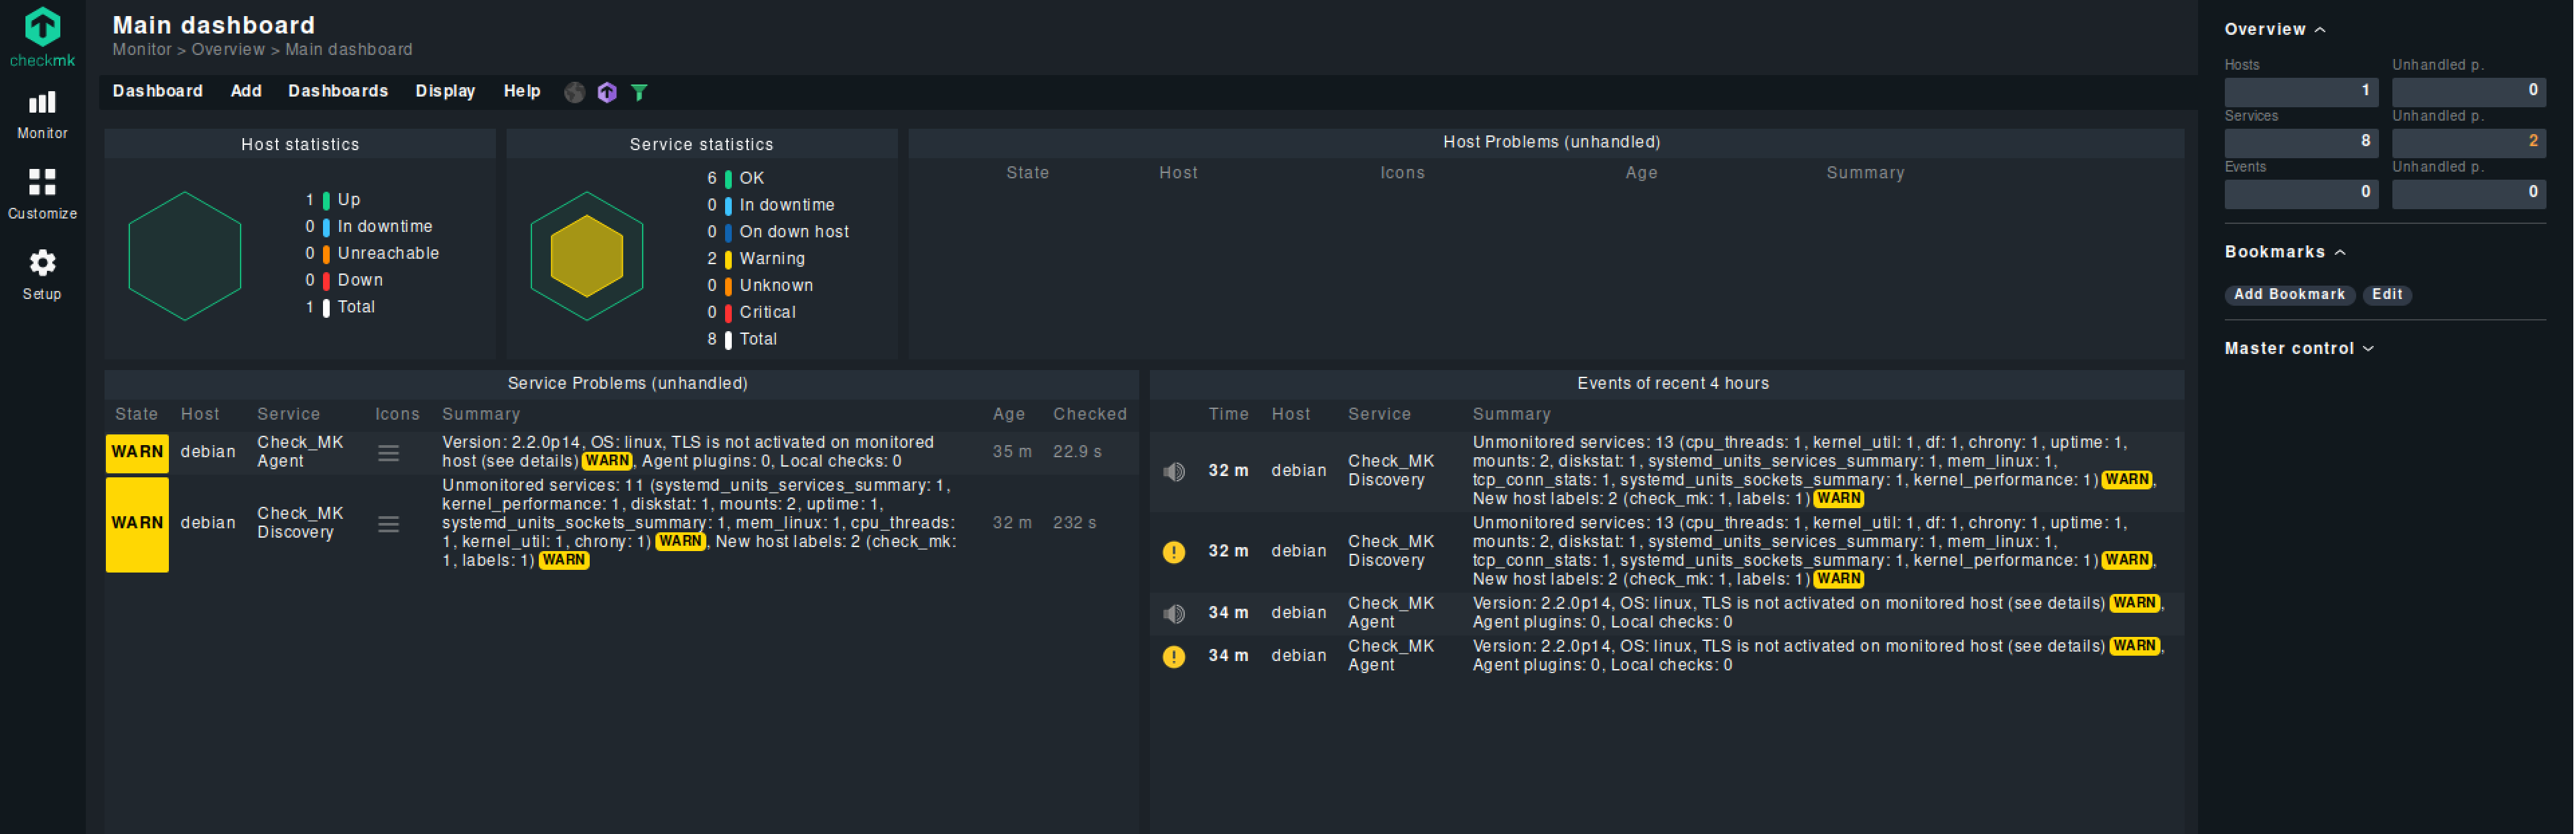
After a few minutes, we should see the added services on the main dashboard.
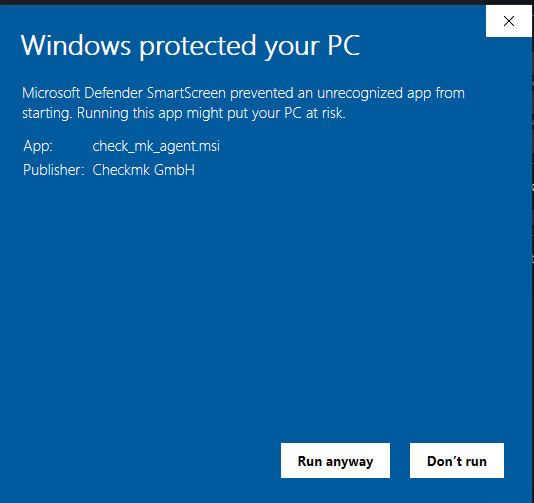
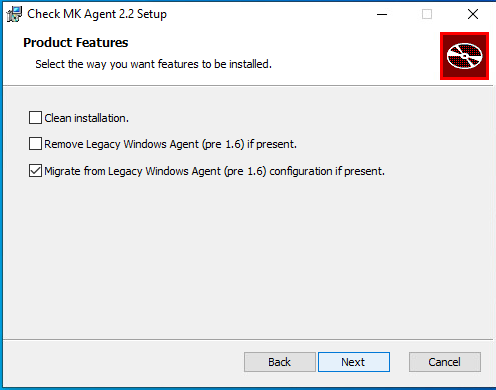
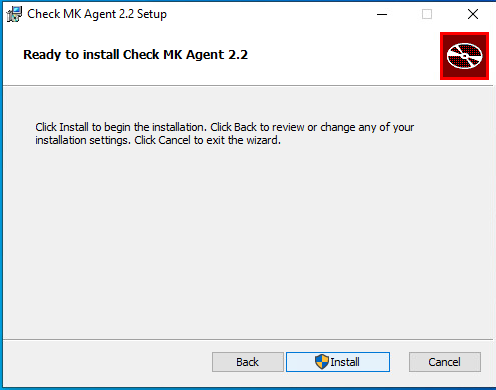
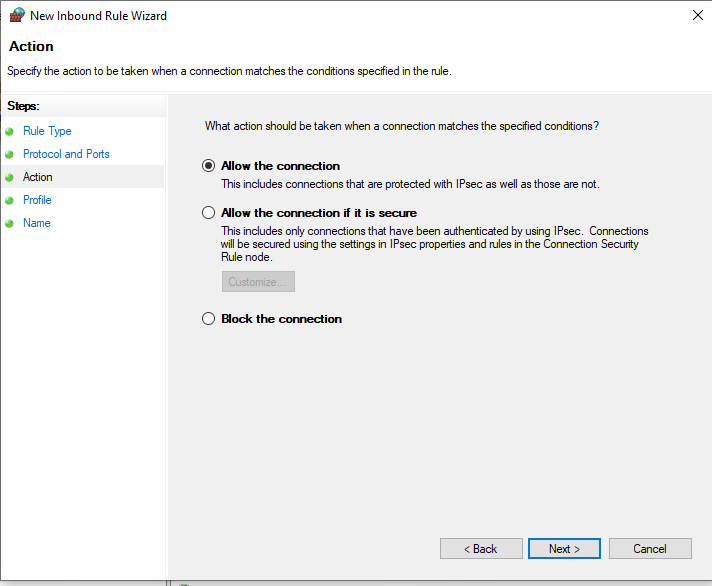
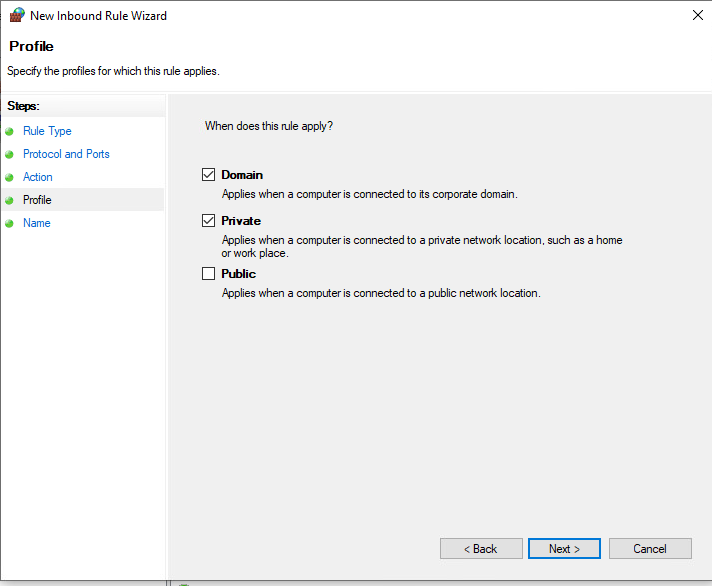
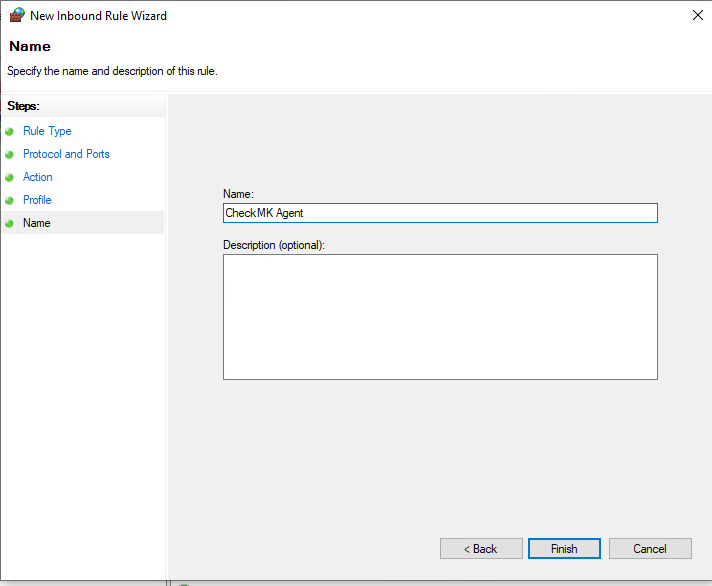
I also have a Windows 10 VM. Let’s quickly add it as well. Download the Windows client from the “Setup” -> “Hosts” -> “Windows” page and install it on the Windows client.
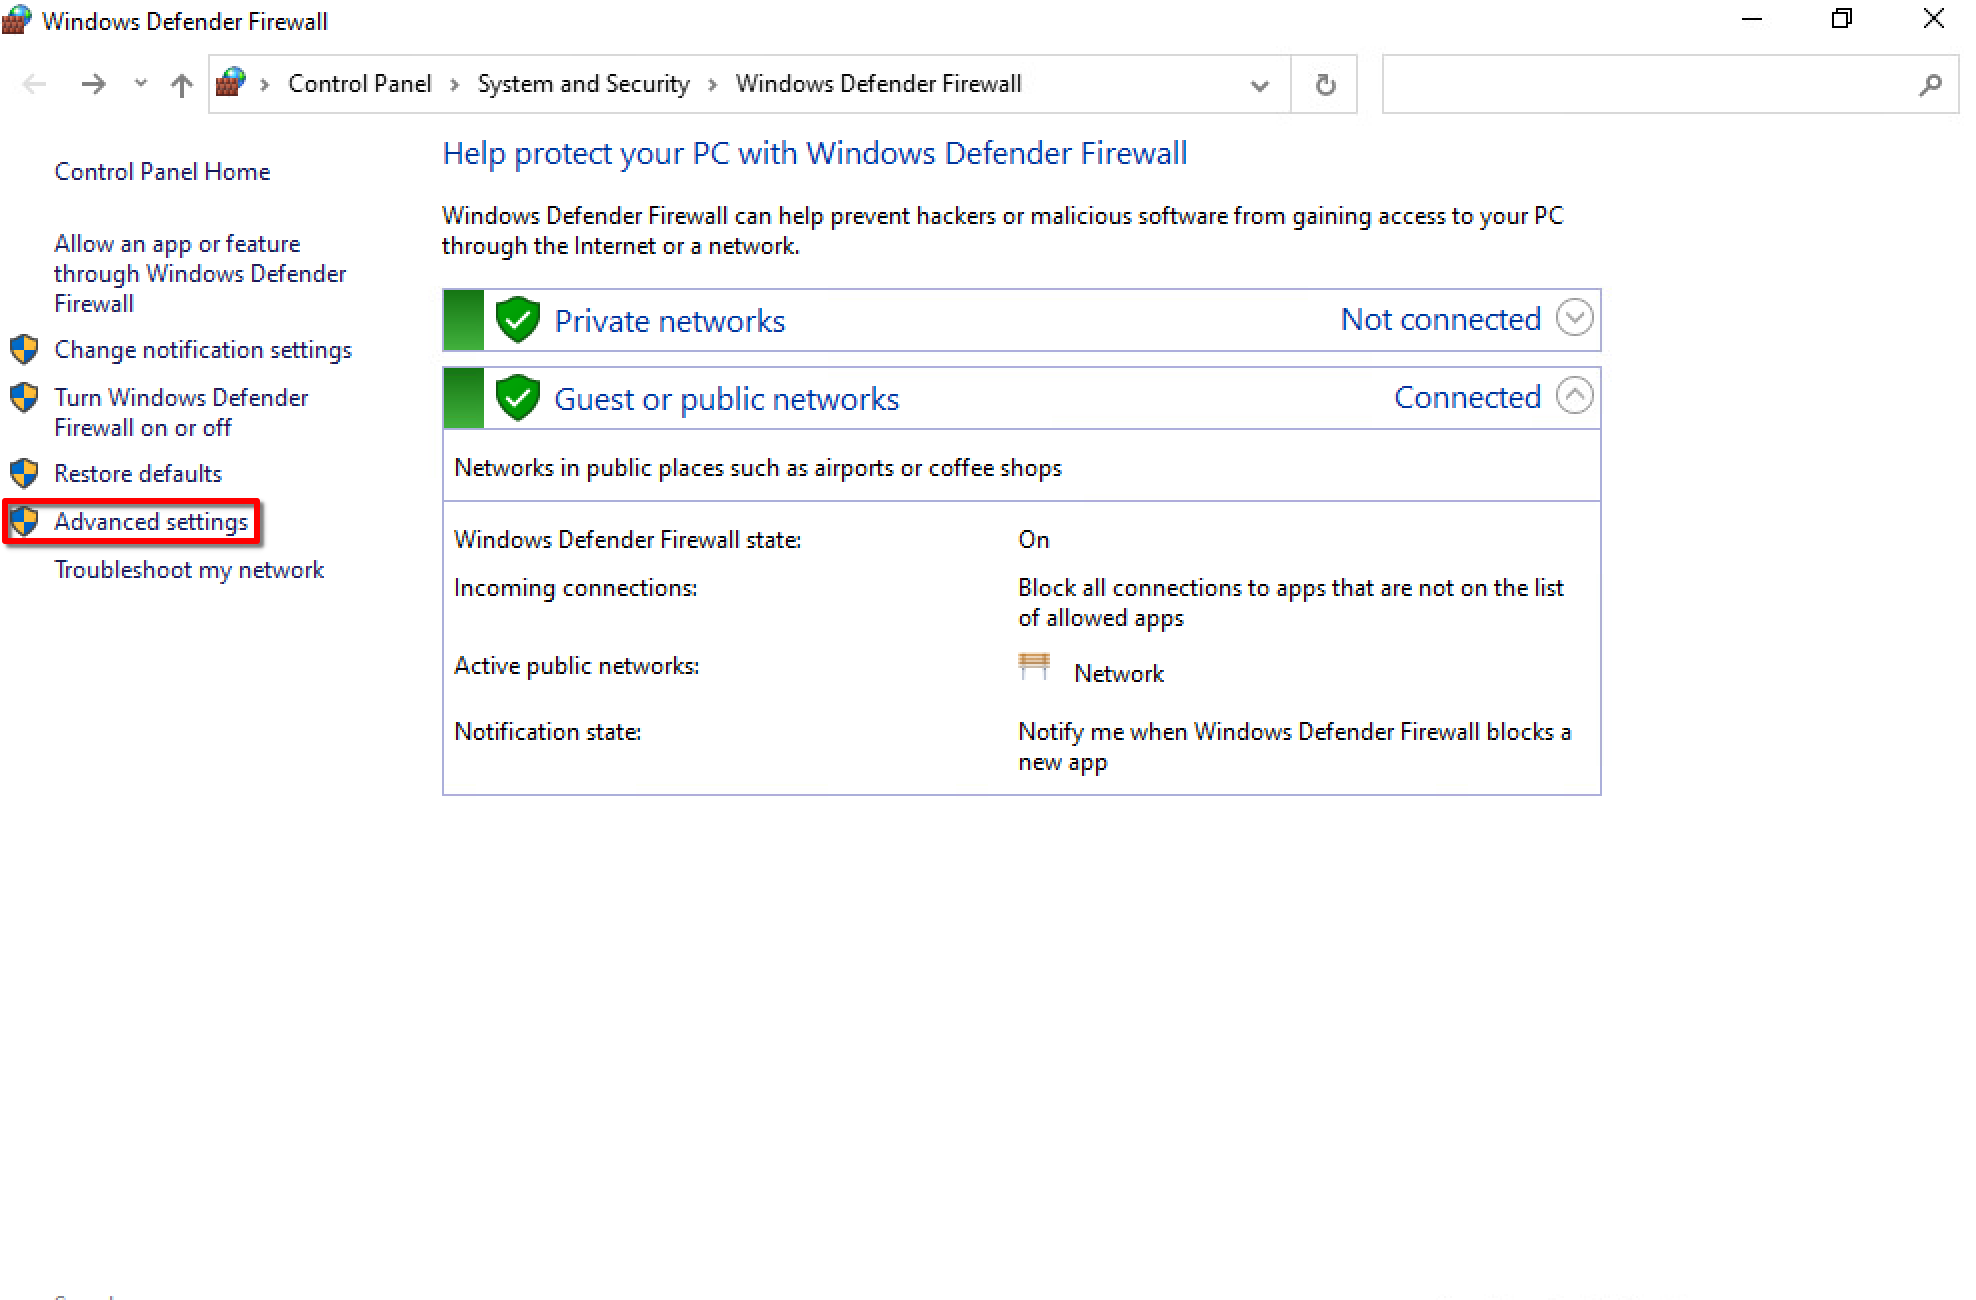
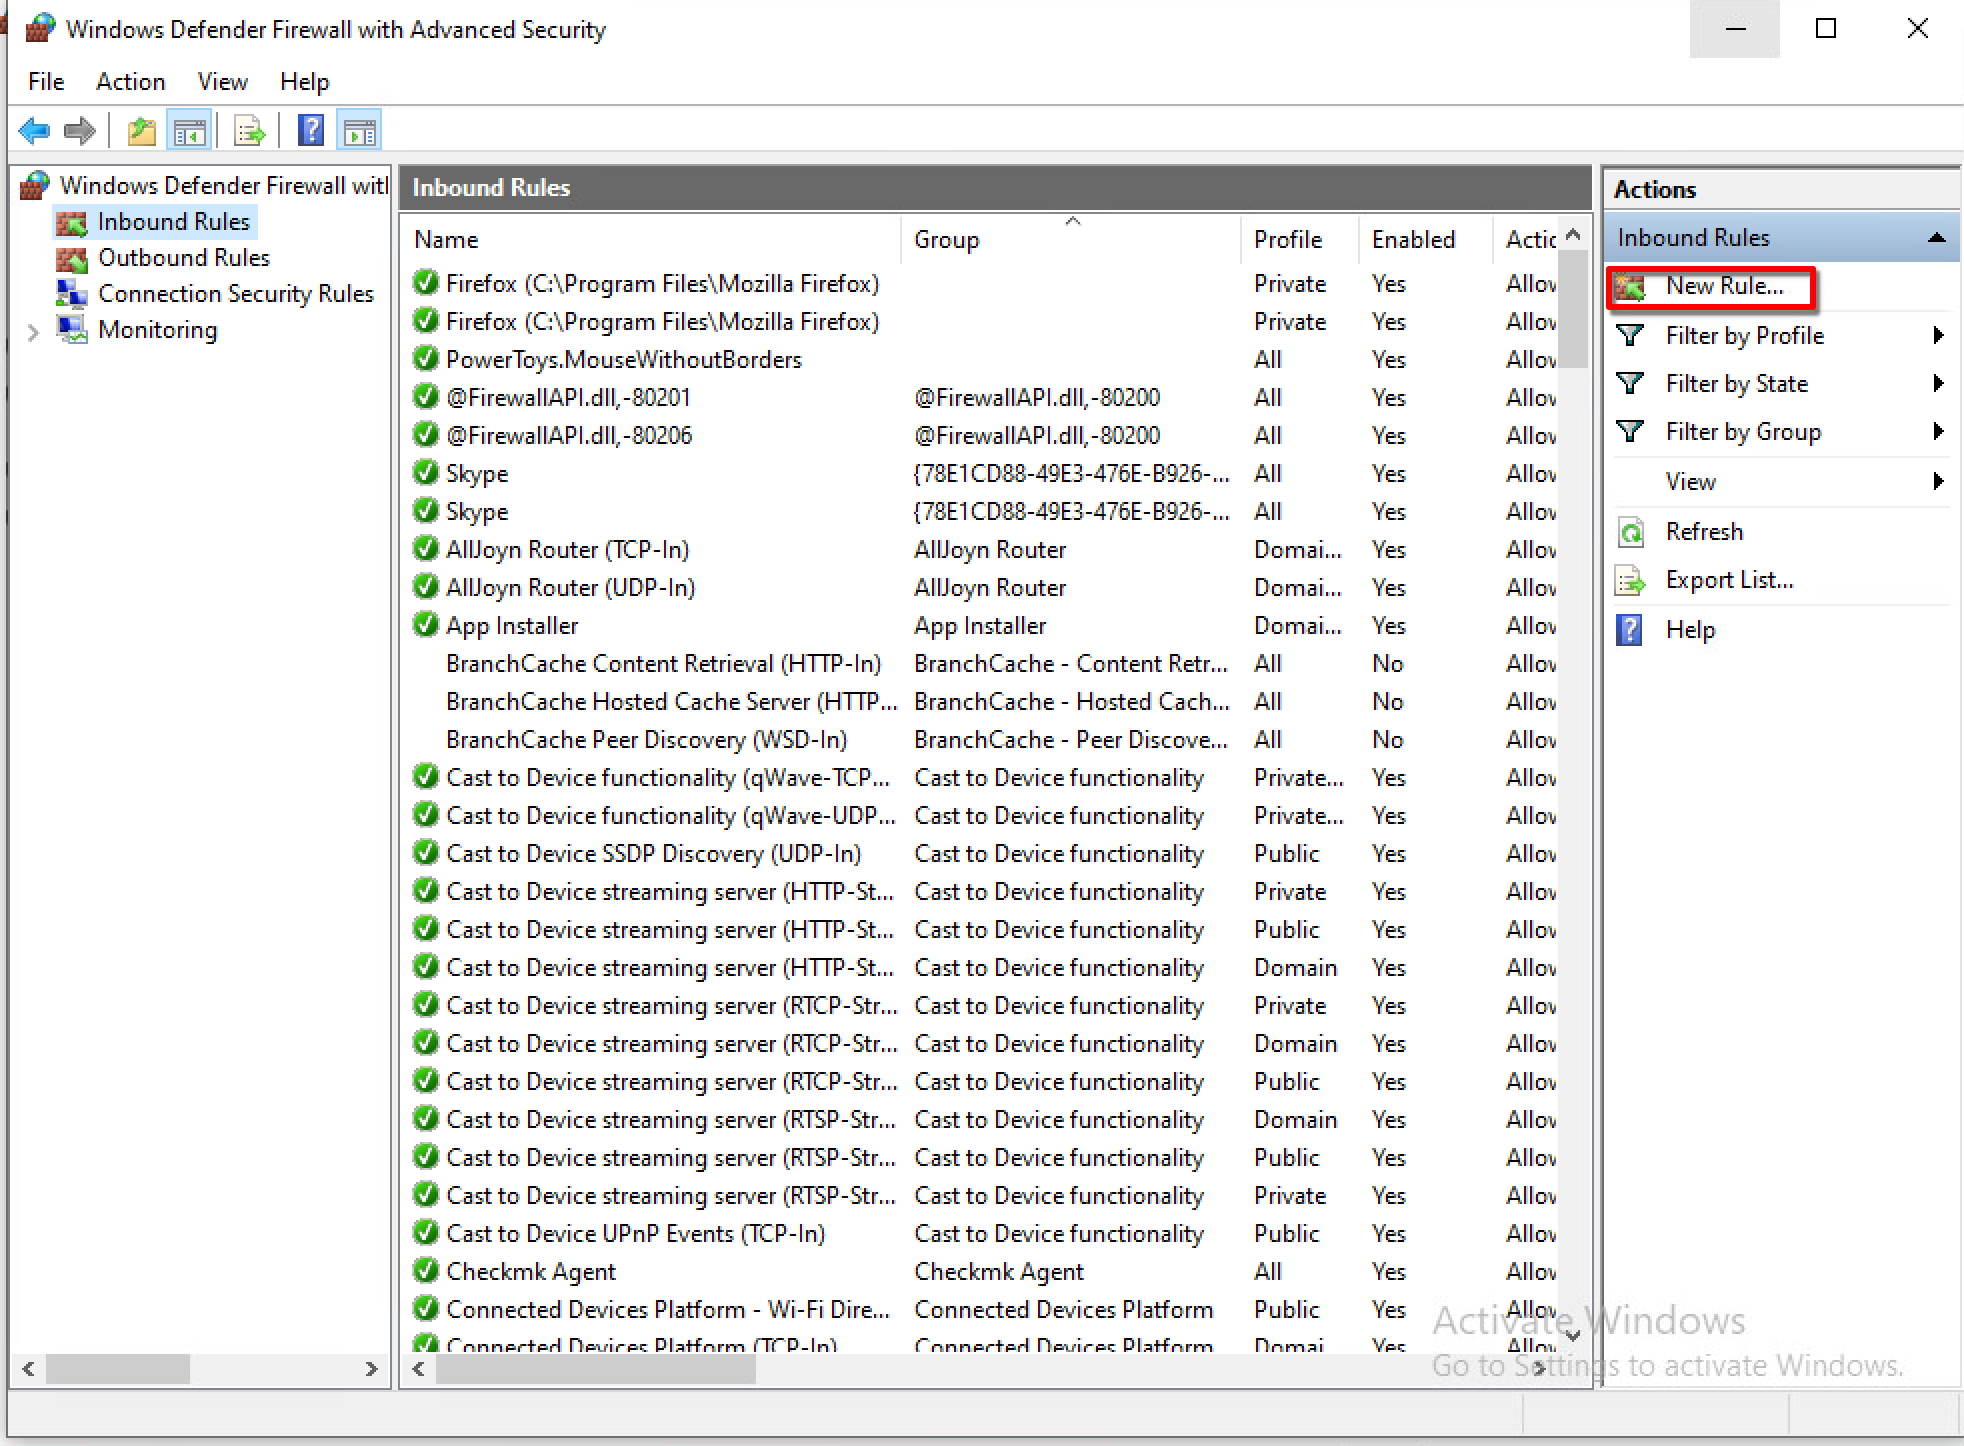
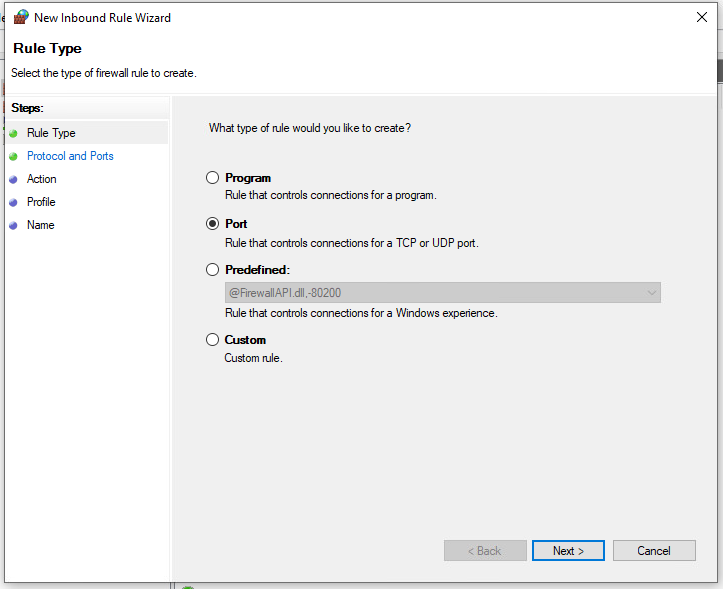
We also have to set up the firewall.

Now add another host in the webui with the correct data and run a discovery job.
Adding SSL
Alright. The basics work now, before we continue, I want to add encryption to the mix. For this we need a reverse proxy. I will use a nginx container.
First we need a certificate, you could use Lets Encrypt for this, but I will create a self-signed certificate. Create a folder for the certificate and the nginx configuration file.
# Create the folders for the certificate and configuration file
checkmk :: ~ » sudo mkdir /etc/nginx/docker/cert -p

# Navigate to the cert folder
checkmk :: ~ » cd /etc/nginx/docker/cert

# Create the self-signed certificate. This will create two files "checkmk.crt" and "checkmk.key" in that folder
checkmk :: ~ » sudo openssl req -newkey rsa:4096 -x509 -sha256 -days 3650 -nodes -out checkmk.crt -keyout checkmk.key
Generating a RSA private key
..........++++
........................................................................................................................++++
writing new private key to 'checkmk.key'
-----
You are about to be asked to enter information that will be incorporated
into your certificate request.
What you are about to enter is what is called a Distinguished Name or a DN.
There are quite a few fields but you can leave some blank
For some fields there will be a default value,
If you enter '.', the field will be left blank.
-----
Country Name (2 letter code) [XX]:DE
State or Province Name (full name) []:Baden-Wuerttemberg
Locality Name (eg, city) [Default City]:Stuttgart
Organization Name (eg, company) [Default Company Ltd]:testnetwork.dom
Organizational Unit Name (eg, section) []:IT
Common Name (eg, your name or your server's hostname) []:checkmk.testnetwork.dom
Email Address []:
Next, we need the configuration file for nginx. This is a very simple configuration. Just enough to get it working.
# Navigate to the nginx docker folder.
checkmk :: ~ » cd /etc/nginx/docker/

# Create the configuration file
checkmk :: ~ » sudo vim reverse_proxy.conf
server {
  listen 443 ssl;

  ssl_certificate /etc/nginx/cert/checkmk.crt;
  ssl_certificate_key /etc/nginx/cert/checkmk.key;

  location / {
      proxy_pass         http://192.168.152.242:8080/;
      proxy_redirect     off;
      proxy_set_header   Host $host;
      proxy_set_header   X-Real-IP $remote_addr;
      proxy_set_header   X-Forwarded-For $proxy_add_x_forwarded_for;
      proxy_set_header   X-Forwarded-Host $server_name;
   }
}
server {
  listen 80;
  location / {
      proxy_pass         http://192.168.152.242:8080/;
      proxy_redirect     off;
      proxy_set_header   Host $host;
      proxy_set_header   X-Real-IP $remote_addr;
      proxy_set_header   X-Forwarded-For $proxy_add_x_forwarded_for;
      proxy_set_header   X-Forwarded-Host $server_name;
      }
}
Great. Now stop the docker container, edit the docker-compose.yml file, and start it again with the new configuration.
# Navigate to the checkmk folder and Stop the container
checkmk :: ~ » cd ~/checkmk
checkmk :: checkmk » sudo docker compose down
[+] Running 2/2
 ✔ Container checkmk        Removed       6.3s
 ✔ Network checkmk_default  Removed       0.2s

# Edit the docker-compose.yml file
checkmk :: checkmk » sudo vim ./docker-compose.yml
version: "3.8"
services:
  checkmk:
    image: checkmk/check-mk-raw:2.2.0-latest
    container_name: checkmk
    restart: unless-stopped
    tmpfs:
     - /opt/omd/sites/cmk/tmp:uid=1000,gid=1000
    ports:
     - '8080:5000'
     - '8000:8000'
    volumes:
     - 'checkmk_monitoring:/omd/sites'
     - '/etc/localtime:/etc/localtime:ro'

  nginx:
    image: nginx:latest
    container_name: nginx
    volumes:
      - /etc/nginx/docker/reverse_proxy.conf:/etc/nginx/conf.d/default.conf
      - /etc/nginx/docker/cert/checkmk.key:/etc/nginx/cert/checkmk.key
      - /etc/nginx/docker/cert/checkmk.crt:/etc/nginx/cert/checkmk.crt
    ports:
      - 443:443

volumes:
  checkmk_monitoring: {}

# Start the docker containers
checkmk :: checkmk » sudo docker compose up -d
[+] Running 3/3
 ✔ Network checkmk_default  Created    0.3s
 ✔ Container nginx          Started    0.0s
 ✔ Container checkmk        Started    0.0s
Let’s test it. The URL is “https://checkmk.testnetwork.dom/”
Great.
Setting up TLS on the monitored hosts
You might have noticed the error message “TLS is not activated on monitored host” in the services.

Next, I want to solve that issue.
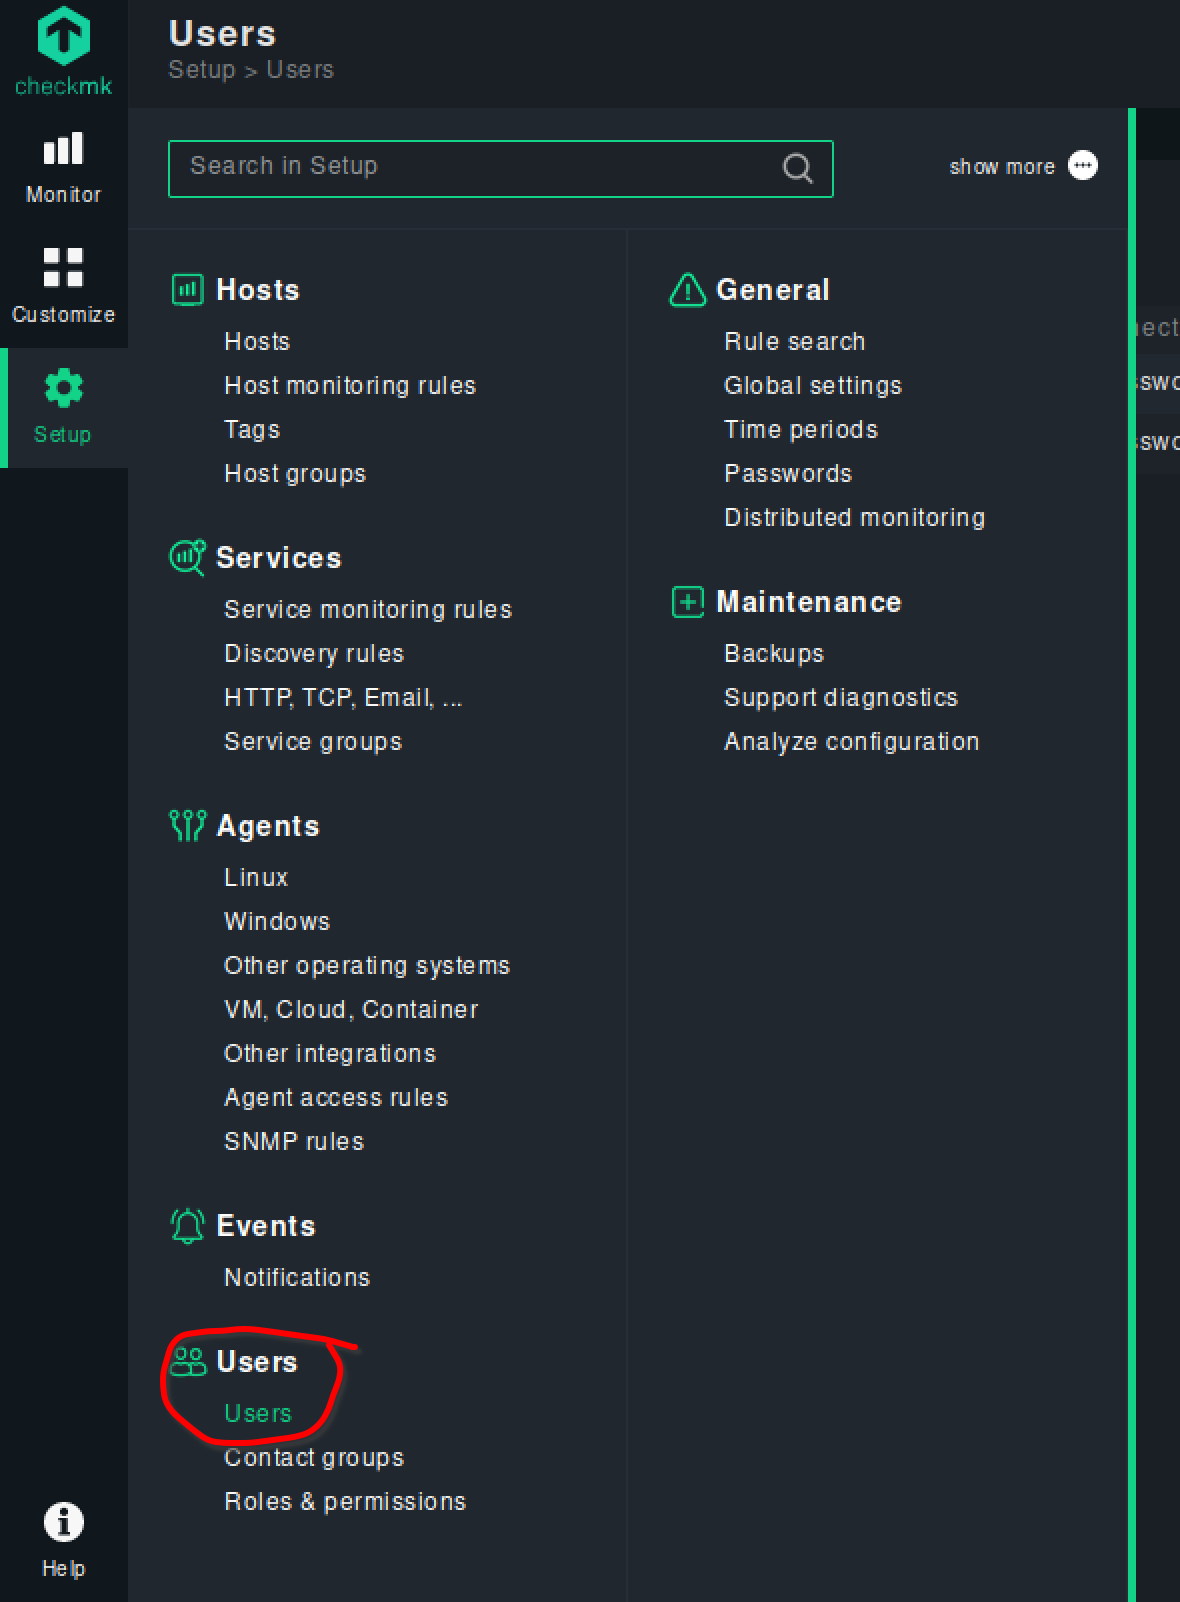
First we need to generate a password for the “automation” user. For this, navigate to “Setup” -> “Users” -> “Users”.
Edit the “automation” user.
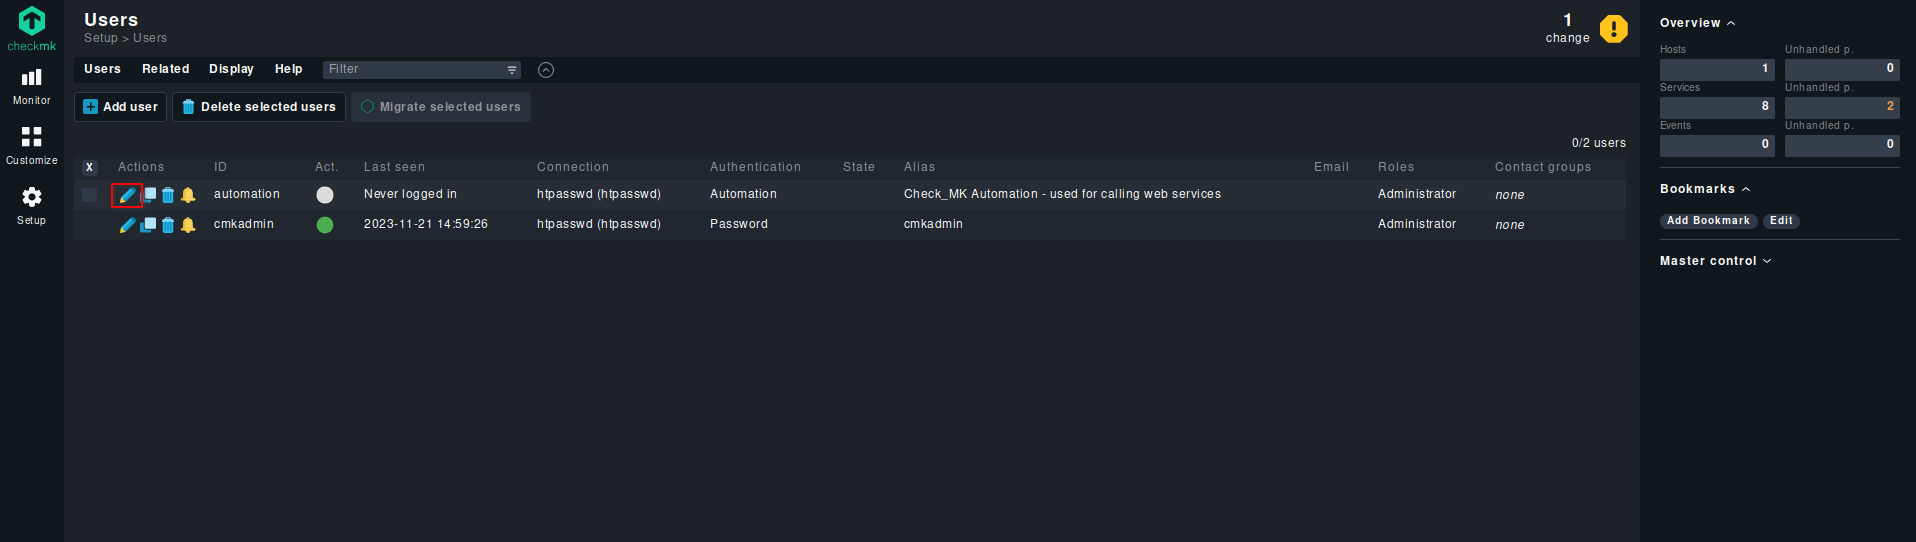
And click on the small symbol next to the “automation secret for machine accounts”. This will generate a new password and copy it into the clipboard.
Save the configuration with the button on the top left.

Now connect to the Debian server and execute the following command.
debian :: ~ » cmk-agent-ctl register --hostname debian --server checkmk.testnetwork.dom --site cmk --user automation --password <your-generated-password>
Attempting to register at checkmk.testnetwork.dom, port 8000. Server certificate details:

PEM-encoded certificate:
-----BEGIN CERTIFICATE-----
MIIC3DCCAcSgAwIBAgIUP5Jpo6FA8Y2F7md1xaDqMirF8e8wDQYJKoZIhvcNAQEL
BQAwHjEcMBoGA1UEAwwTU2l0ZSAnY21rJyBsb2NhbCBDQTAgFw0yMzExMjEwODUz
MjJaGA8zMDIyMTEyMTA4NTMyMlowDjEMMAoGA1UEAwwDY21rMIIBIjANBgkqhkiG
9w0BAQEFAAOCAQ8AMIIBCgKCAQEAy3ZOS4udyVJw5S94l0lVk2lgkuZekDQDzFM6
xUsSM4akfQh4cKYaqLdPuWJyWYxtfOBKu2p2swnCznnNLAsbVkvHwmF889qA1eOx
lYqkb3GBd+6uM4sBRi9k7iCZaZT1mHibuf1j2aZn0S2ASEjal+TYdUZdKHoy2VQ2
G5t1rtmyb9k6MPQNHRzZcE3ha7QHHvKp30XoC33u+FeQeij3PV2q/+lTpN1q8jMf
YUkcSagWUNIsOAmk2VGOgQMS8d04GYHQTUdpapkFNff+LjRYHHbWh0er0iCdXdCM
87eb1Ti6cD9P4pXI/xzPvxm1uXL1REvbkhD8+YJUx2VWg/s89wIDAQABoyAwHjAO
BgNVHREEBzAFggNjbWswDAYDVR0TAQH/BAIwADANBgkqhkiG9w0BAQsFAAOCAQEA
IDNpwA6NJbt6LqvQIvq+l8vh+Xe1znxxPJEwtYpL+6v5tMOcpX355f+d1smPjtIX
Yi7d4cQj8WIGHqOnibx480ixmvSYv6AJ7zdV9KxDfmX2nj0NqebIabbEgedgqEfX
5AA/bfGApkK4yG2tph53kWUlc+oP2Kie0LROAULVJ//4c5c3Ihk3kANatuyqL1C3
kfuBChYUZWA9rMaTJulwuyhE802pc6T6ex2LuP7Aifh0fpcvMdIRC8Ls1Q2wMzz1
hpoaXIbUNwZBG7f3/j+WYCwXLyiT7PF/LpQ0xAXTqpCs/b6APbZdfcscP0jtQOYd
4lquDWGK4gZBtplQc0yyIw==
-----END CERTIFICATE-----

Issued by:
        Site 'cmk' local CA
Issued to:
        cmk
Validity:
        From Tue, 21 Nov 2023 08:53:22 +0000
        To   Thu, 21 Nov 3022 08:53:22 +0000

Do you want to establish this connection? [Y/n]
> y
Registration complete.
And that’s that.

We can do the same on the Windows 10 client.
Open an elevated Command Prompt or PowerShell and navigate to “C:\Program Files (x86)\checkmk\service”. Here we can find the “cmk-agent-ctl.exe” file.
Type in the same command from earlier, with the correct hostname for the client.
C:\Users\admin> cd "C:\Program Files (x86)\checkmk\service"
C:\Program Files (x86)\checkmk\service> cmk-agent-ctl.exe register --hostname win10 --server 192.168.152.242 --site cmk --user automation --password <your-generated-password>
Alright. That’s it for now. We have a running server with a reverse proxy and certificates for HTTPS connections, and we added two hosts, one Linux and one Windows, to the monitoring.
The next step would be to fine tune the monitoring and setup notifications. I will probably do that in another post.
Till then. Have a great day.