Hello there, it’s been a while. Didn’t really have a topic.
Today I want to take a look at a simple local deployment of Rocky / Fedora. For this, I will be using cloud-init and the cloud images provided by both distributions.
This is a simple setup for my home lab which I want to share. If you want to actually use cloud-init for its intended purpose, this might not be for you, I think.
Preparations
First, we need to download the image we will be using. For this example, I will be using Fedora. Go to https://alt.fedoraproject.org/cloud/ and download either the raw or qcow2 image. I will be using the raw image since I want to use LVM volumes, so my backups still work (to see how I do this, check this post), but you can use the qcow2 image as well. The process is almost identical.
We could also convert the qcow2 to a raw image with the following command.
kvm :: ~ » qemu-img convert -f qcow2 -O raw /path/to/image.qcow2 /path/to/image.raw
Download the cloud image
Let’s download the image onto the server.
kvm :: ~ » wget https://download.fedoraproject.org/pub/fedora/linux/releases/38/Cloud/x86_64/images/Fedora-Cloud-Base-38-1.6.x86_64.raw.xz
This will be in a compressed format. decompress it.
kvm :: ~ » xz -d Fedora-Cloud-Base-38-1.6.x86_64.raw.xz
Once that’s done, we will have an uncompressed Fedora Cloud image.
Now for the main event.
Create LVM volume and copy the image
You can skip this if you want to use the qcow2 image.
Next, we need to create a LVM volume and copy the image into it.
This will create a volume with the name “VOL-NAME” in the volume group “GROUP” with a size of 10GB.
kvm :: ~ » sudo lvcreate -n GROUP/VOL-NAME -L 10G
For me, the command looks like this.
kvm :: ~ » sudo lvcreate -n VMs/fedora-cloud -L 10G
Logical volume "fedora-cloud" created.
Great, next we will copy the image into the volume. You can use “dd” for this, but I recently found out that “cat” works just as good if not even better for this. It is way faster than “dd”.
kvm :: ~ » cat Fedora-Cloud-Base-38-1.6.x86_64.raw > /dev/VMs/fedora-cloud
Once that’s done, we can continue with the cloud-init setup.
QCOW2 preparation
If you want to use the qcow2 image, just create a copy of the original file which you can use in the deployment.
kvm :: ~ » cp Fedora-Cloud-Base-38-1.6.x86_64.qcow2 Fedora-Cloud-Image.qcow2
Cloud-Init
cloud-init allows us to create a configuration file and use it as a template for our deployments. This gives us a ton of options, like setting up a hostname, SSH, and installing packages during the deployment process. This saves a lot of time and allows us to have identical deployments without too much manual work.
Here is a link to the cloud-init documentation.
Let’s install it on our system.
Cloud-init installation
I am using Rocky Linux 8.8 as my current KVM server and it has “cloud-init” in its default repositories.
kvm :: ~ » sudo dnf install cloud-init -y
Once installed we can create the necessary file.
Creating user-data file
Here is an example file to show a few options. You should at least change the red marked areas to fit your setup.
kvm :: ~ » vim user-data
preserve_hostname: false
fqdn: "fedora-cloud"

system_info:
 default_user:
  name: "admin"
  plain_text_passwd: P@ssw0rd!
  lock_passwd: false
  groups: ["wheel"]
  ssh_authorized_keys:
   - ssh-ed25519 AAAAC3NzaC1lZDI1NTE5AAAAIHs7P5ARwH53P++SzZ3KZblueberryuufKzvGfBdKyw admin

packages:
  - nethogs
  - bash-completion
  - wget
  - htop
  - vim

package_upgrade: true
package_reboot_if_required: true

write_files:
  - path: "/root/hello.txt"
    owner: "root:root"
    permissions: "0644"
    content: "Hello world"

runcmd:
  - dnf -y install salt-minion
  - systemctl enable salt-minion.service
  - systemctl start salt-minion.service
There is way more you could do with cloud-init, but this should be enough for the basics.
Deploying the cloud image
The last step would be to deploy the image. For this, I will be using the “virt-install” command. I don’t know if there is a better way to do this, I couldn’t find one so far. I will update the post in case I do.
If you use the qcow2 image, replace the “–disk” portion with the right path to the qcow2 file. The important part is the last bit. “–cloud-init user-data=user-data”. This will start the VM with the cloud-init file.
There are a few more options that are optional but recommended. The “–channel type” is for the qemu-guest-agent and “–graphics type=vnc” is for the cockpit console. Otherwise, I won’t be able to access the VM via cockpit.
kvm :: ~ » virt-install --name fedora-cloud --memory 2048 --vcpus 2 --network model=virtio --graphics type=vnc,listen=0.0.0.0 --os-variant detect=on --import --disk /dev/VMs/fedora-cloud,size=10 --channel type=unix,mode=bind,name='org.qemu.guest_agent.0' --console pty,target_type=virtio --serial pty --cloud-init user-data=user-data
I cannot show the whole process, but after a few seconds the VM should start and you should see a lot of information like the current IP address and the SSH key it generates. Once you see the login screen, wait for a few seconds and the cloud-init process should start.
It will install the applications, update the system, and so on.
At the end, it should say something like “Finished cloud-final.service”.
kvm :: ~ » ....
[  OK  ] Finished cloud-final.servi… Execute cloud user/final scripts.
[  OK  ] Reached target cloud-init.target - Cloud-init target
Press enter and we should have our login again.
Now you can log in with the credentials you set earlier in the “user-data” file. To exit the console, press “STRG + ALT GR + 9”.
Verifying
So, we are done. Let’s check a few more things.
Once logged in, we can check if cloud-init actually ran. (if you can log in with the credential, it obviously worked, but where is the fun in that).
We created a file under /root.
fedora-cloud :: ~ » sudo -s
fedora-cloud :: ~ » cd /root
fedora-cloud :: ~ » cat hello.txt
Hello world
Check if salt-minion is running.
fedora-cloud :: ~ » sudo systemctl status salt-minion
● salt-minion.service - The Salt Minion
   Loaded: loaded (/usr/lib/systemd/system/salt-minion.service; enabled; vendor preset: dis>
   Active: active (running) since Wed 2023-07-05 08:25:40 CEST; 25min ago
Check IP address
In case you missed the IP during the deployment, you can check it from the KVM server. For this, the qemu-guest-agent has to be running on the VM.
kvm :: ~ » virsh domifaddr --source agent fedora-cloud
 lo         00:00:00:00:00:00    ipv4         127.0.0.1/8
 -          -                    ipv6         ::1/128
 eth0       52:54:00:77:de:69    ipv4         10.10.0.25/24
Check the cockpit console
I want to take a look at the cockpit console, to make sure that I can access the VM.
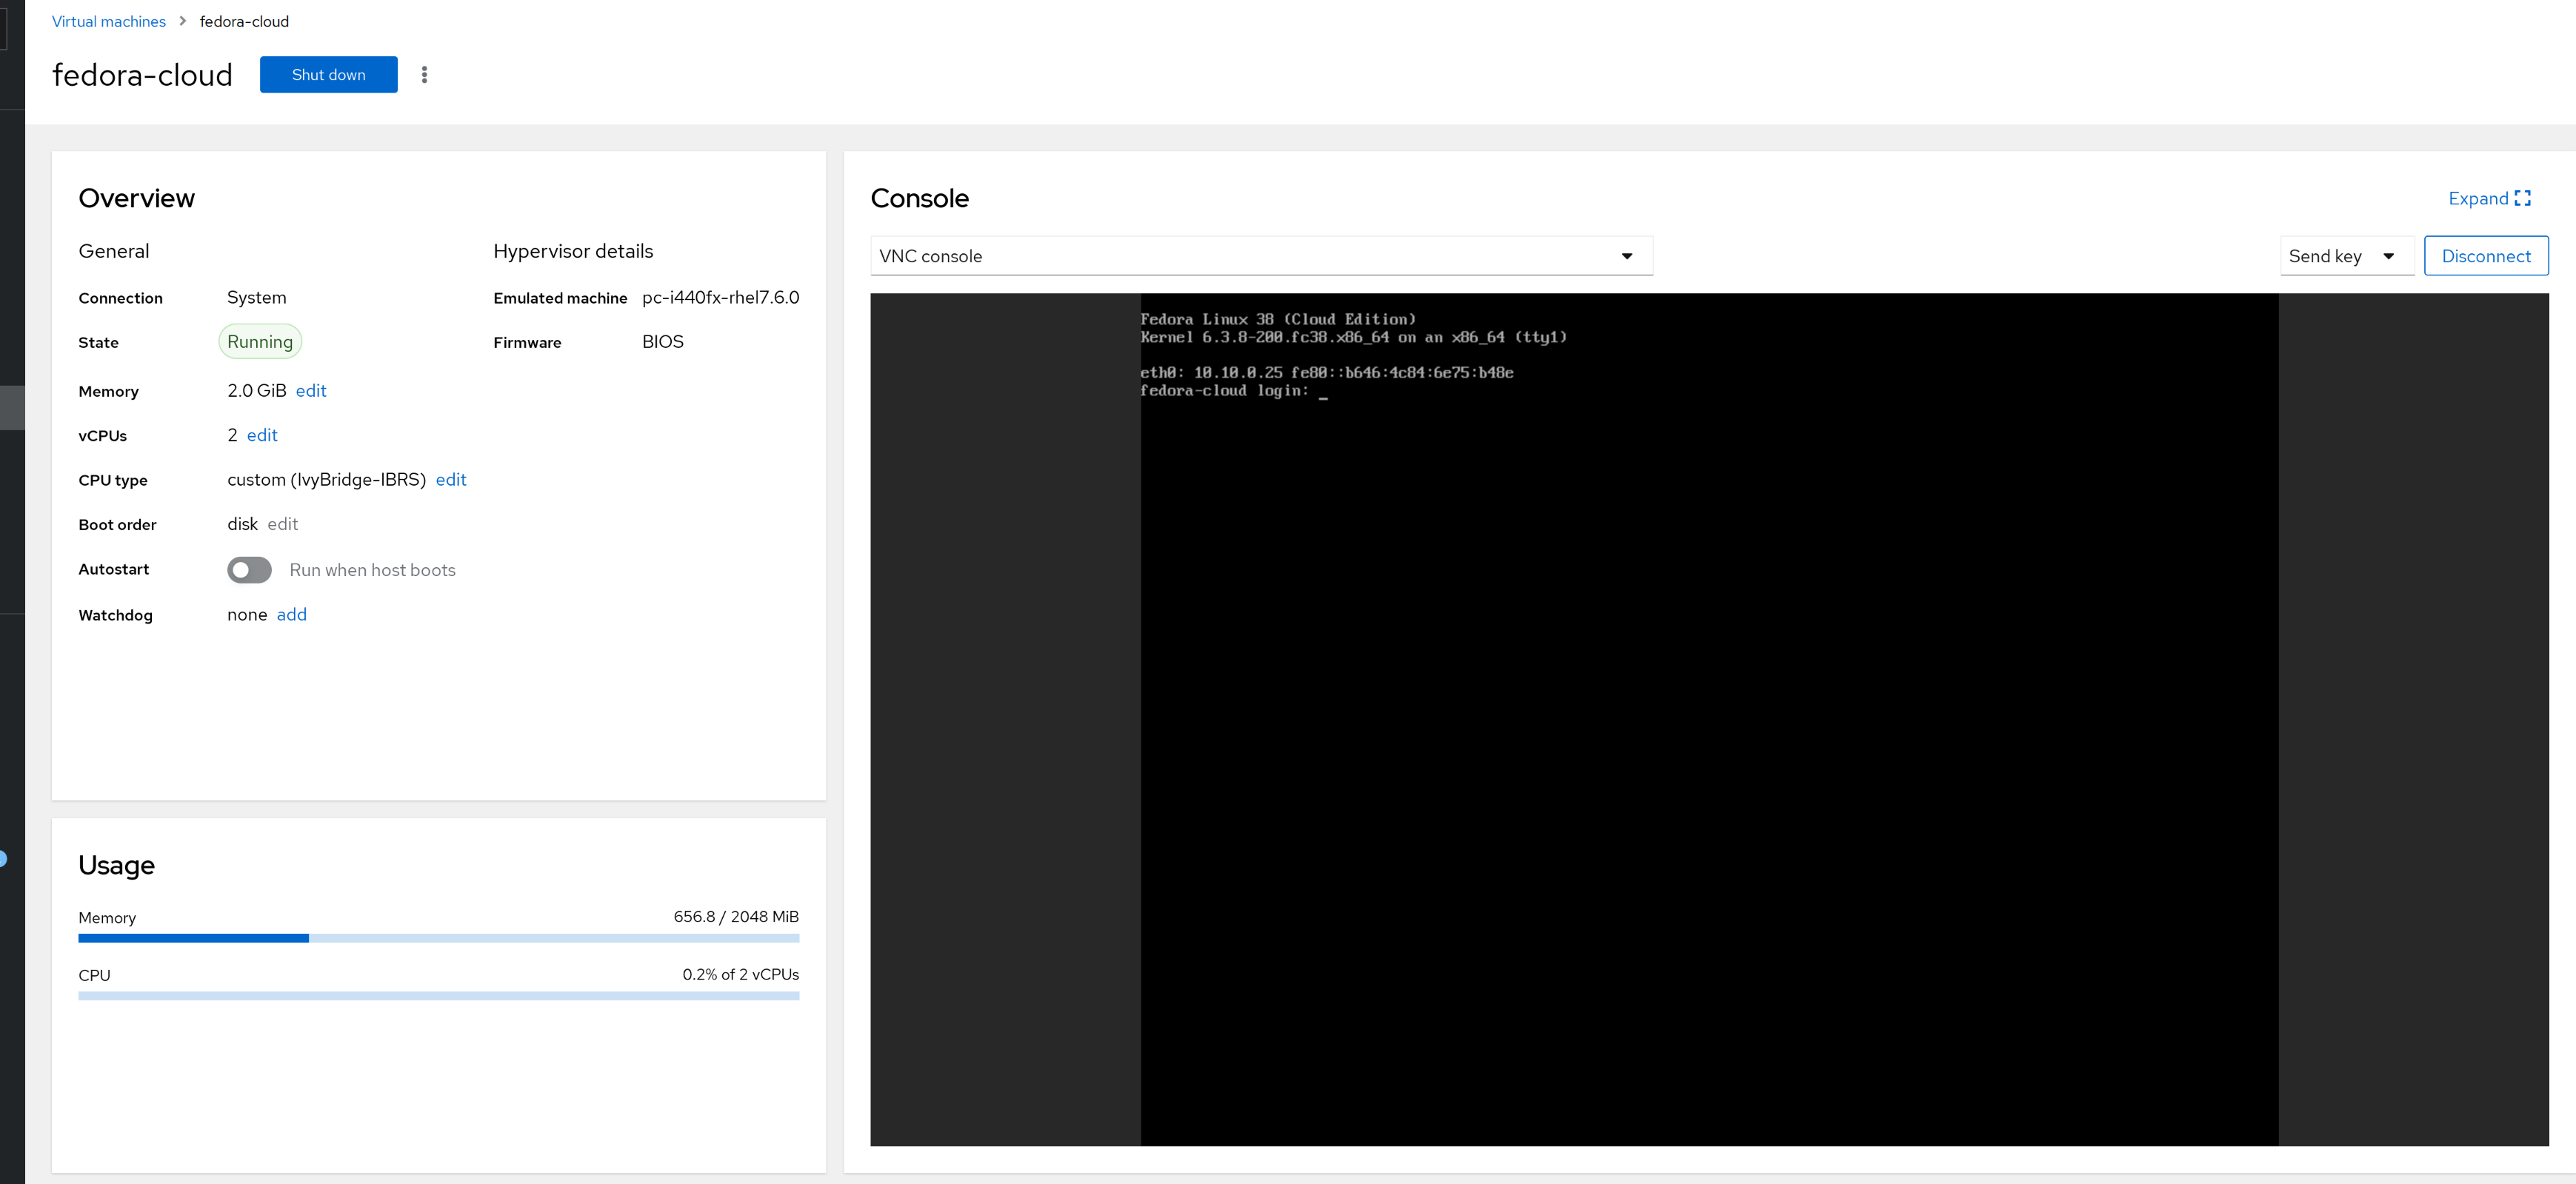
Great. This is pretty much it.