Alright then. Let’s continue with the setup of our FreeIPA client.
I won’t go through the OS installation, since it’s a simpler version of the server installation.
Client setup
One thing I want to mention before we start. After the OS installation, you get the “initial setup” of GNOME, where you get the option to log in with an enterprise user. First of all, it never worked for me, but I also prefer to have a local user. So I skipped that step and just created a normal account.
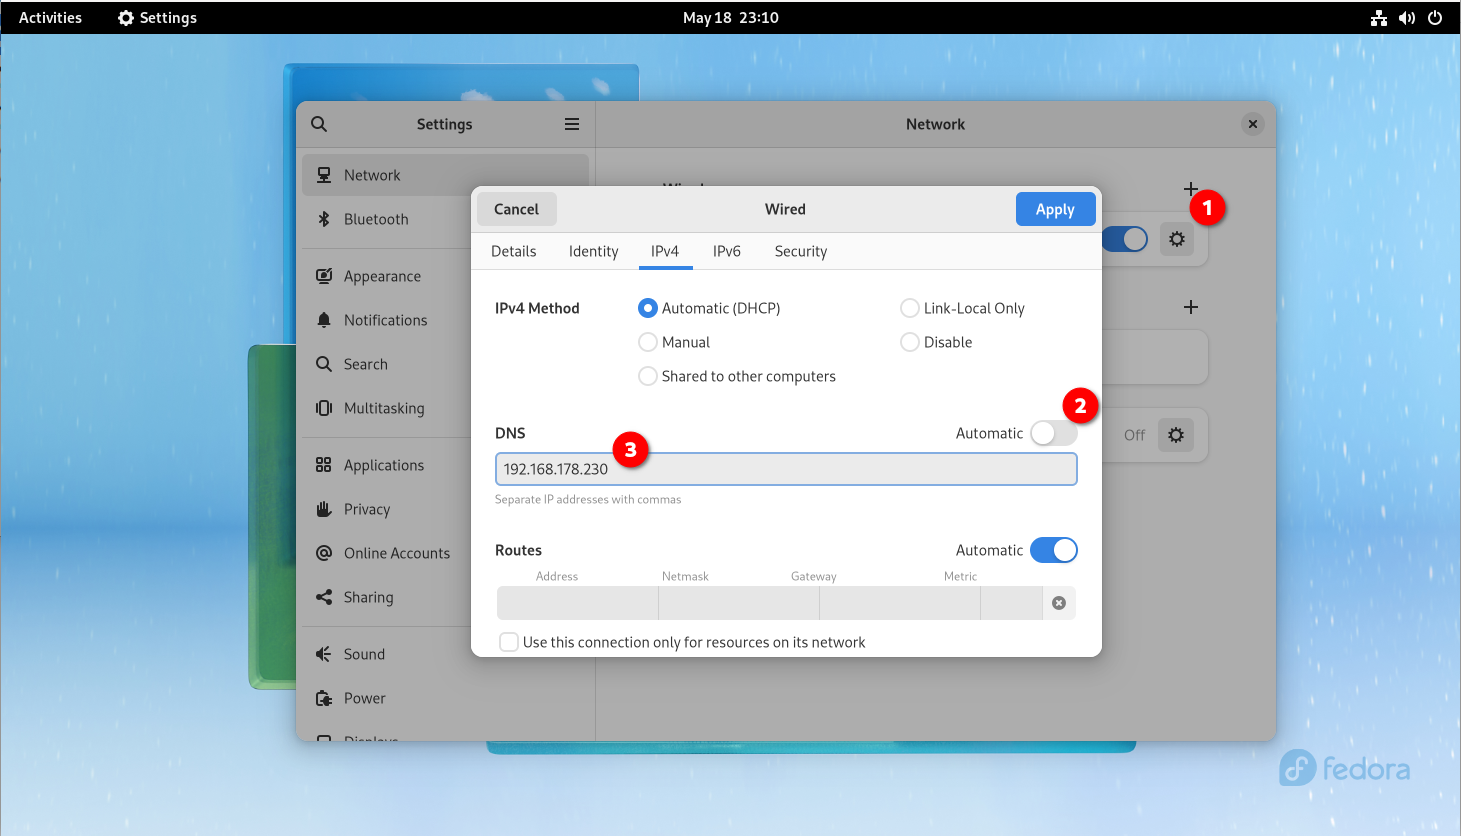
For this to work, we will have to set the DNS server on the client to the newly deployed FreeIPA server first.
Go to the Settings -> Network and click on the little wheel (1). Disable the automatic DNS assignment (2) and type in the IP of the new FreeIPA server. After this, you have to disconnect and connect your network for the change to take effect.
Now we need to set the hostname of our client. Set it in the “hostname” file under /etc to make it permanent.
fedora-gnome :: ~ » sudo hostname fedora-gnome.random-it-blog.de
fedora-gnome :: ~ » sudo vim /etc/hostname
fedora-gnome.random-it-blog.de
Finally, we can join the domain. I will use “realm” for this. You could also use “ipa-client-install” after installing the package, but I had a much better experience doing it this way.
Like I mentioned in part 1. Using random-it-blog.de was a mistake for my test environment, because the client always resolved the the public IP, which in turn caused the joining procedure to fail. I had to remove the systemd-resolved created resolv.conf file and replace it with a static one.
Later I tried to mess a bit with the NS and SRV Record in FreeIPA and set the dnssec-validation to no in the /etc/named/ipa-options-ext.conf file. I think this would also worked.
First, let’s see if we can see the domain.
fedora-gnome :: ~ » realm discover random-it-blog.de -v
 * Resolving: _ldap._tcp.random-it-blog.de
 * Performing LDAP DSE lookup on: 192.168.178.230
 * Successfully discovered: random-it-blog.de
random-it-blog.de
  type: kerberos
  realm-name: RANDOM-IT-BLOG.DE
  domain-name: random-it-blog.de
  configured: no
  server-software: ipa
  client-software: sssd
  required-package: freeipa-client
  required-package: oddjob
  required-package: oddjob-mkhomedir
  required-package: sssd
Now we can join. This will also install all the required packages.
fedora-gnome :: ~ » sudo realm join random-it-blog.de -v
 * Resolving: _ldap._tcp.random-it-blog.de
 * Performing LDAP DSE lookup on: 192.168.178.230
 * Successfully discovered: random-it-blog.de
Password for admin:
 * Couldn't find file: /usr/sbin/ipa-client-install
 * Required files: /usr/sbin/ipa-client-install, /usr/sbin/oddjobd, /usr/libexec/oddjob/mkhomedir, /usr/sbin/sssd
 * Resolving required packages
 * Installing necessary packages: freeipa-client oddjob oddjob-mkhomedir

...

The ipa-client-install command was successful
 * /usr/bin/systemctl enable sssd.service
 * /usr/bin/systemctl restart sssd.service
 * Successfully enrolled machine in realm
fedora-gnome :: ~ »
Ok. To be able to use the sudo policy we need to enable this feature using “authselect” on the client.
fedora-gnome :: ~ » sudo authselect enable-feature with-sudo
That’s it. Restart the Client after this.
Adding users
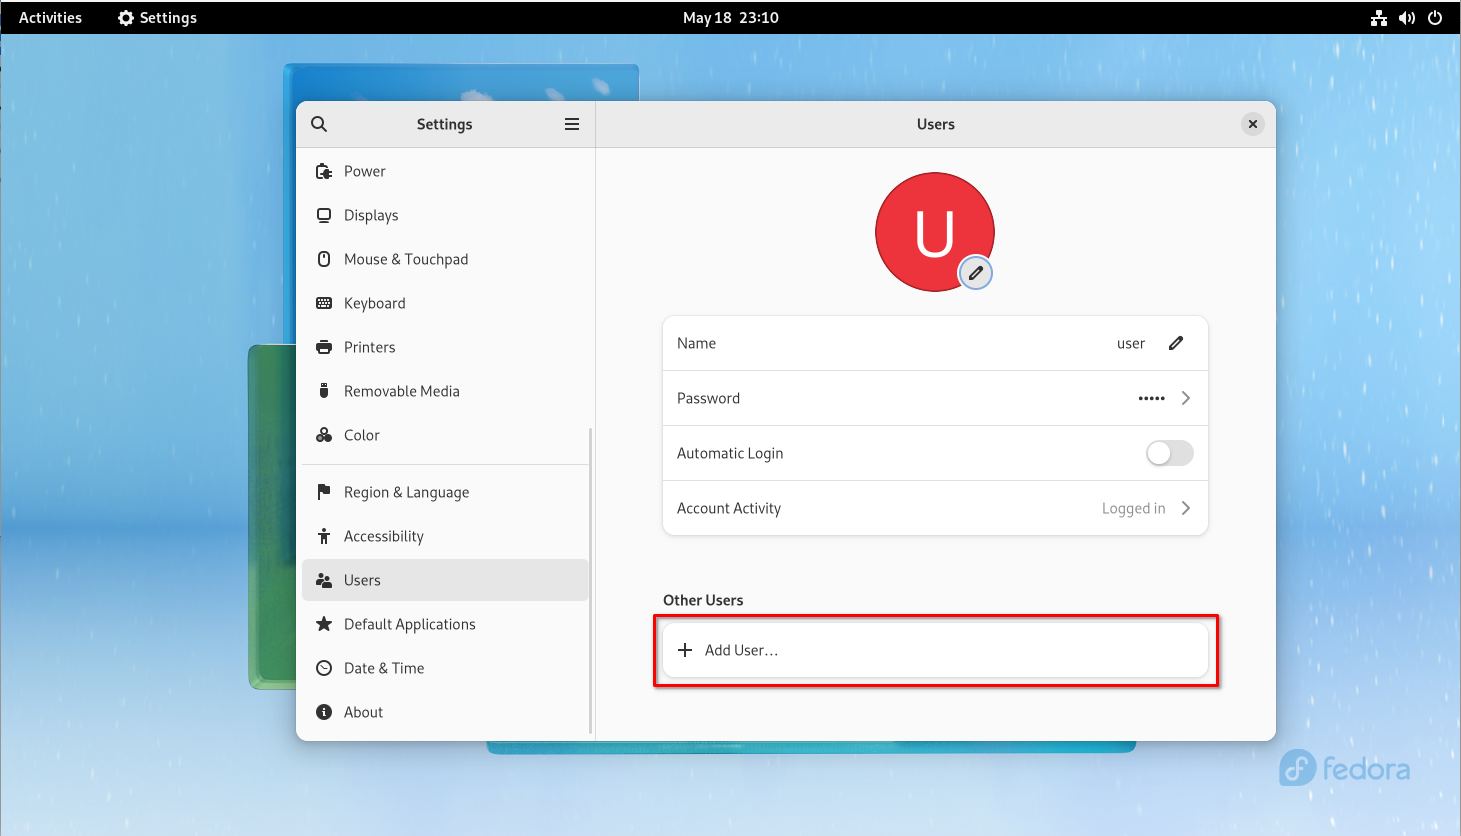
Log in to the local account. Open the “Settings” and select “Users”. Click on “Unlock…” and input your password.

Now we can add a new user. Select “Add User…” at the bottom and click on “Enterprise Login” in the new window.

Type in your domain, the username / password you want to add and click on “Add”.
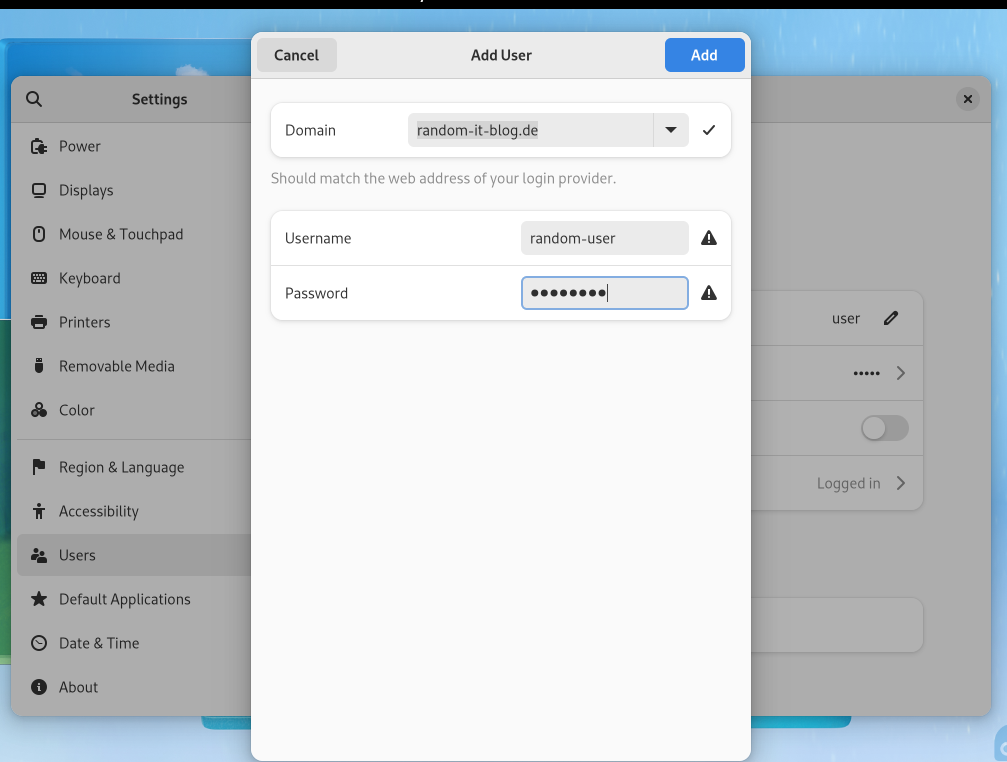
After this, the user should show up at the bottom of the “Users” setting.

You could also just type in the username at the login screen. It should also work, but the username won’t be saved there. So you would have to type the username every time you want to log in.
Login with a new user
Now, log out and select the newly added user.

Type in the initial password you assigned to it. After confirming the system will ask you to change the current password. Enter a new password.
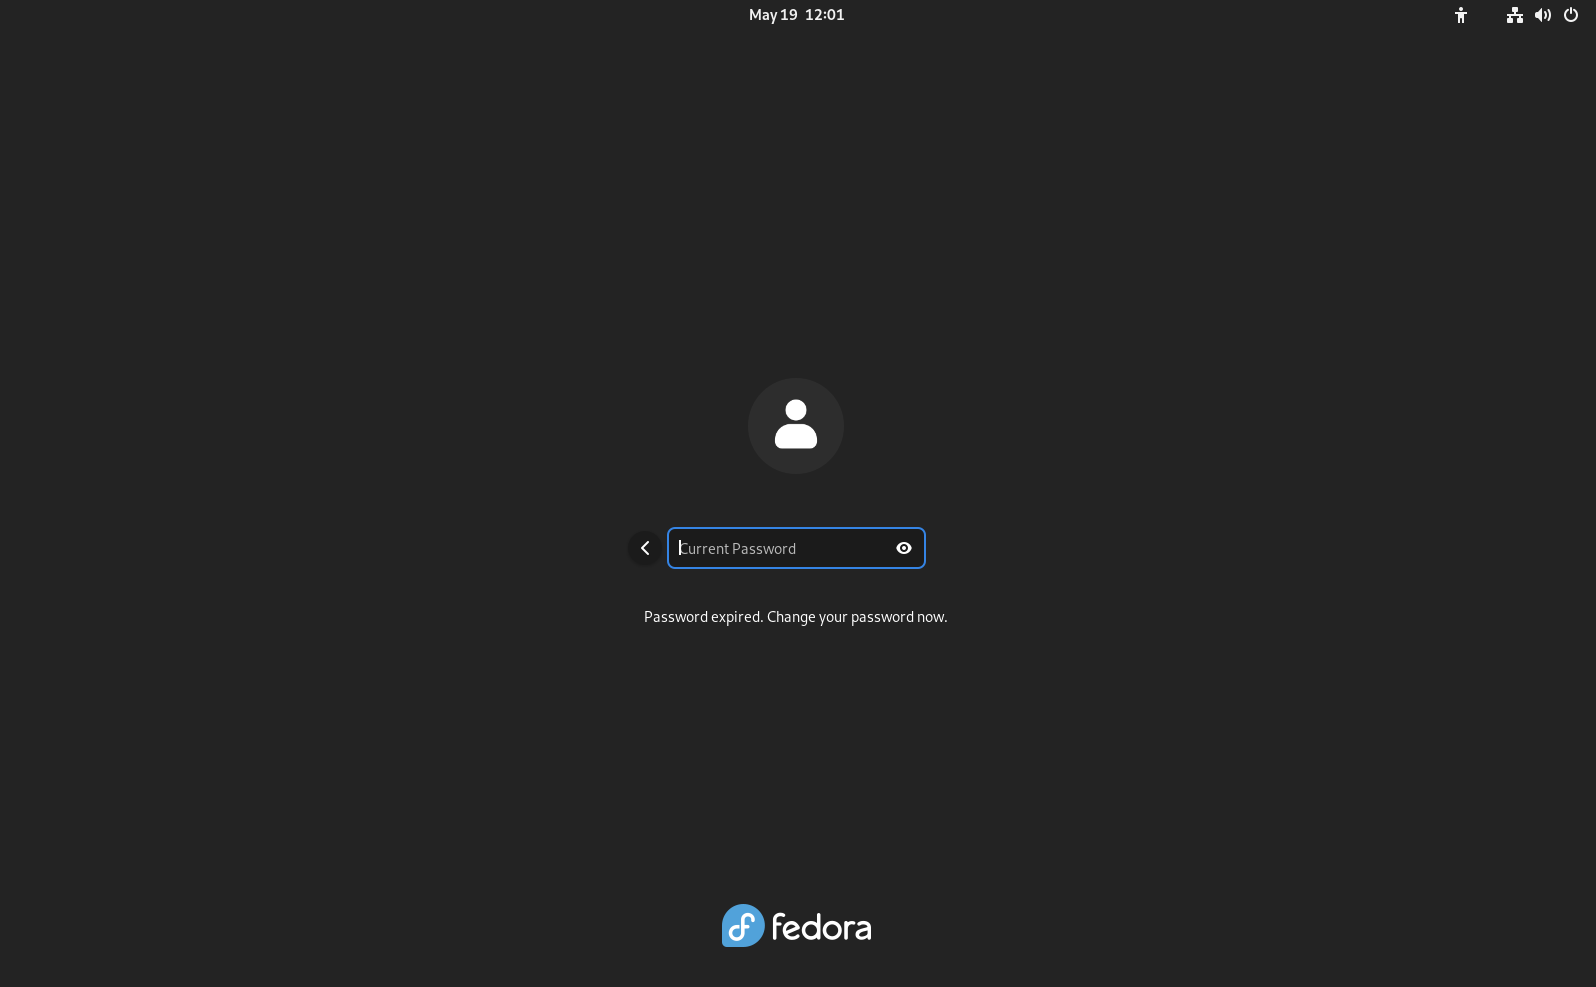
At this point, you should be logged into your account.
Sudo Permissions
Now we can test the sudo permissions.
Open a Terminal and try a sudo command.
fedora-gnome :: ~ » sudo top
Sorry, user random-user is not allowed to execute '/usr/bin/top' as root on fedora-gnome.random-it-blog.de.
So we are not allowed to execute “top” with elevated permissions. Ok, let’s try dnf. We already did set this up in the previous part.
fedora-gnome :: ~ » sudo dnf
usage: dnf [options] COMMAND

List of Main Commands:

alias                     List or create command aliases
autoremove                remove all unneeded packages that were originally installed as dependencies
check                     check for problems in the packagedb
We could any number of commands to the list. By the way, you could also limit the command itself. For instance, we could say that the user is only allowed to execute “sudo dnf upgrade”. This way the user could update his/her system but not install new applications.
OTP setup
One of the very neat features is OTP. It integrated very nicely into GNOME without having to do any setup on the client.
Let’s try it.
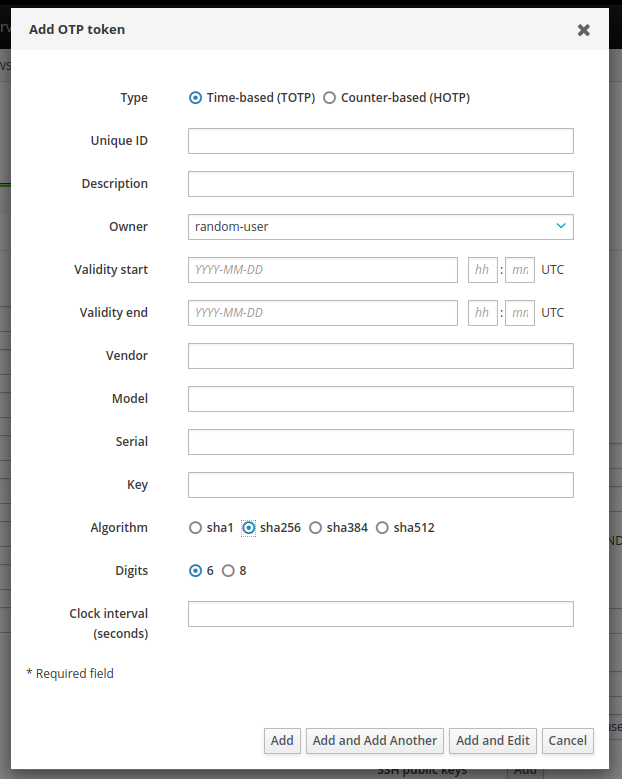
Login to the FreeIPA WebUI and switch to the user tab. Select the user you want to set OTP up for. “random-user” in my case, and click on “Actions” -> “Add OTP token”.

Select the desired “Algorithm”. You can leave the rest as default and click on “Add”.
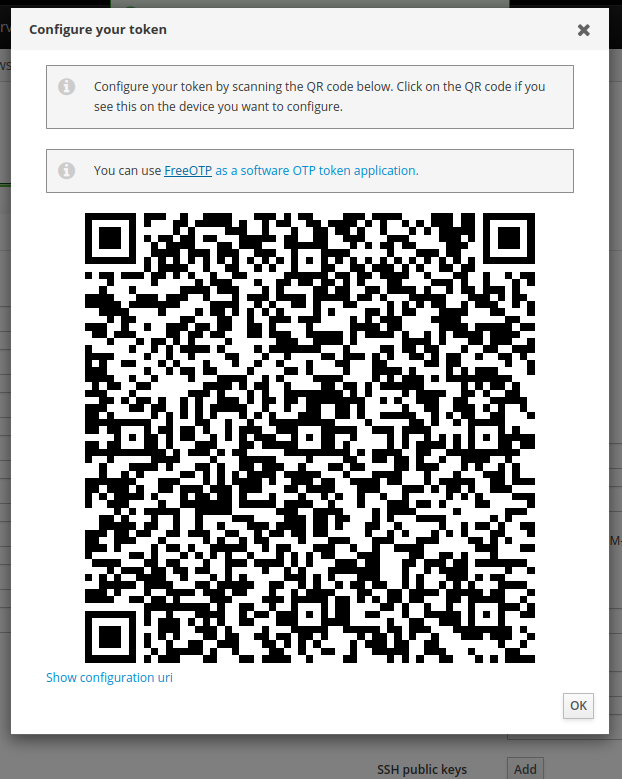
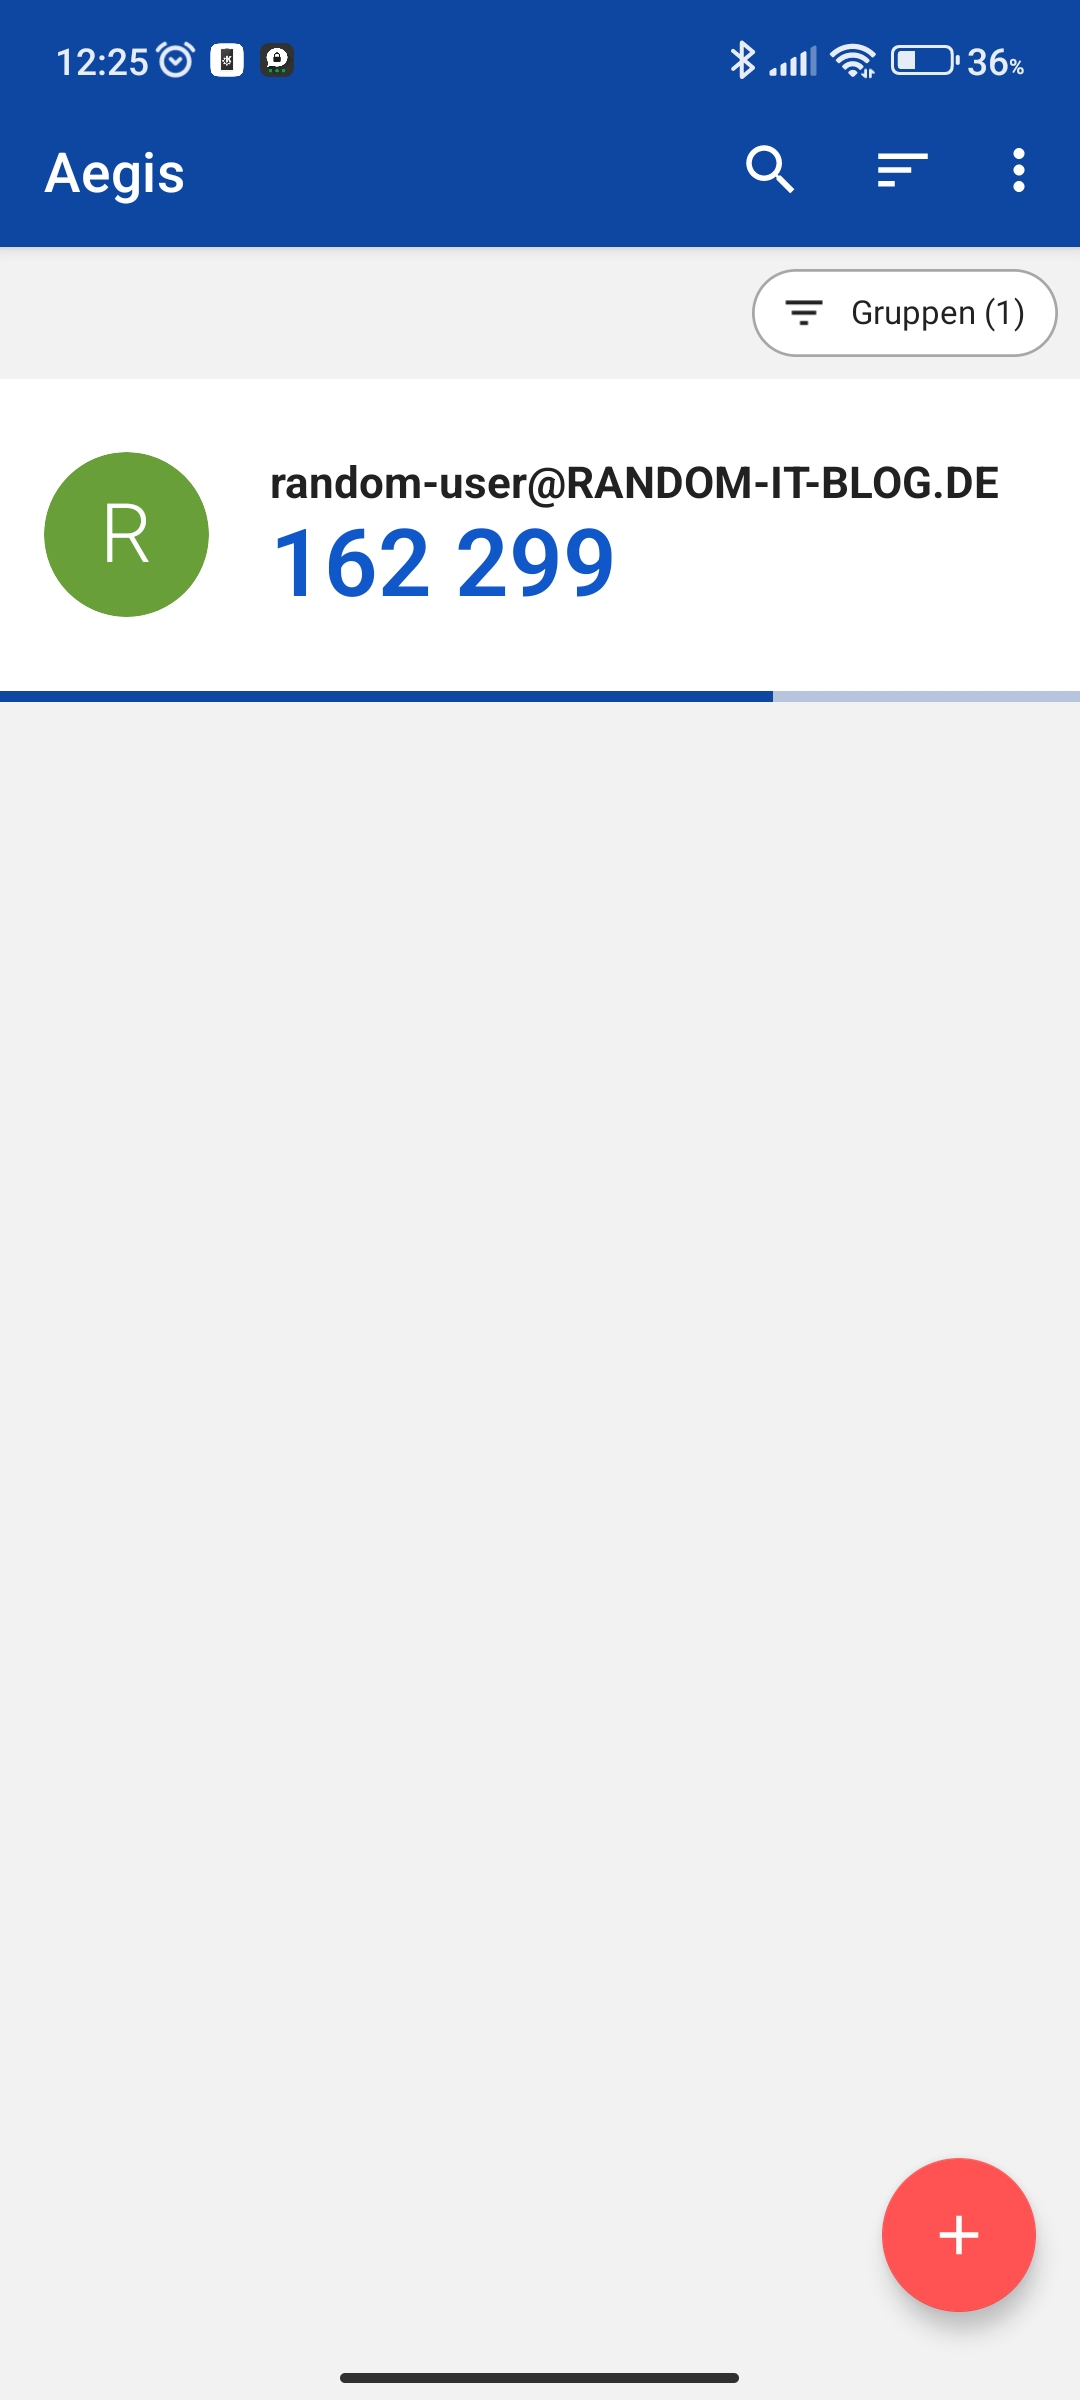
Scan the QR Code with an OTP token application like “FreeOTP”. Personally, I like “Aegis”.
When you are sure you have the code, click on OK at the bottom.
Now select “Two-factor authentication (password + OTP)” under “User authentication types” and save the settings.

OTP Authentication
OTP Login
Let’s try the login again.

This time it will say “First Factor”. This is your normal password.

Next, is the “Second Factor”. This is the code generated by your Token Application.
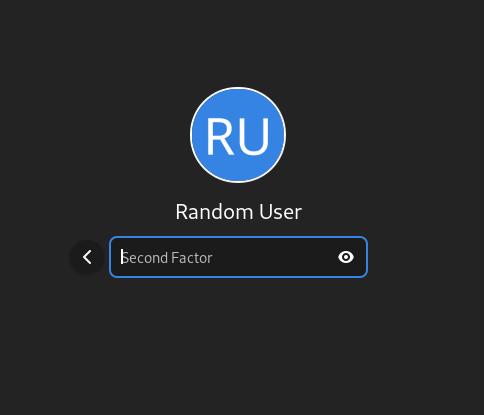

After confirming, it should log in.
OTP sudo authentication
By the way. This also works with sudo out of the box.
Here is an example.

This gets annoying quite fast, but it works.
Troubleshooting
In case the client doesn’t pull the new policies try to execute the following command.
fedora-gnome :: ~ » sudo sss_cache -E
This will invalidate all cached entries. You could also limit it to specific policies. For instance.
fedora-gnome :: ~ » sudo sss_cache -R
This invalidates the cached sudo-rule entries.
That’s it. It was actually quite fun to set this up and it worked surprisingly well. With GNOME at least.
I also tried it with KDE, but here I couldn’t even log in. The desktop would freeze when normally the prompt to change the password would show up. I don’t know what caused it because I am sure this used to work. Might try it again at some point.