Today I want to take a look at the FreeIPA Server, an integrated Identity and Authentication solution for Linux. Basically something similar to Windows Active Directory. I did try it out a few years ago and never touched it since. So, I want to try it out again, just to see what changed.
I never deployed it in any production environment and I probably won’t, for the foreseeable future. This has nothing to do with the project, it’s just not for our customer base. Our business mainly focuses on Microsoft and VMWare products, with the odd Linux Host.
But that doesn’t mean I can’t try it at home. I will split this into two, maybe three parts. Probably Server installation, Client installation and management. We will see.
Let’s begin.
FreeIPA Server Installation (Fedora 36)
Fedora 36 Server installation
I will just quickly go over the OS installation. I used the netinst ISO for this, to get the latest version. This system is a VM with 2048GB RAM, 2 CPU cores and 20GB disk space.
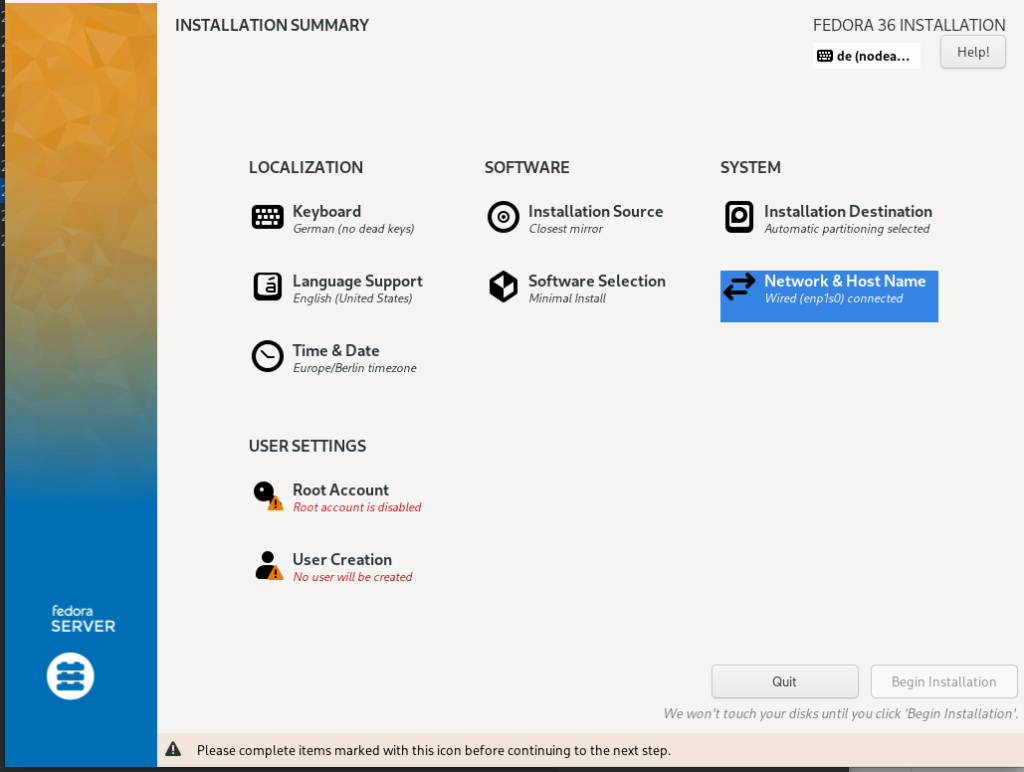
Boot from the ISO and go through the basic steps like language and keyboard layout.

In the “Software Selection” I will choose “minimal install” for the “Base Environment” and only “guest agents” for the additional software.

I will use “random-it-blog.de” as my domain (this was a mistake, as I learned later. For testing purposes I would recommend a *.localhost), “freeipa” as my hostname and set the static IP to 192.168.178.230.

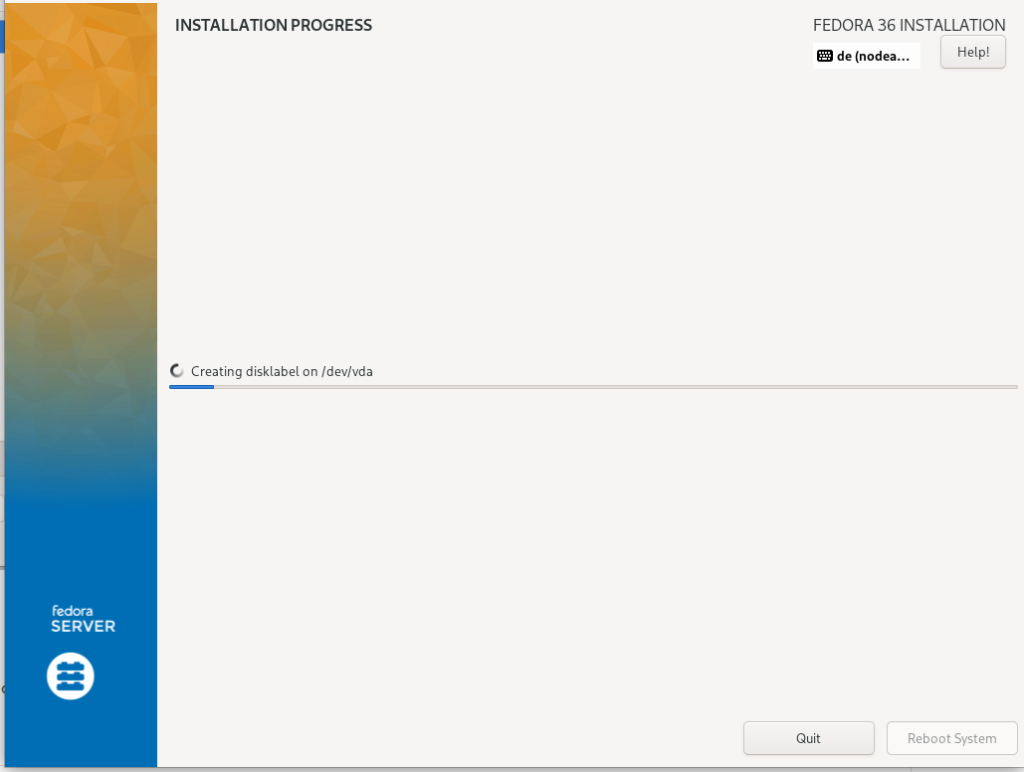
Next, I will create a user named “admin” and enable root access. Once that’s done, we can start the installation.

Once this is done, we can reboot the system.

FreeIPA Server installation
Ok. From here on we can use the CLI. Let’s SSH into the server.
fedora-kde :: ~ » ssh admin@192.168.178.230
The authenticity of host '192.168.178.230 (192.168.178.230)' can't be established.
ED25519 key fingerprint is SHA256:+qTQfVsSicdYaSsuemJkk4JrdzROwwc6DU9zD8rfG2Y.
This key is not known by any other names
Are you sure you want to continue connecting (yes/no/[fingerprint])? yes
Warning: Permanently added '192.168.178.230' (ED25519) to the list of known hosts.
admin@192.168.178.230's password:
[admin@freeipa ~]$
There seem to be two versions of FreeIPA Server we can install. One with an integrated DNS and the other without. We will install the one with DNS integrated.
[admin@freeipa ~]$ sudo dnf install freeipa-server-dns
Dependencies resolved.
========================================================================================================
 Package                                Architecture  Version                      Repository      Size
========================================================================================================
Installing:
 freeipa-server-dns                     noarch        4.9.9-1.fc36                 updates         45 k
Installing dependencies:
 389-ds-base                            x86_64        2.1.1-1.fc36                 fedora         2.8 M
...
 python-systemd-doc                     x86_64        234-20.fc36                  fedora         158 k
 tomcat-native                          x86_64        1.2.23-8.fc36                fedora          78 k

Transaction Summary
========================================================================================================
Install  287 Packages

Total download size: 120 M
Installed size: 437 M
Is this ok [y/N]: y
Before we can configure FreeIPA, we need to set the hostname in the “hosts” file. Add the following entry at the bottom. Replace the IP and hostname with yours.
This step isn’t necessary if you already have a working DNS server in your network.
[admin@freeipa ~]$ sudo vi /etc/hosts
192.168.178.230 freeipa.random-it-blog.de freeipa
Now we can install the FreeIPA server. I am adding “–allow-zone-overlap” because my domain already exists. Without this, the installation would fail, because the application checks if we are the “authoritative” for that domain. If you use a non-existing or local domain, for example, this won’t be necessary.
[admin@freeipa ~]$ sudo ipa-server-install --setup-dns --allow-zone-overlap
Answer the questions accordingly. I will mark mine red. If I only hit enter, I will mark it with “ENTER“
o accept the default shown in brackets, press the Enter key.

Enter the fully qualified domain name of the computer
on which you're setting up server software. Using the form
<hostname>.<domainname>
Example: master.example.com


Server host name [freeipa.random-it-blog.de]: ENTER

Warning: skipping DNS resolution of host freeipa.random-it-blog.de
The domain name has been determined based on the host name.

Please confirm the domain name [random-it-blog.de]: ENTER

Please provide a realm name [RANDOM-IT-BLOG.DE]: ENTER
Certain directory server operations require an administrative user.
This user is referred to as the Directory Manager and has full access
to the Directory for system management tasks and will be added to the
instance of directory server created for IPA.
The password must be at least 8 characters long.
Directory Manager password: PASSWORD
Password (confirm): PASSWORD

The IPA server requires an administrative user, named 'admin'.
This user is a regular system account used for IPA server administration.

IPA admin password: PASSWORD
Password (confirm): PASSWORD


Checking DNS domain random-it-blog.de., please wait ...
DNS zone random-it-blog.de. already exists in DNS and is handled by server(s): ['cns1.alfahosting.info.', 'cns3.alfahosting.info.', 'cns2.alfahosting.info.'] Please make sure that the domain is properly delegated to this IPA server.
Do you want to configure DNS forwarders? [yes]: ENTER
The following DNS servers are configured in systemd-resolved: 192.168.178.50
Do you want to configure these servers as DNS forwarders? [yes]: ENTER
All detected DNS servers were added. You can enter additional addresses now:
Enter an IP address for a DNS forwarder, or press Enter to skip:
DNS forwarders: 192.168.178.50
Checking DNS forwarders, please wait ...
Do you want to search for missing reverse zones? [yes]: ENTER
Reverse record for IP address 192.168.178.230 already exists
Trust is configured but no NetBIOS domain name found, setting it now.
Enter the NetBIOS name for the IPA domain.
Only up to 15 uppercase ASCII letters, digits and dashes are allowed.
Example: EXAMPLE.


NetBIOS domain name [RANDOM-IT-BLOG]: ENTER

Do you want to configure chrony with NTP server or pool address? [no]: yes
Enter NTP source server addresses separated by comma, or press Enter to skip: 0.de.pool.ntp.org,1.de.pool.ntp.org
Enter a NTP source pool address, or press Enter to skip:

The IPA Master Server will be configured with:
Hostname:       freeipa.random-it-blog.de
IP address(es): 192.168.178.230
Domain name:    random-it-blog.de
Realm name:     RANDOM-IT-BLOG.DE

The CA will be configured with:
Subject DN:   CN=Certificate Authority,O=RANDOM-IT-BLOG.DE
Subject base: O=RANDOM-IT-BLOG.DE
Chaining:     self-signed

BIND DNS server will be configured to serve IPA domain with:
Forwarders:       192.168.178.50
Forward policy:   only
Reverse zone(s):  No reverse zone

NTP server:	0.de.pool.ntp.org
NTP server:	1.de.pool.ntp.org
Continue to configure the system with these values? [no]: yes
Now the installation should begin. This could take about 10 to 15min.
Setup complete

Next steps:
	1. You must make sure these network ports are open:
		TCP Ports:
		  * 80, 443: HTTP/HTTPS
		  * 389, 636: LDAP/LDAPS
		  * 88, 464: kerberos
		  * 53: bind
		UDP Ports:
		  * 88, 464: kerberos
		  * 53: bind
		  * 123: ntp

	2. You can now obtain a kerberos ticket using the command: 'kinit admin'
	   This ticket will allow you to use the IPA tools (e.g., ipa user-add)
	   and the web user interface.

Be sure to back up the CA certificates stored in /root/cacert.p12
These files are required to create replicas. The password for these
files is the Directory Manager password
The ipa-server-install command was successful
[admin@freeipa ~]$
Ok. The setup is done, but there are a few more things we need to do. First is the firewall.
[admin@freeipa ~]$ sudo firewall-cmd --add-service freeipa-4 --permanent
[admin@freeipa ~]$ sudo firewall-cmd --add-service dns --permanent
[admin@freeipa ~]$ sudo firewall-cmd --reload
Next, either set the DNS IP of your client to the new FreeIPA Server or set it in the “hosts” file. I will add it to the “hosts” file.
fedora-kde :: ~ » sudo vim /etc/hosts
192.168.178.230 freeipa.random-it-blog.de freeipa
The reason for this is, that even if you try to access the Web Interface with the IP address, FreeIPA will redirect you to the hostname. Which will fail, since your system cannot resolve it.
FreeIPA Web Interface
User Creation
Now we should be able to access the WebUI. Once we enter the URL “https://freeipa.random-it-blog.de/” into the search bar of our favourite browser, we should be able to login into the interface.

Once we are in, we can start to create new users, add/change policies, set sudo permissions and much more.
Let’s create a user as an example.
Click on “Add” on the “Active users” tab.

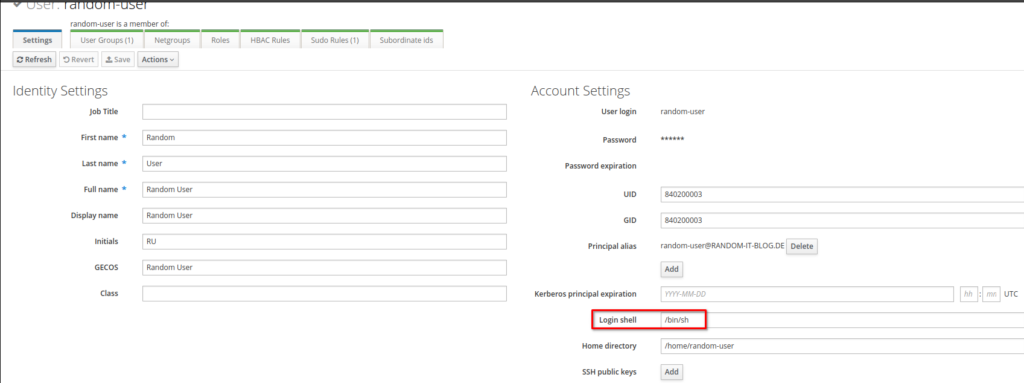
Enter the username, First/Last name and the desired password and select “Add and Edit”.

There is one thing I want to change. Set the “Login Shell” to bash or zsh if you prefer.

That’s it for the user creation.

Sudo Permissions
Switch to the “Policy” tab and click on “sudo” and “sudo command”. Select “Add” and enter the command you want to allow. You need the full path for this to work.
If you don’t know the path of a command, just type “which <command>” into the CLI.
fedora-kde :: ~ » which dnf
/usr/bin/dnf


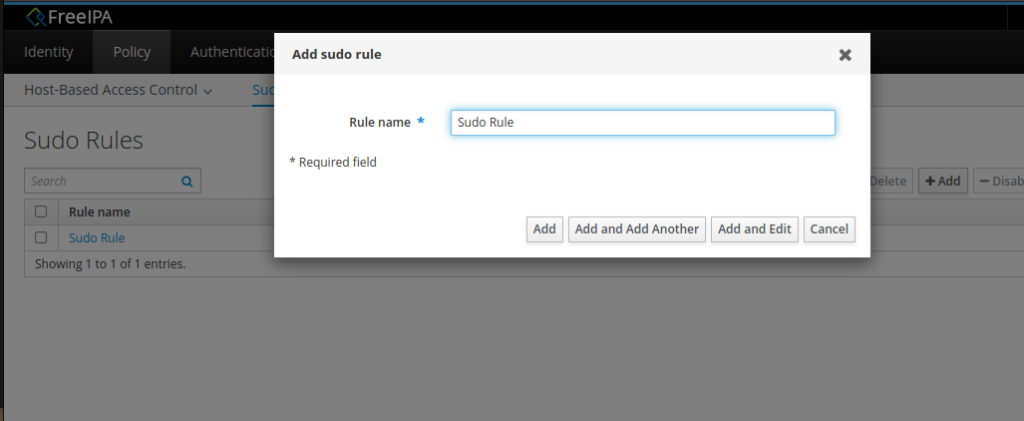
Click on “Sudo Rule” and create a new Rule.

Set the Rule name and select “Add and Edit”.

Here we can set things like, who is allowed to use these commands, on which host, as whom and so on.
Let’s set the “Who” to the newly created user.


Allow the execution on “any Host” and set the “Allowed” rules. Don’t forget to save the settings.

FreeIPA CLI
Find User
If you want to use the CLI, you need to generate a Kerberos ticket with the following command.
[admin@freeipa ~]$ kinit admin
After this, you can input the command you want to use. This, for instance, gets you some information on the user “admin”.
[admin@freeipa ~]$ ipa user-find admin
[admin@freeipa ~]$ kinit admin
Password for admin@RANDOM-IT-BLOG.DE:
[admin@freeipa ~]$ ipa user-find admin
--------------
1 user matched
--------------
  User login: admin
  Last name: Administrator
  Home directory: /home/admin
  Login shell: /bin/bash
  Principal alias: admin@RANDOM-IT-BLOG.DE, root@RANDOM-IT-BLOG.DE
  UID: 840200000
  GID: 840200000
  Account disabled: False
----------------------------
Number of entries returned 1
----------------------------
[admin@freeipa ~]$
User Creation
Here is an example of how to create a new user.
[admin@freeipa ~]$ ipa user-add test-user
First name: Test
Last name: User
----------------------
Added user "test-user"
----------------------
  User login: test-user
  First name: Test
  Last name: User
  Full name: Test User
  Display name: Test User
  Initials: TU
  Home directory: /home/test-user
  GECOS: Test User
  Login shell: /bin/sh
  Principal name: test-user@RANDOM-IT-BLOG.DE
  Principal alias: test-user@RANDOM-IT-BLOG.DE
  Email address: test-user@random-it-blog.de
  UID: 840200004
  GID: 840200004
  Password: False
  Member of groups: ipausers
  Kerberos keys available: False
[admin@freeipa ~]$
Sudo Permissions
And here on how to create a sudo rule and commands. I will create a similar rule as the one we created with the WebUI.
[admin@freeipa ~]$ ipa sudorule-add New-Rule
--------------------------
Added Sudo Rule "New-Rule"
--------------------------
  Rule name: New-Rule
  Enabled: TRUE
[admin@freeipa ~]$ ipa sudocmd-add /usr/bin/htop
----------------------------------
Added Sudo Command "/usr/bin/htop"
----------------------------------
  Sudo Command: /usr/bin/htop
[admin@freeipa ~]$ ipa sudorule-mod New-Rule --hostcat all
-----------------------------
Modified Sudo Rule "New-Rule"
-----------------------------
  Rule name: New-Rule
  Enabled: TRUE
  Host category: all
[admin@freeipa ~]$ ipa sudorule-add-allow-command New-Rule --sudocmds /usr/bin/htop
  Rule name: New-Rule
  Enabled: TRUE
  Host category: all
  Sudo Allow Commands: /usr/bin/htop
-------------------------
Number of members added 1
-------------------------
Alright. That’s it. I remember this being way more difficult to setup, but this felt overall very smooth.
In Part 2 we will add Fedora 36 GNOME to FreeIPA and test the rules we created. We will also try to create an OTP and test the login.
Till next time.